This post may contain affiliate links. Please read our disclosure policy.
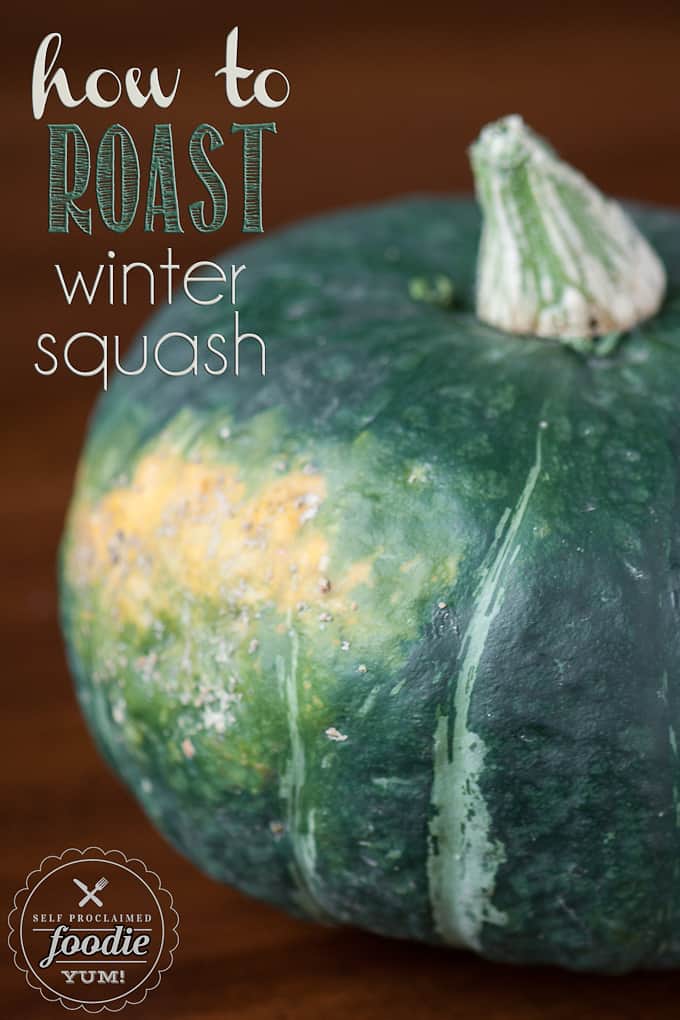
Roasted winter squash is used in many Fall cooking recipes. Tender and flavorful winter squash can be enjoyed by itself as an easy side dish or it can be used in a variety of recipes. A little salt and pepper is the only seasoning needed.
The most popular varieties of winter squash butternut, spaghetti, acorn or carnival squash as well as pumpkin.
Why this recipe works:
There are a few recipe tips and tricks that make this roasted winter squash exceptional.
- My instructions can be applied to roasting any kind of winter squash.
- The baking times may vary depending on the size and thickness of the winter squash, but the process is basically the same.
- When you use this recipe, the result is a creamy soft flesh that can be eaten straight out of the shell or incorporated into a recipe.
Here’s how to make it:
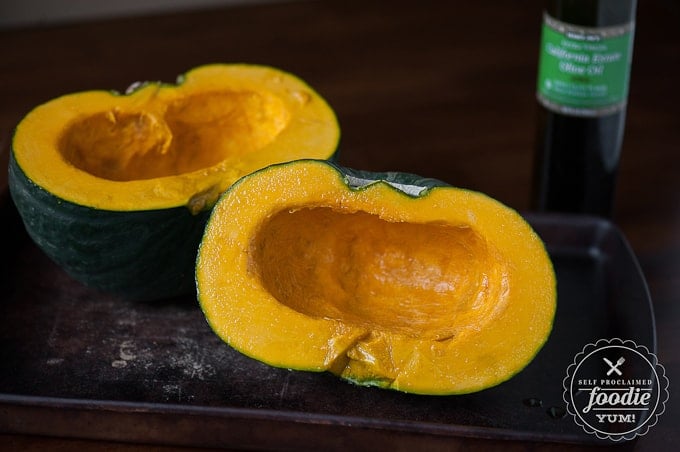
- You must start by cutting the whole squash in half.
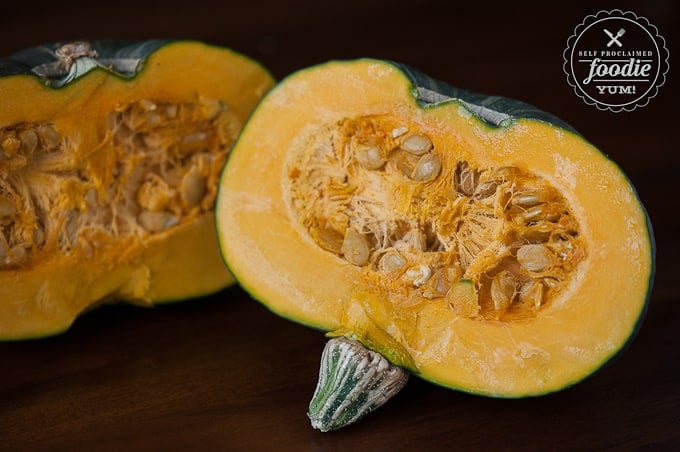
- Scrape out the seeds. You can separate the seeds from the pulp and roast them in the oven if you want.
- Then coat all of the flesh with olive oil.
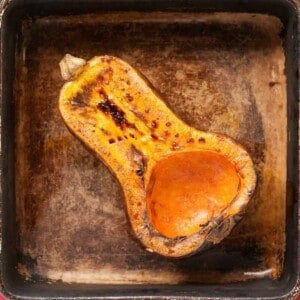
- I like to roast the winter squash face down on a baking sheet. The cut side, where the flesh meets the baking sheet, gets slightly browned and adds to the flavor. Feel free to line your baking sheet with parchment paper first for easy clean up.
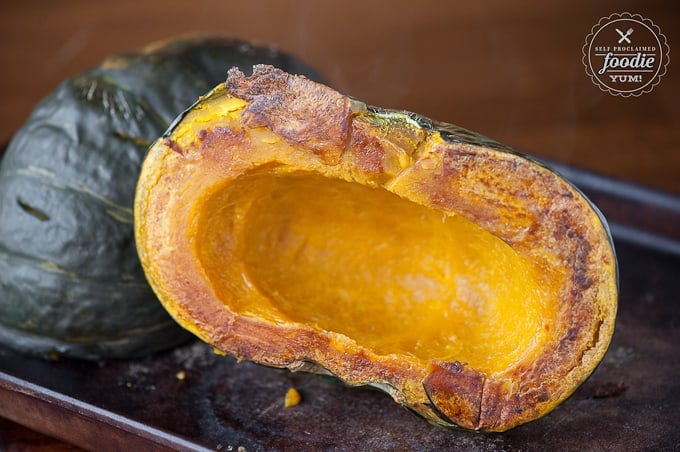
- You can tell when it is done by piercing them with a knife. If the knife goes in without effort, its done. The skin will shrivel a bit too.
- Once the roasted squash is cool enough to handle, peel the skin away. Just look at that golden delicious goodness. YUM!
Cooking tips:
- Because cutting a large, hard, whole squash can be challenging, you can always throw the whole thing in the oven for about 15 minutes to allow it to soften a bit before cutting it.
- You can add the roasted squash to the food processor. If the mixture is too thick, you can thin it with some water or olive oil. Occasionally I have to use a scraper to push the chunks down, but otherwise it blends up nicely.
- Butternut squash can be especially difficult to cut when raw. An easier method is to first cut the top off right where the squash transitions from thin to fat. Then place the flat cut side down on the cutting board and cut each of those halves in half. This would result in four chunks instead of two.
- The smaller the squash and thinner the flesh, the less time it will take to roast. Just keep an eye on it and you’ll know when you have perfectly roasted squash when it smells wonderful, starts to brown, and a fork or butter knife can easily go into the flesh.
Related recipes:
Here are some of my favorite things to make with roasted winter squash.
- Stuffed Acorn Squash
- Savory Butternut Squash Cake
- Homemade Butternut Squash Ravioli with Brown Butter Sage Sauce
- Butternut squash mac and cheese
- Butternut Squash Lasagna
- Butternut Squash Soup
- Buttercup Squash Risotto
- Buttercup Squash Cake
- Winter Squash Casserole
Pin this now to save it for later
Pin ItHow to Roast Winter Squash
Ingredients
- whole Winter Squash butternut, acorn, buttercup, etc
- olive oil
Instructions
- Preheat oven to 400°F.
- With a large sharp knife, pierce whole Winter Squash near the stem, and insert the knife. Rock back and forth, cutting your way around the entire squash cutting all but the stem. Remove knife and break squash in half. Use knife to remove remaining stem.
- Use a spoon to discard seeds. If desired, you can remove pulp from seeds and roast them too.
- Rub the flesh of the squash with the olive oil. Place face down on a rimmed baking sheet. Bake, face down, in oven for 45 minutes to an hour. You'll know when the squash is done based on how easily a butter knife inserts into the flesh of the squash, and also based on the wonderful smell. When done, remove from oven and allow squash to cool on baking sheet.
- When cool enough to handle, cut squash into sections and remove skin.
- At this point you can serve the roasted squash as a side dish, cube it for a recipe, or puree it.
- To puree the squash, place peeled squash sections in a food processor. It is very thick so it occasionally needs to be re-positioned in the processor if it appears to not be thoroughly mixing. Pureed squash can be frozen in an air tight container or plastic freezer bag for future use.
Notes
Cooking tips:
- Because cutting a large, hard, whole squash can be challenging, you can always throw the whole thing in the oven for about 15 minutes to allow it to soften a bit before cutting it.
- You can add the roasted squash to the food processor. If the mixture is too thick, you can thin it with some water or olive oil. Occasionally I have to use a scraper to push the chunks down, but otherwise it blends up nicely.
- Butternut squash can be especially difficult to cut when raw. An easier method is to first cut the top off right where the squash transitions from thin to fat. Then place the flat cut side down on the cutting board and cut each of those halves in half. This would result in four chunks instead of two.
- The smaller the squash and thinner the flesh, the less time it will take to roast. Just keep an eye on it and you’ll know when you have perfectly roasted squash when it smells wonderful, starts to brown, and a fork or butter knife can easily go into the flesh.
Video
Nutrition
Nutrition information is automatically calculated, so should only be used as an approximation.
This post was originally created in October 2014 and has been updated with helpful information and cooking tips. Don’t worry – I didn’t change the recipe!







Can the squash be roasted ahead and reheated or will it get mushy?
I like doing as much as possible the day ahead of Thanksgiving.Thank you.
So this method roasts the squash so that the flesh is soft and creamy. If you’re looking to, say, cooking up butternut or acorn squash into bite sized pieces that are a bit chewy, I would use this method: https://selfproclaimedfoodie.com/baked-butternut-squash-recipe/. I hear you on doing as much prep as possible, but with squash I would do all of the prep up to the baking/roasting part and leave that for the day of.
Thanks for yourhelp. It has been a long tim since I roasted squash. You have refreshed my memory with other ideas as well.
Happy to help!
I still have no idea how to bake butternut squash. You never say what tempature to cook it on.
The first step in the instructions in the recipe card says “Preheat oven to 400 degrees F.”
Hi Krissy, how long is the pre-heat? About 20 minutes? And baking temperature should stay at 400 degrees, right?
The preheat time depends on the oven and the temperature of your house, but 20 minutes should be plenty. And yes, I keep the temp at 400.
I made this for our dinner tonight and loved it. I had not thought of pairing, garlic and sage with butternut squash. It went well with marinara sauce over it.
What does face down mean? Is that skin side down or flesh side down?
cut side down
This is also my first visit to your site. I am a poor to fair cook (not fair to middling). I’ve roasted squash before but have never written down what my mother has told me (temp, etc). Thank you for having it spelled out for me.
I have never heard that you can toss the whole thing in the oven to soften. That is AWESOME. I am totally trying it today with the massive, and hard, squash my boyfriend bought a few weeks ago. Lol.
Again, thank you for imparting even the most basic knowledge.
I cook my squash face up with brown sugar and butter in the cavity, do you know of a good way to level it out so my filling doesn’t run out I squish aluminum foil and place under the low end now I guess it works but thought you might have a better way
maybe make a foil bowl to hold it all in?