This post may contain affiliate links. Please read our disclosure policy.

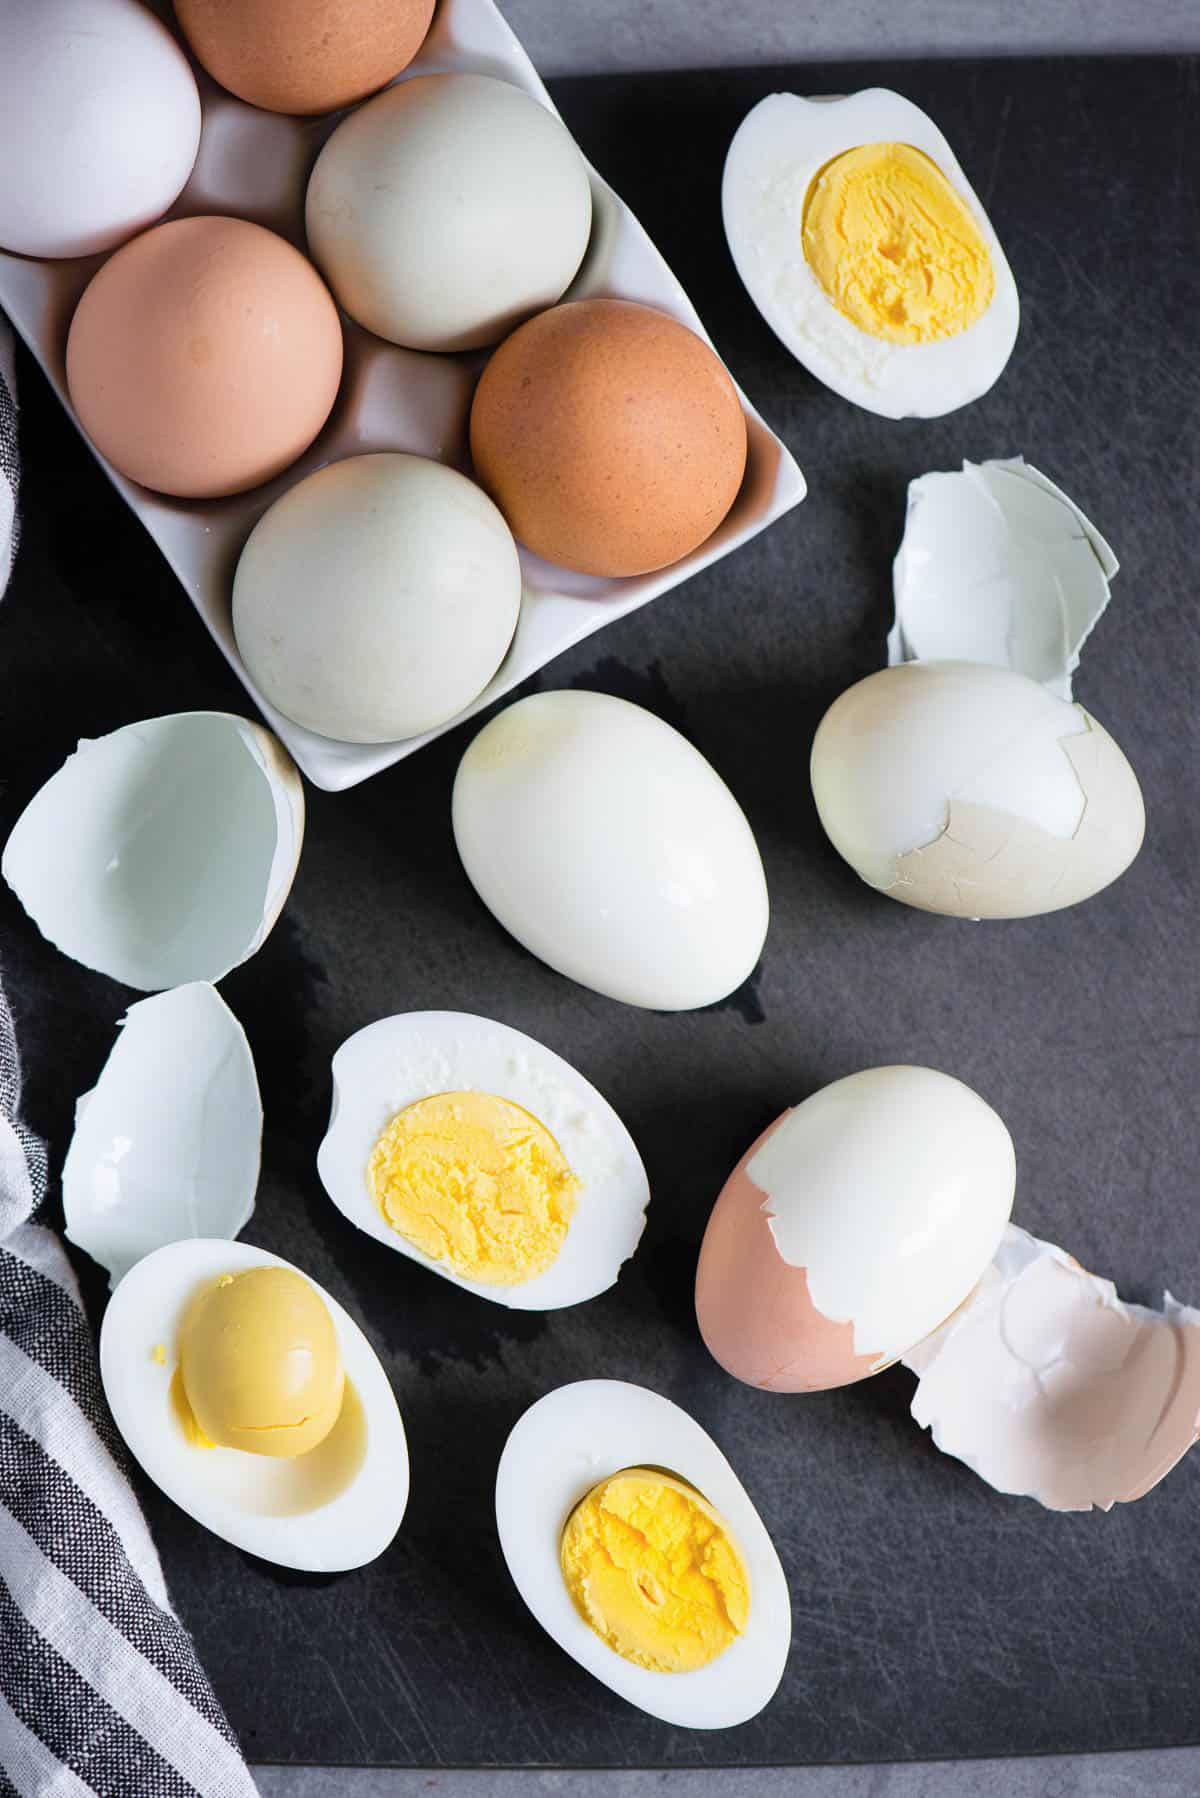
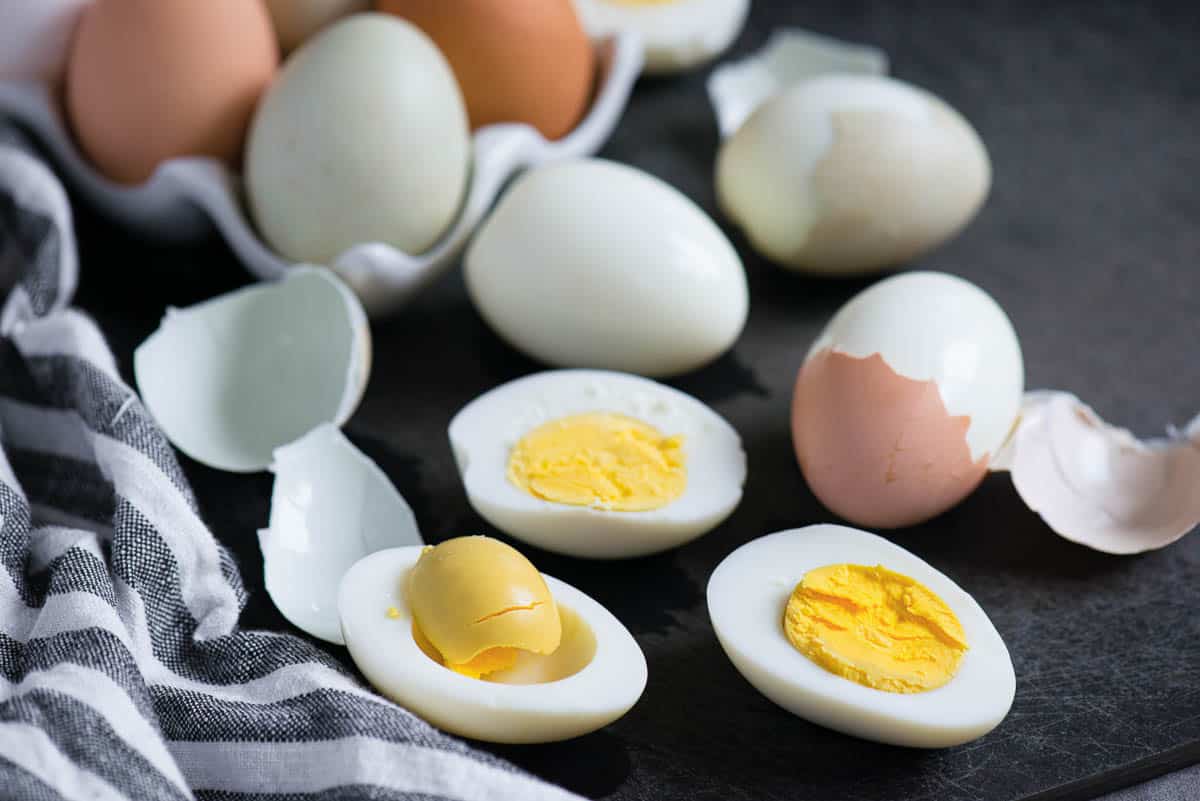
The perfect hard boiled egg is easy to peel with a creamy bright yellow yolk. Whether you have farm-fresh eggs or are working with eggs that are a few weeks old, you will get the easiest peeling and best-tasting eggs with this cooking process.
This recipe explains how to make hard boil eggs on the stovetop and in an Instant Pot.
Instant Pot vs Stove Top hard boiled eggs
Although both methods work, my recommendation is to use the Instant Pot to make hard-boiled eggs. Why?
- Consistency – When using the Instant Pot, the results are extremely consistent and the eggs will turn out perfect every time.
- Easy to peel – The Instant Pot makes it so easy that many times the egg will slide out of its shell.
- Works with fresh eggs – Super fresh eggs are easy to peel when cooked in the Instant Pot too. The eggs in the photos below were no more than a day old. I know this because they came from my own chickens.
Because not everyone has an Instant Pot, I will also explain how to boil eggs on the stove.
How to make Instant Pot hard boiled eggs:
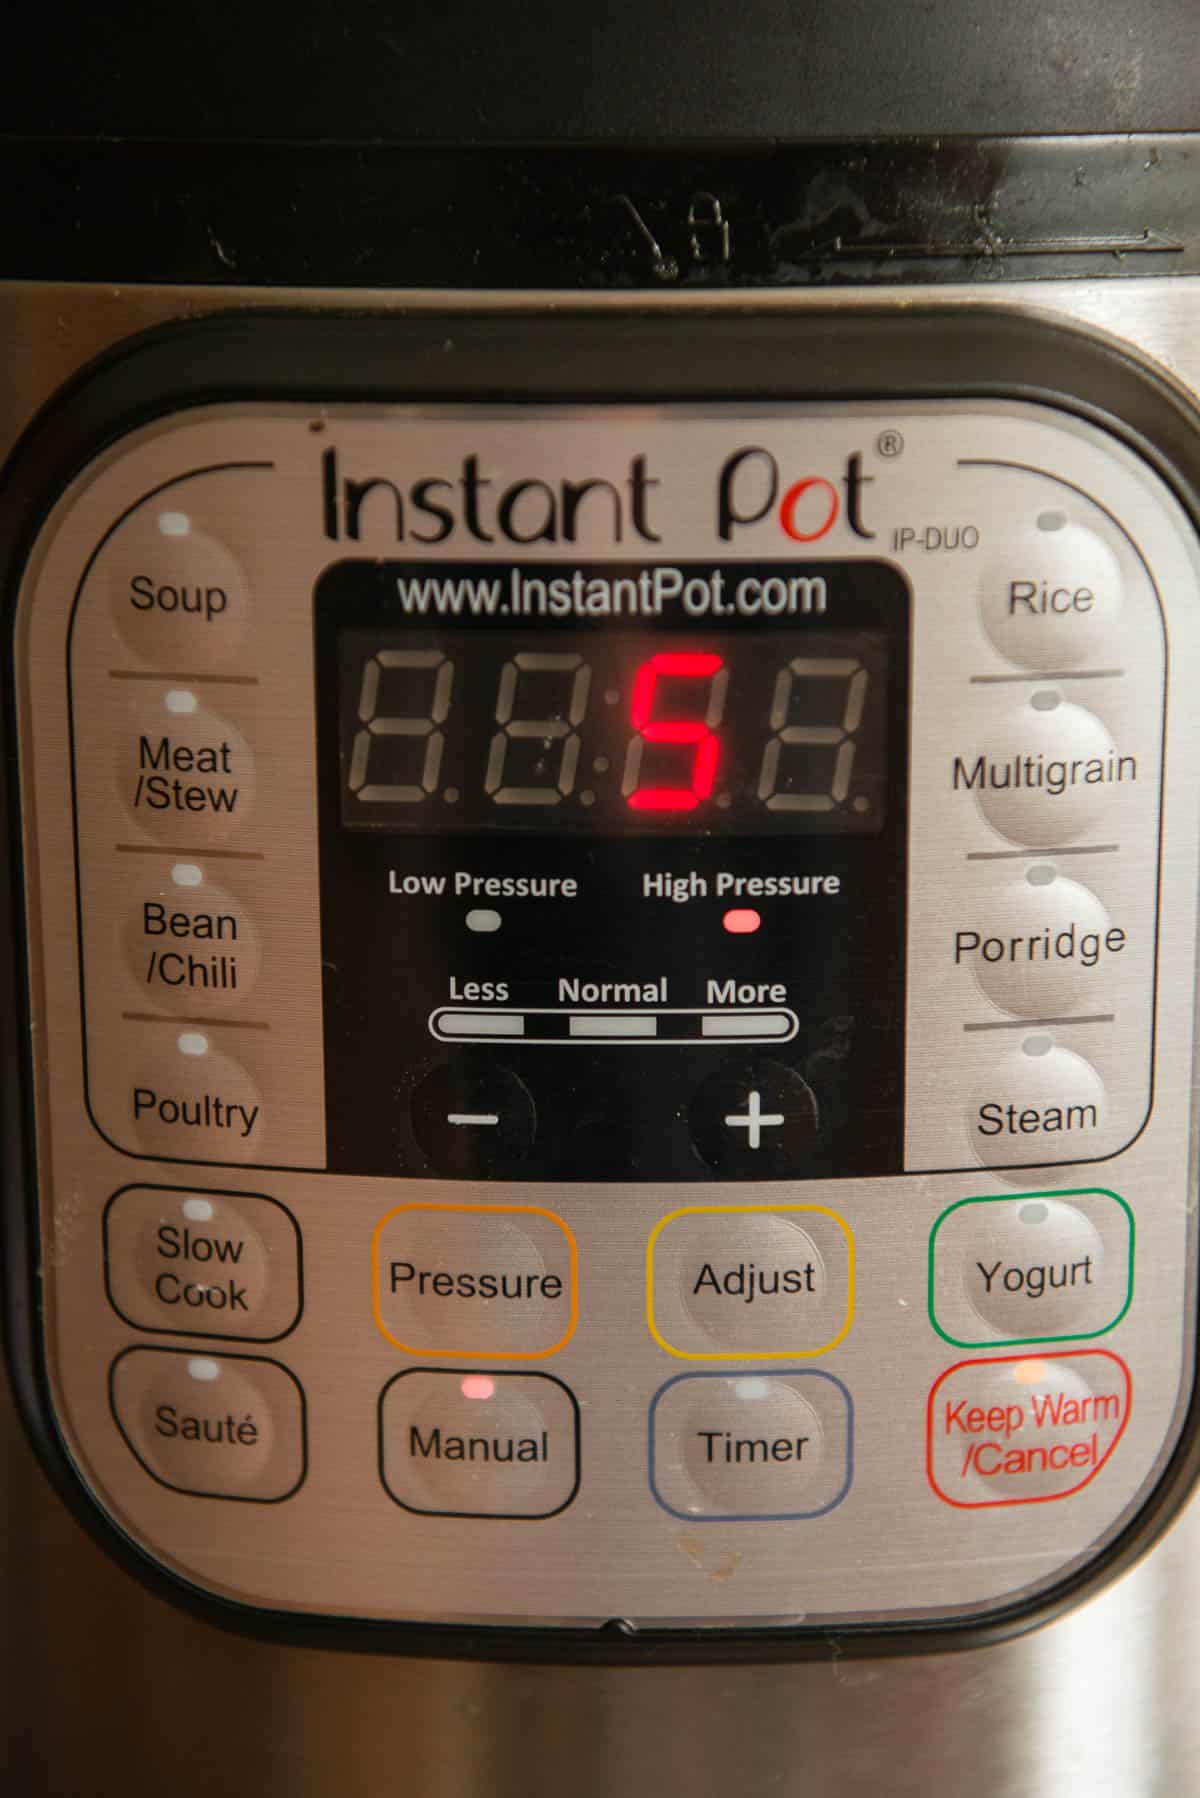
I use the 5-5-5 method which I will explain in depth below.
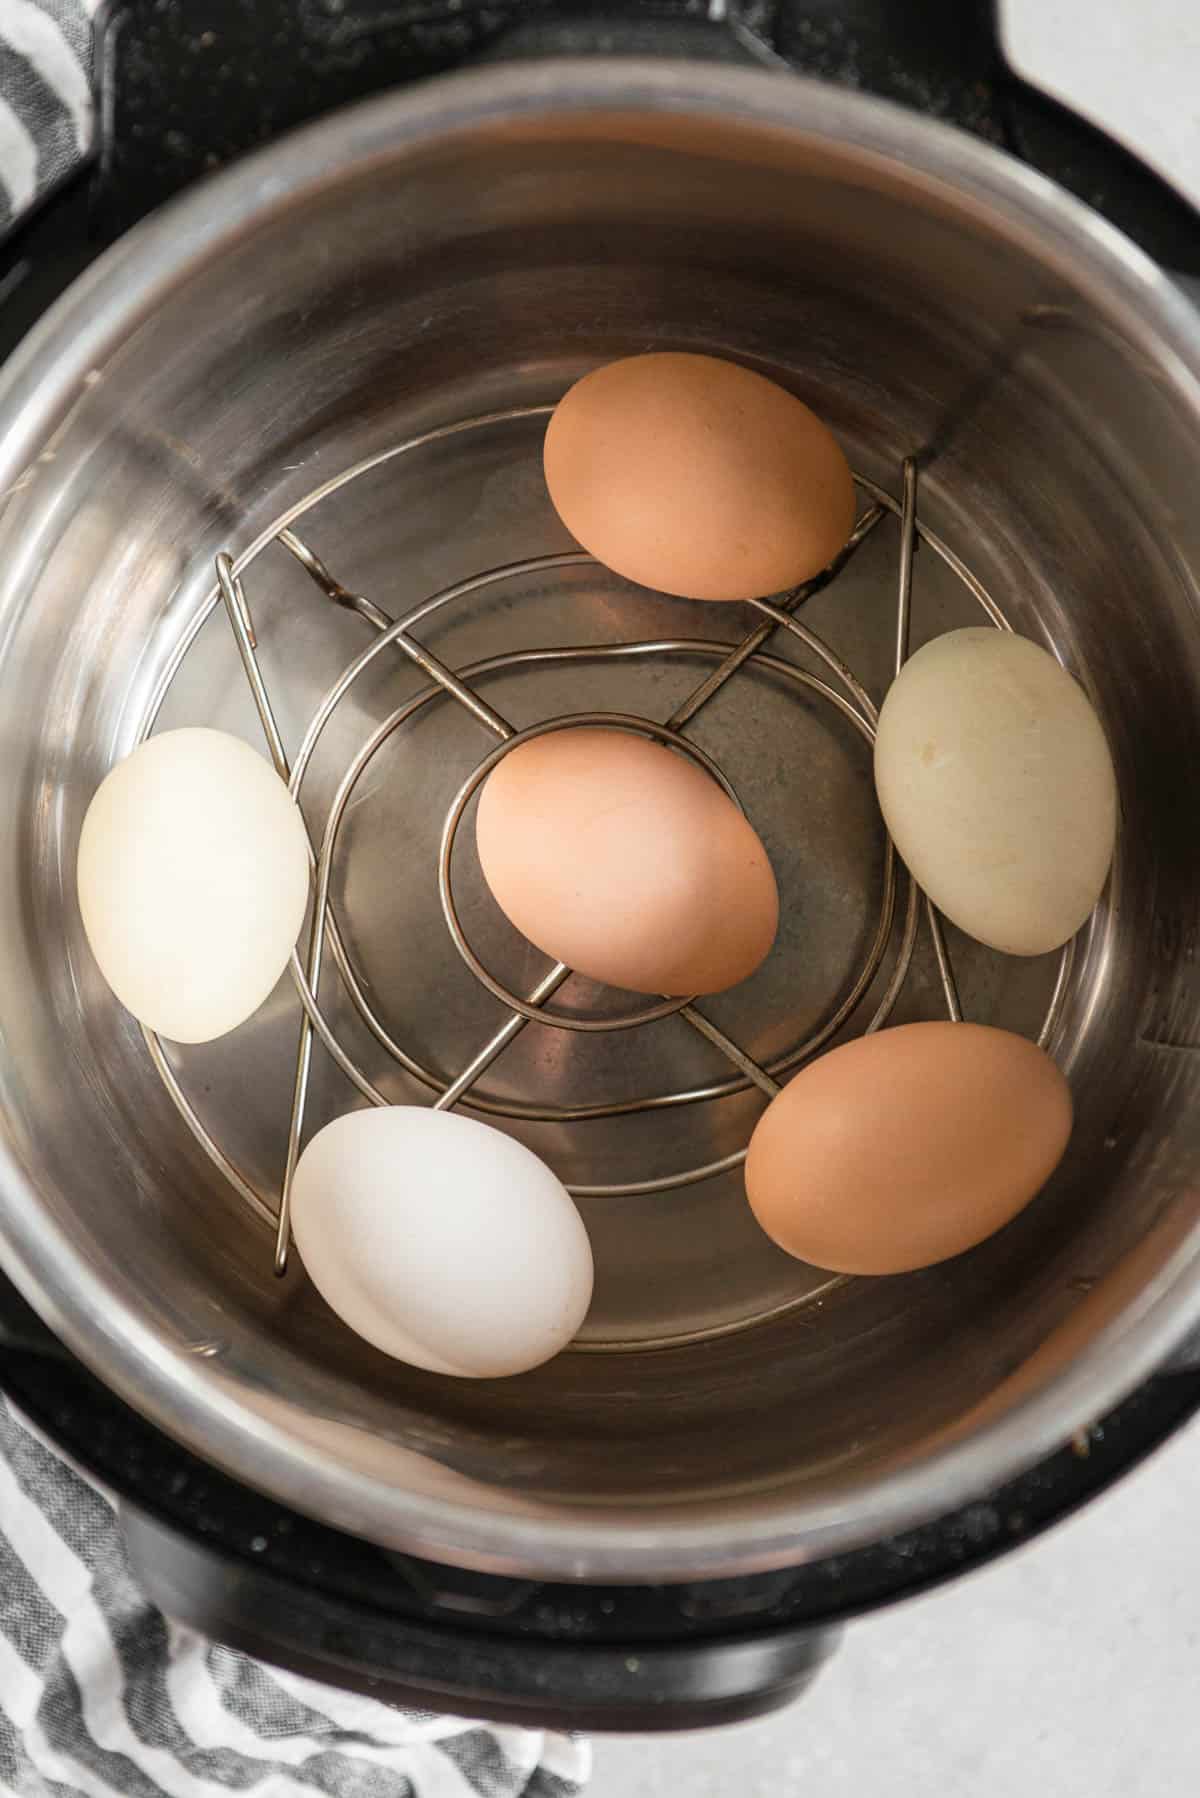
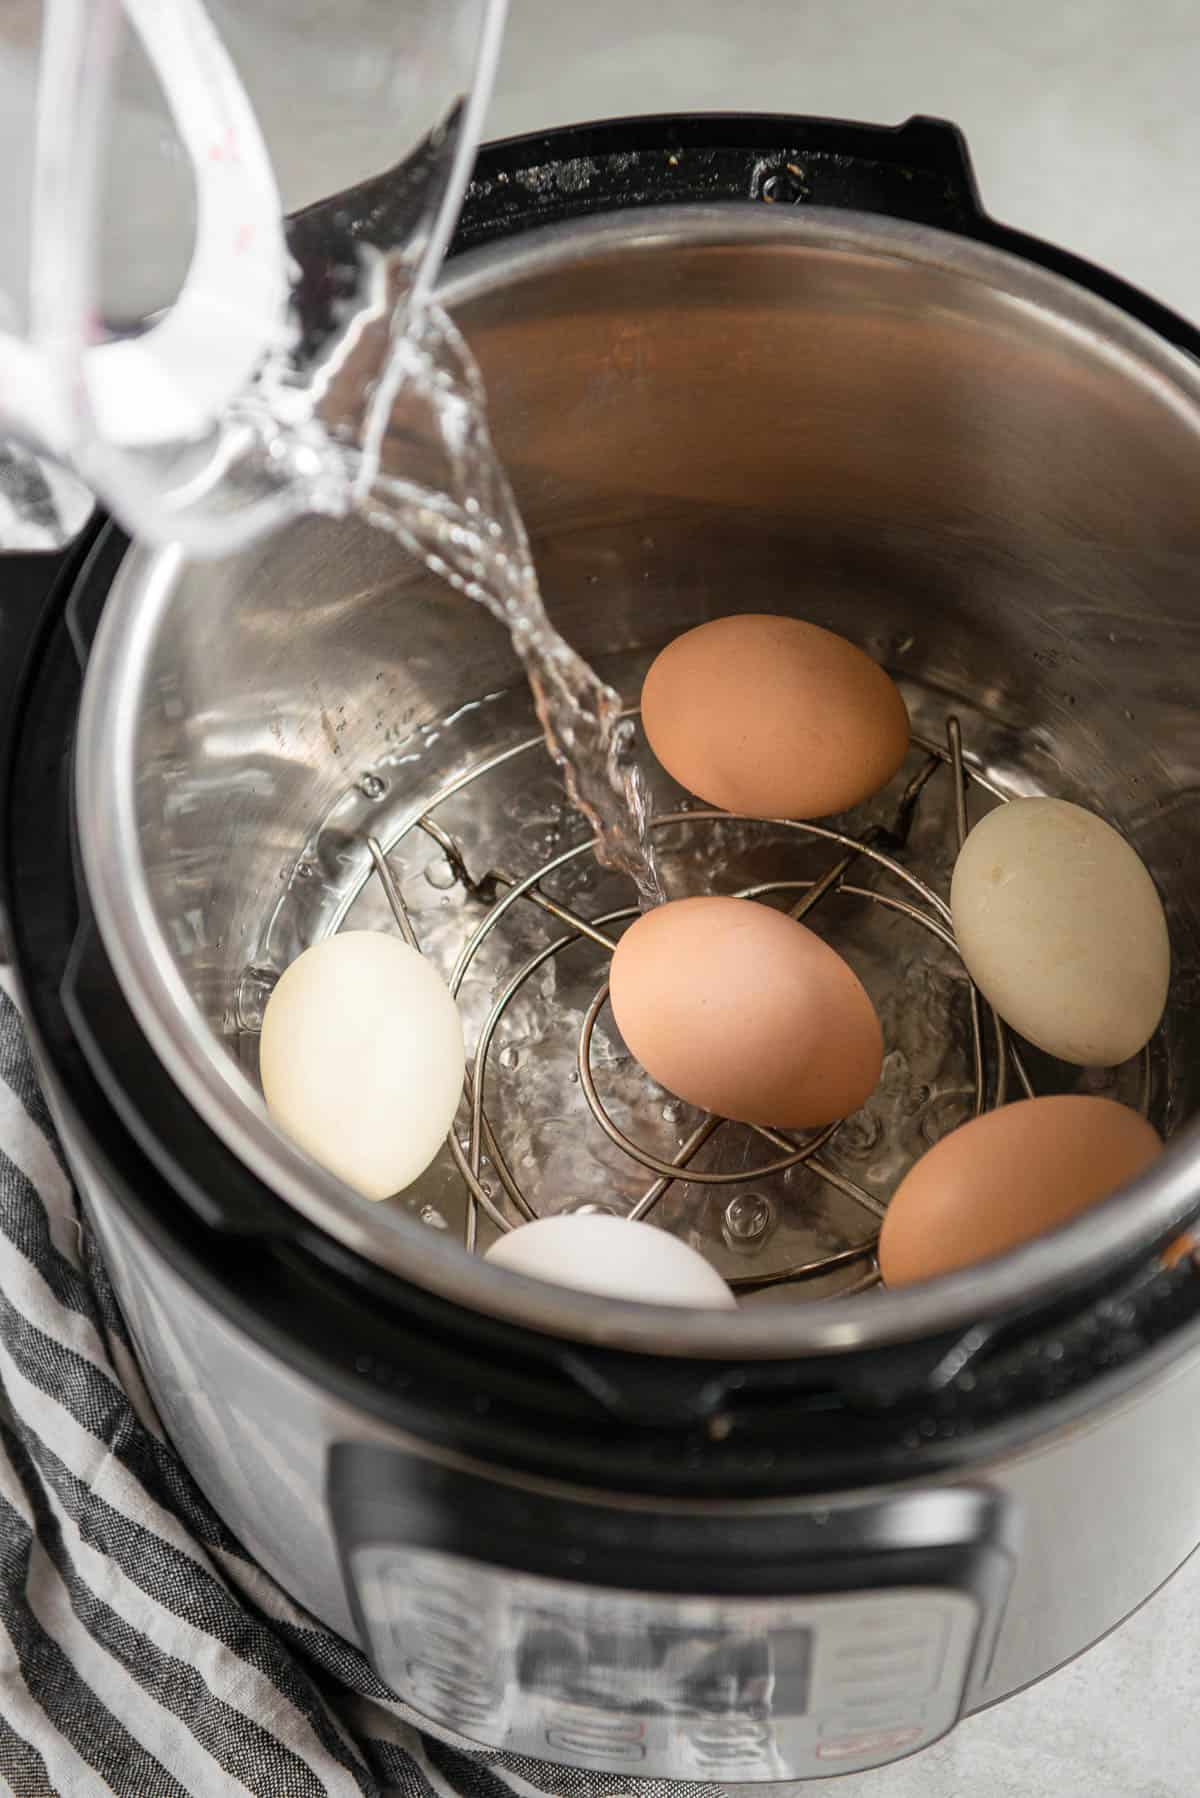
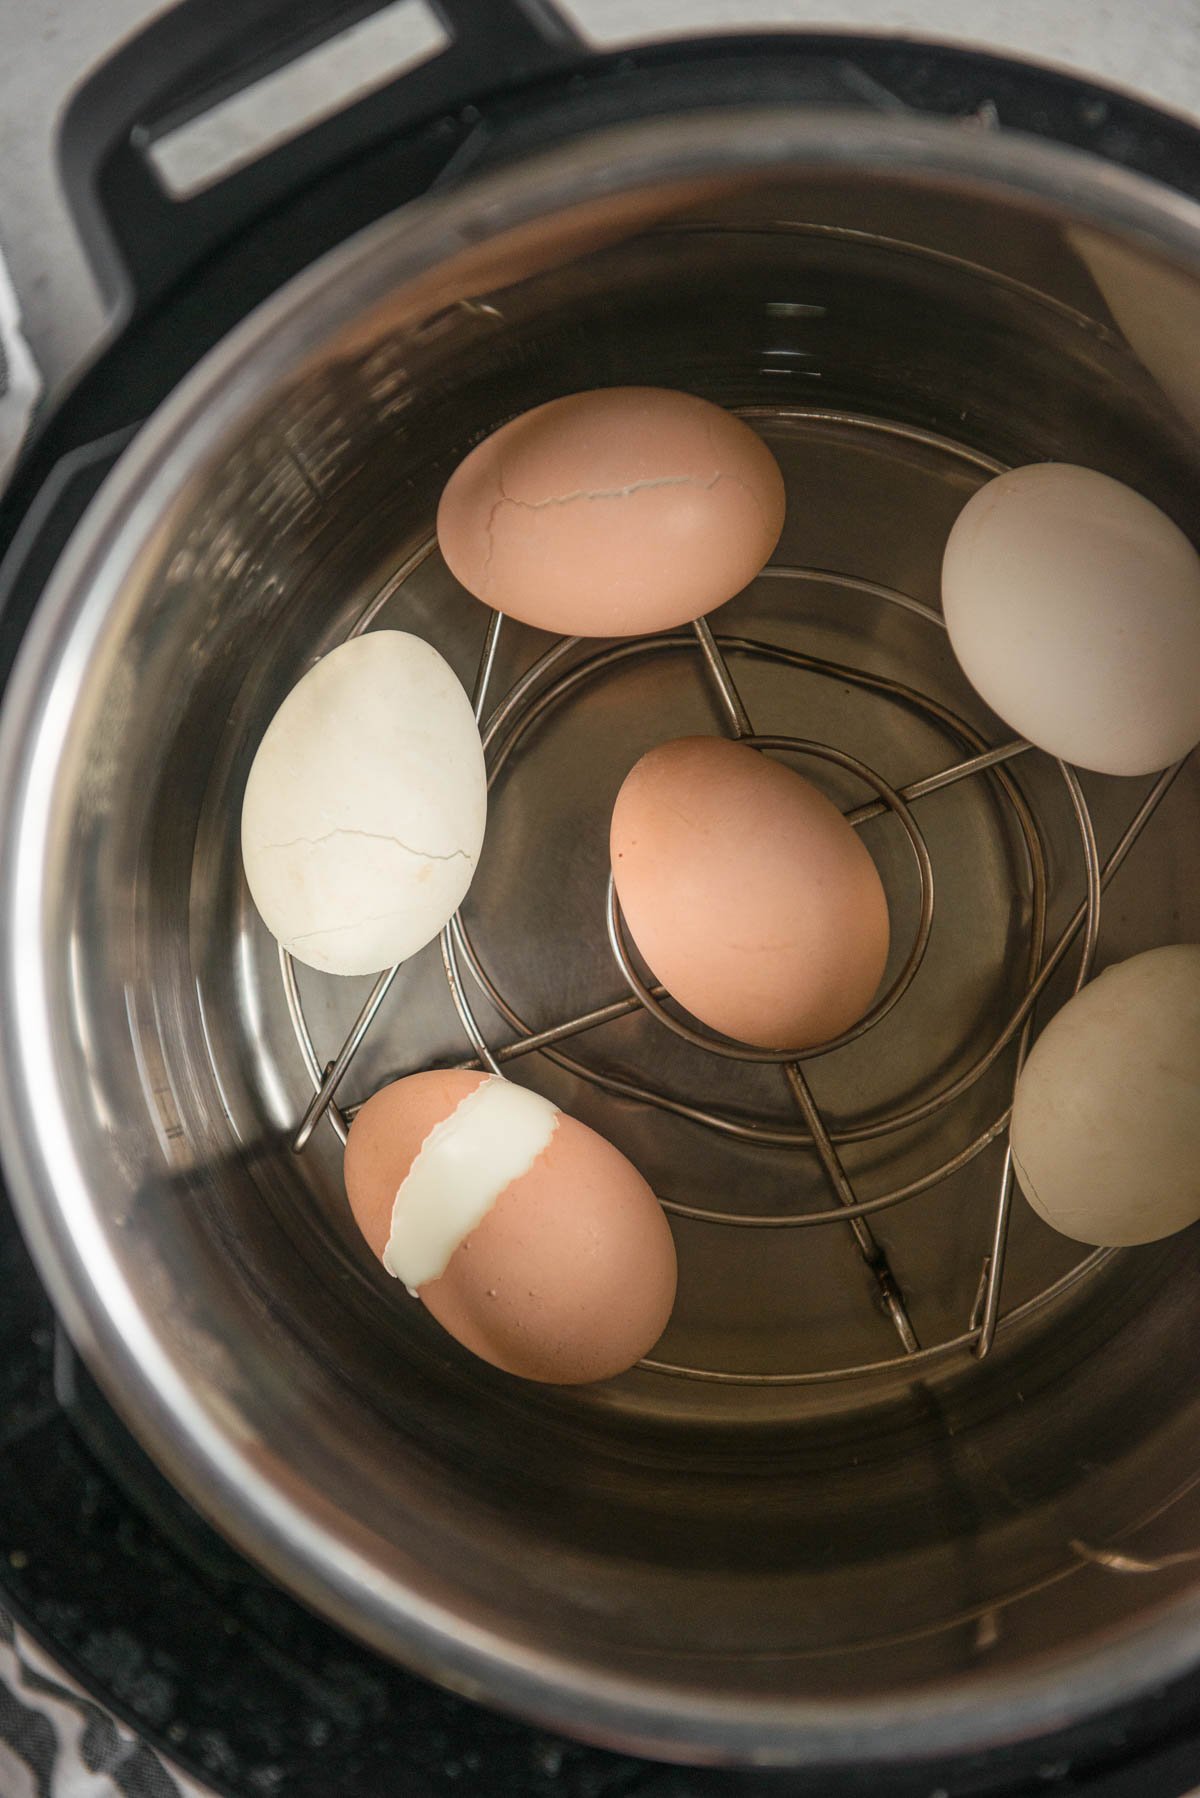
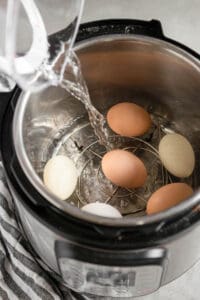
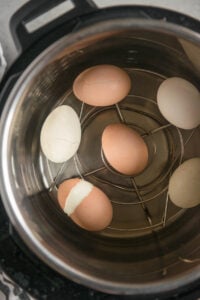
- Using the rack that came with your Instant Pot or a hardboiled egg insert, gently place your eggs on the rack. Add a cup of water.
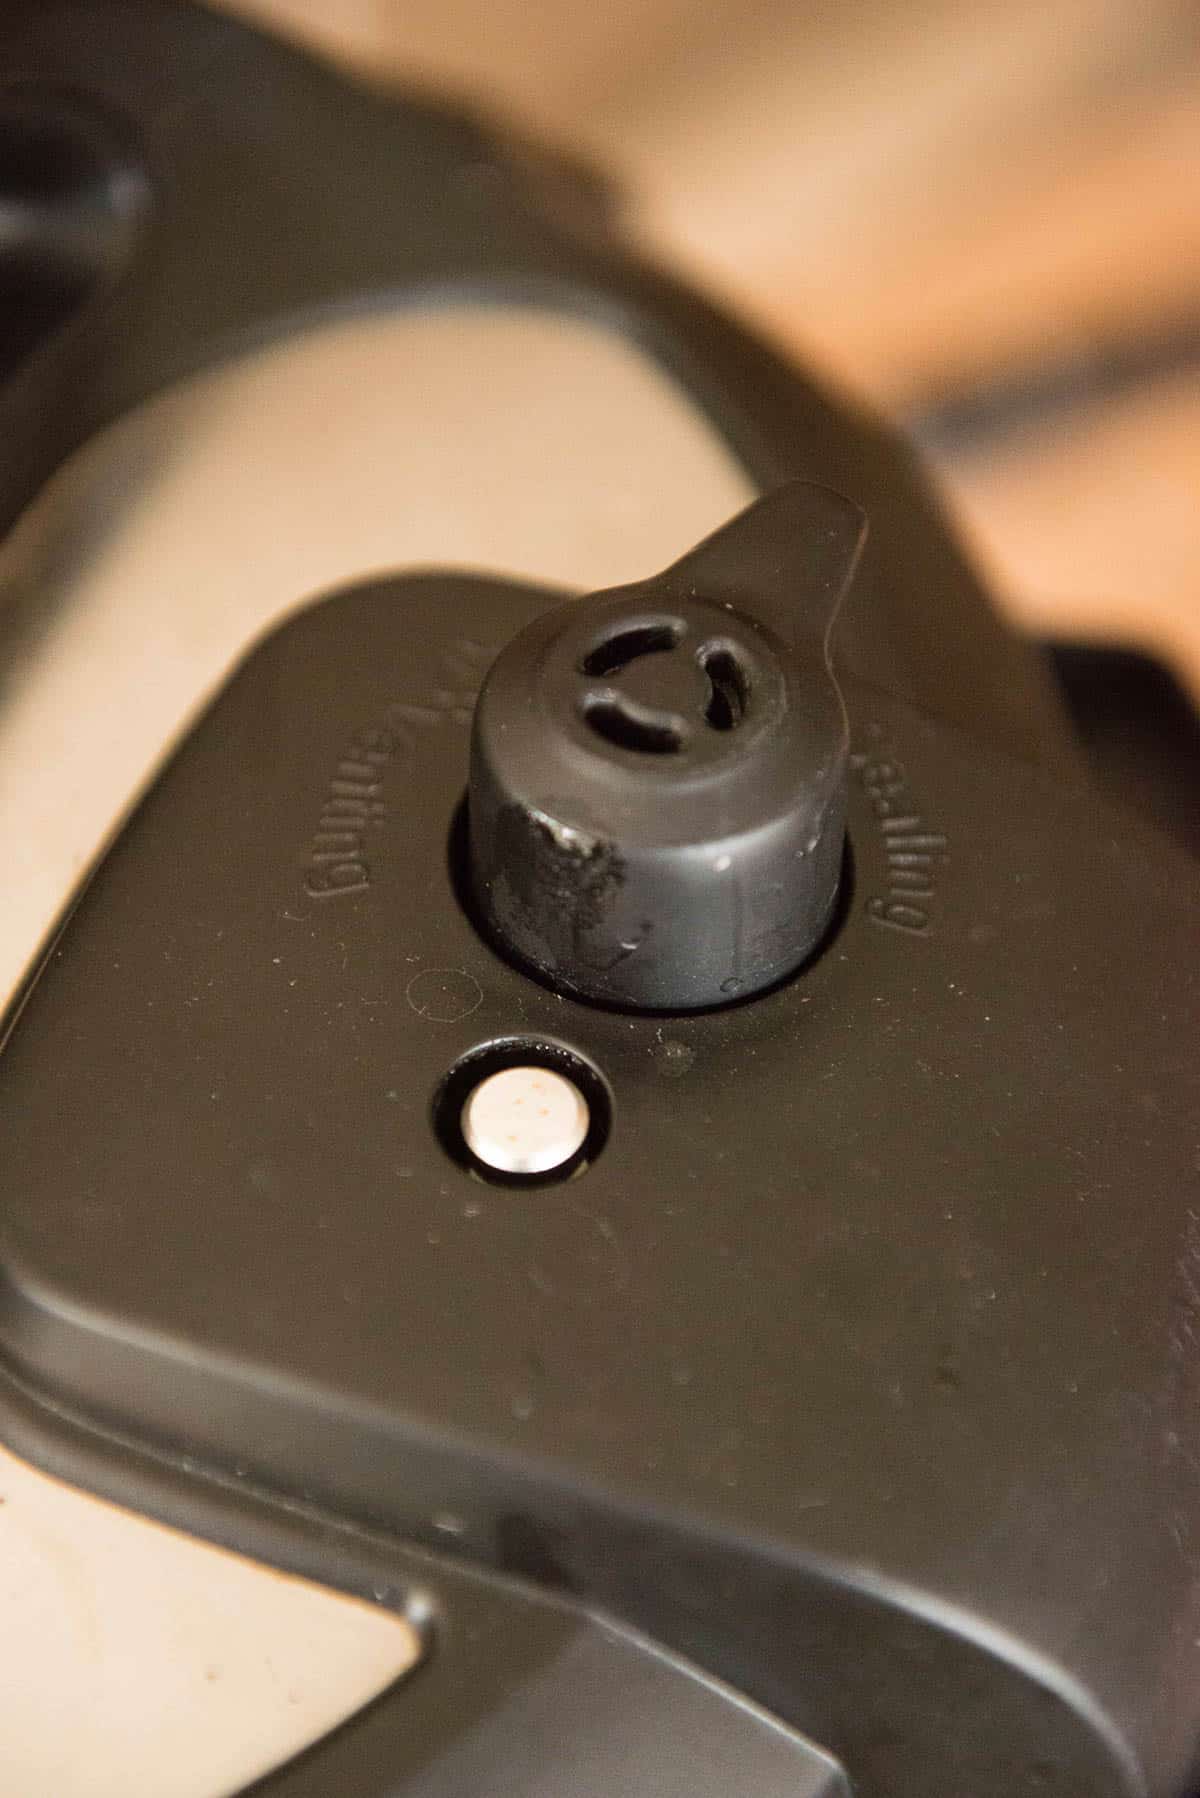
- Close the lid and cook the eggs at high pressure for 5 minutes. Be sure that you have the valve set correctly so that it comes to pressure. Once the 5 minutes are done, your Instant Pot will automatically go to the Keep Warm setting. Allow the eggs to remain for 5 minutes and then quick release the pressure.
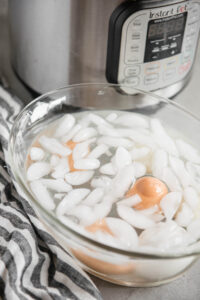
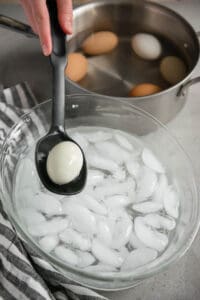
- Open the lid. The eggs may have cracked. This will just make them easier to peel. Use a slotted spoon to transfer the hot eggs to an ice bath for at least 5 minutes.

How to make hard boiled eggs on the stovetop
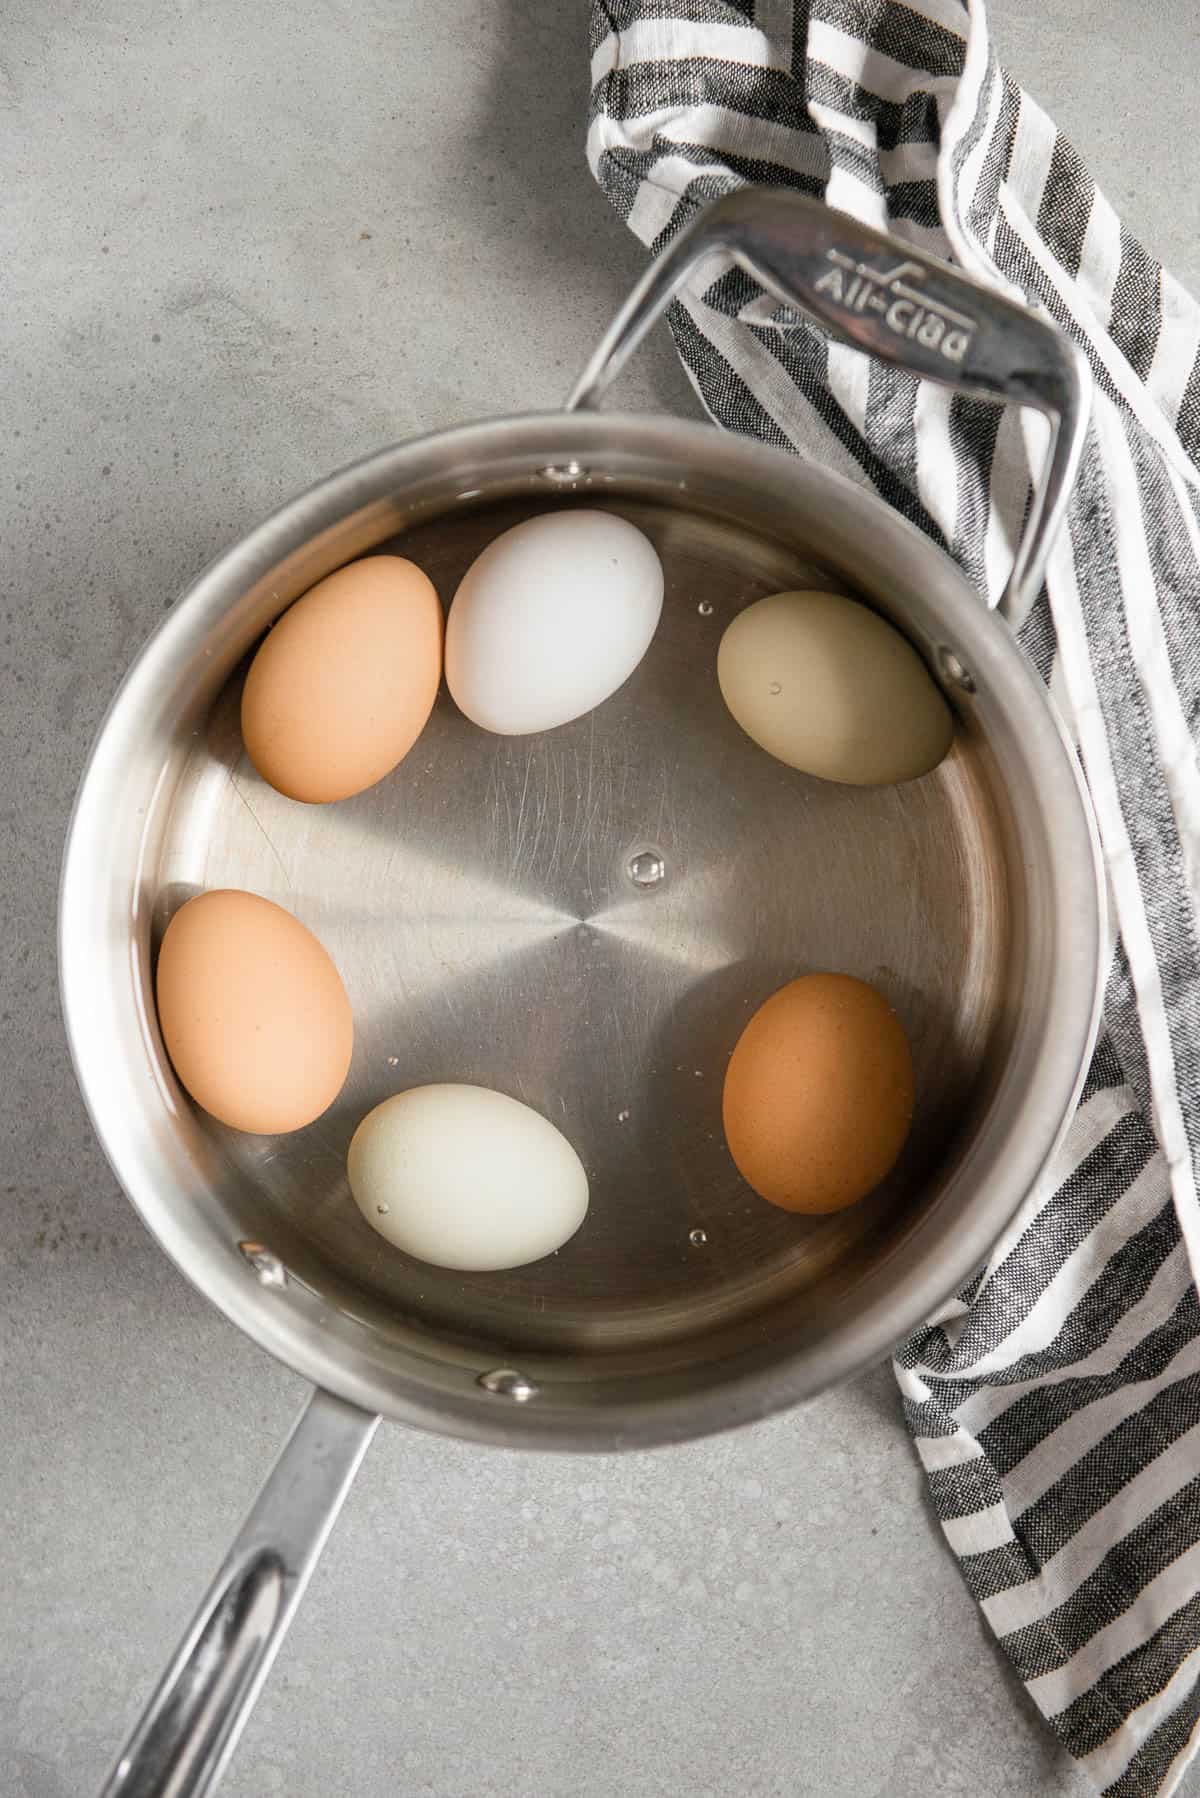
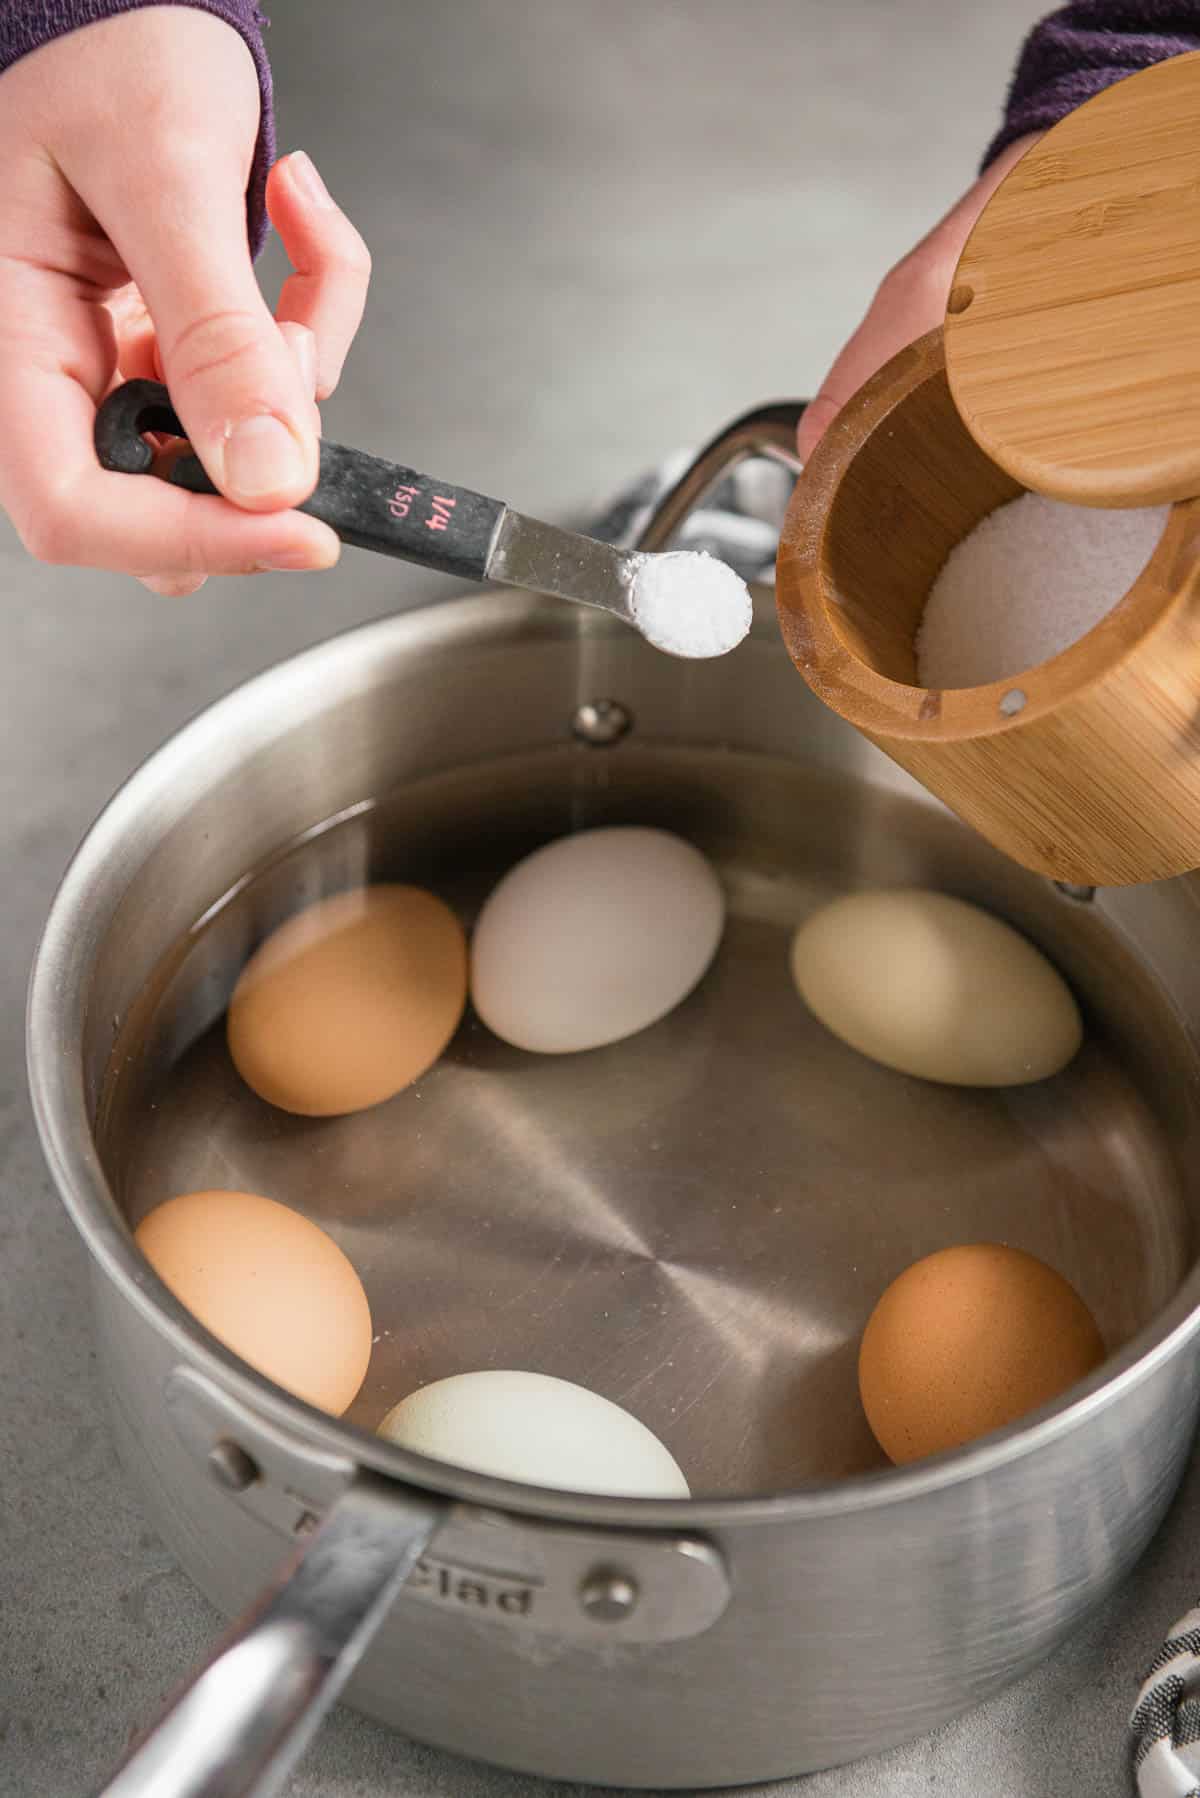
- Place the eggs in a pot and cover them with cold water so that the water level is about an inch above the top of the eggs.
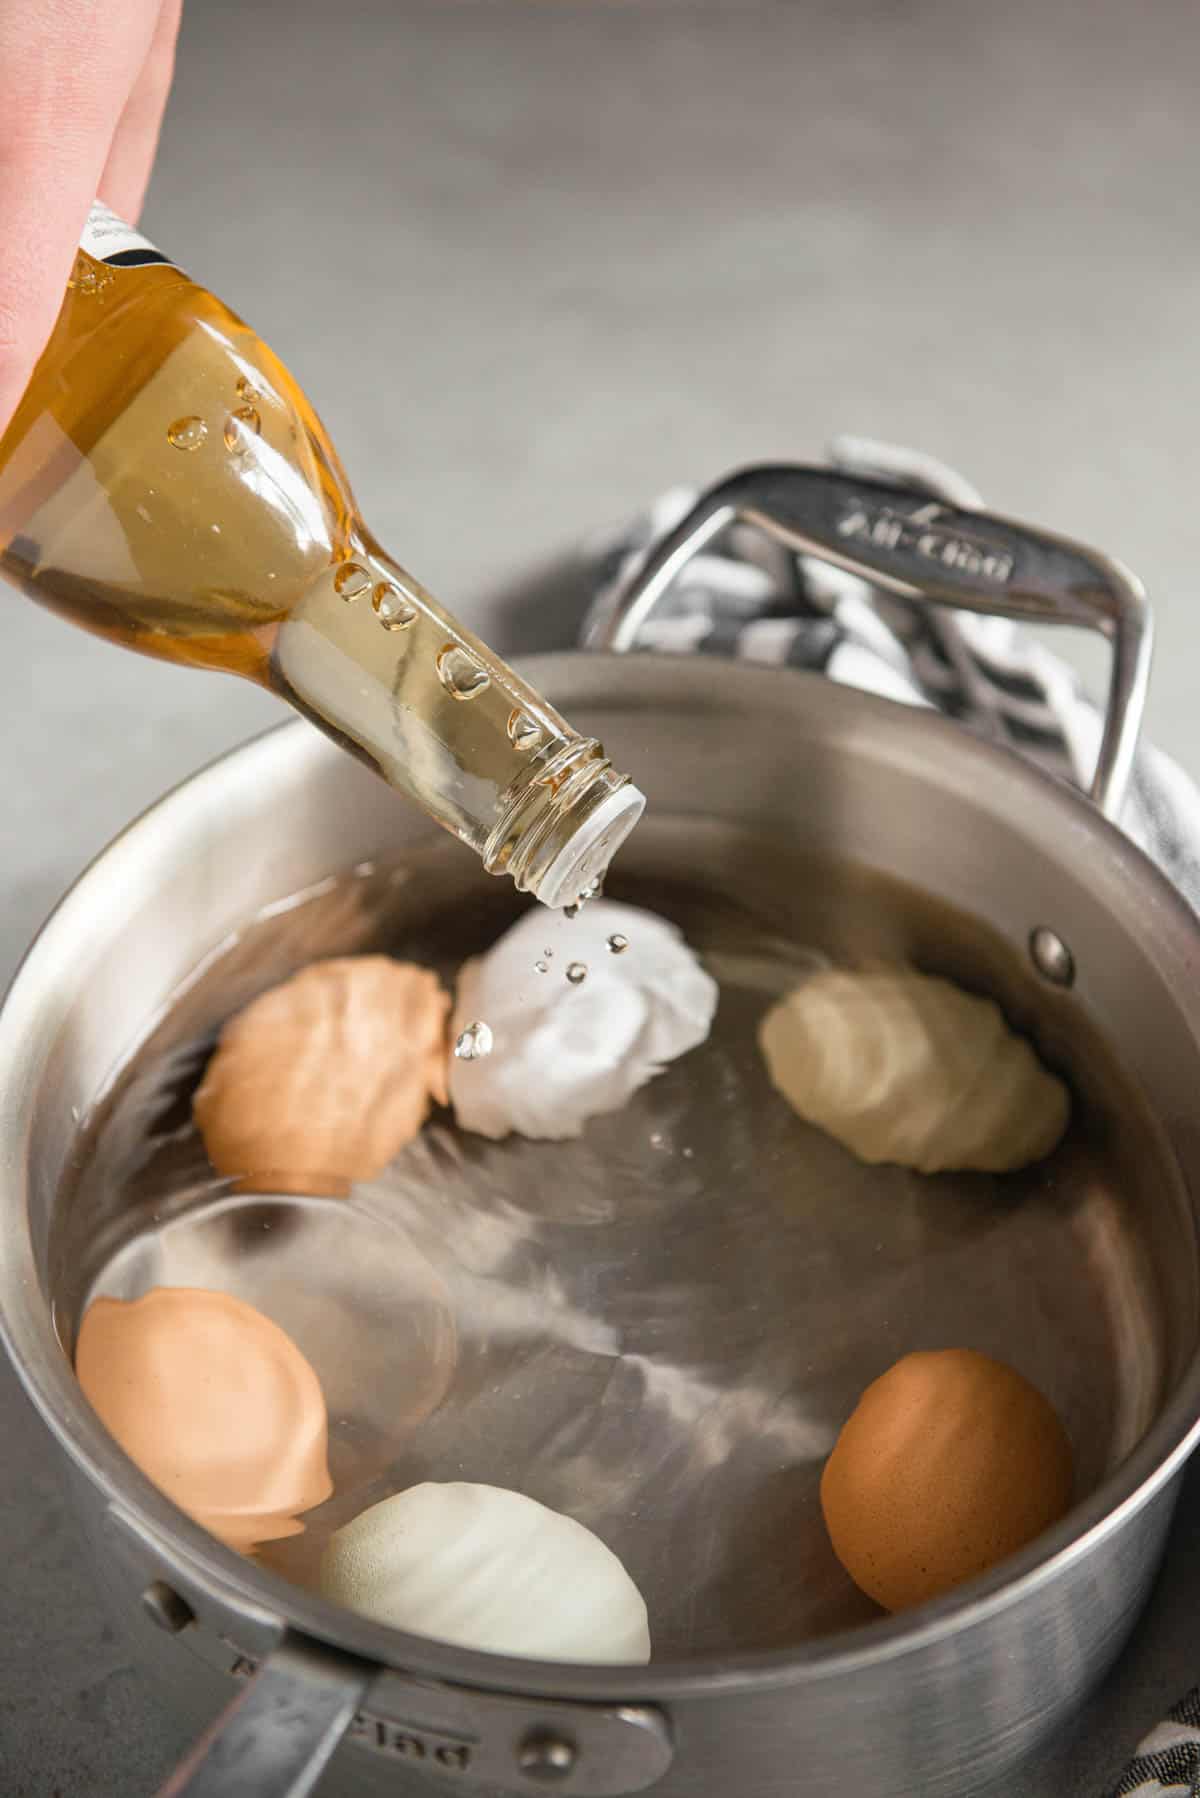
- I like to add some rice wine vinegar and salt to the pot. The vinegar helps the egg whites stay in the shell in case it cracks while cooking and the salt supposedly helps them peel, although I find it doesn’t help much with super fresh eggs.
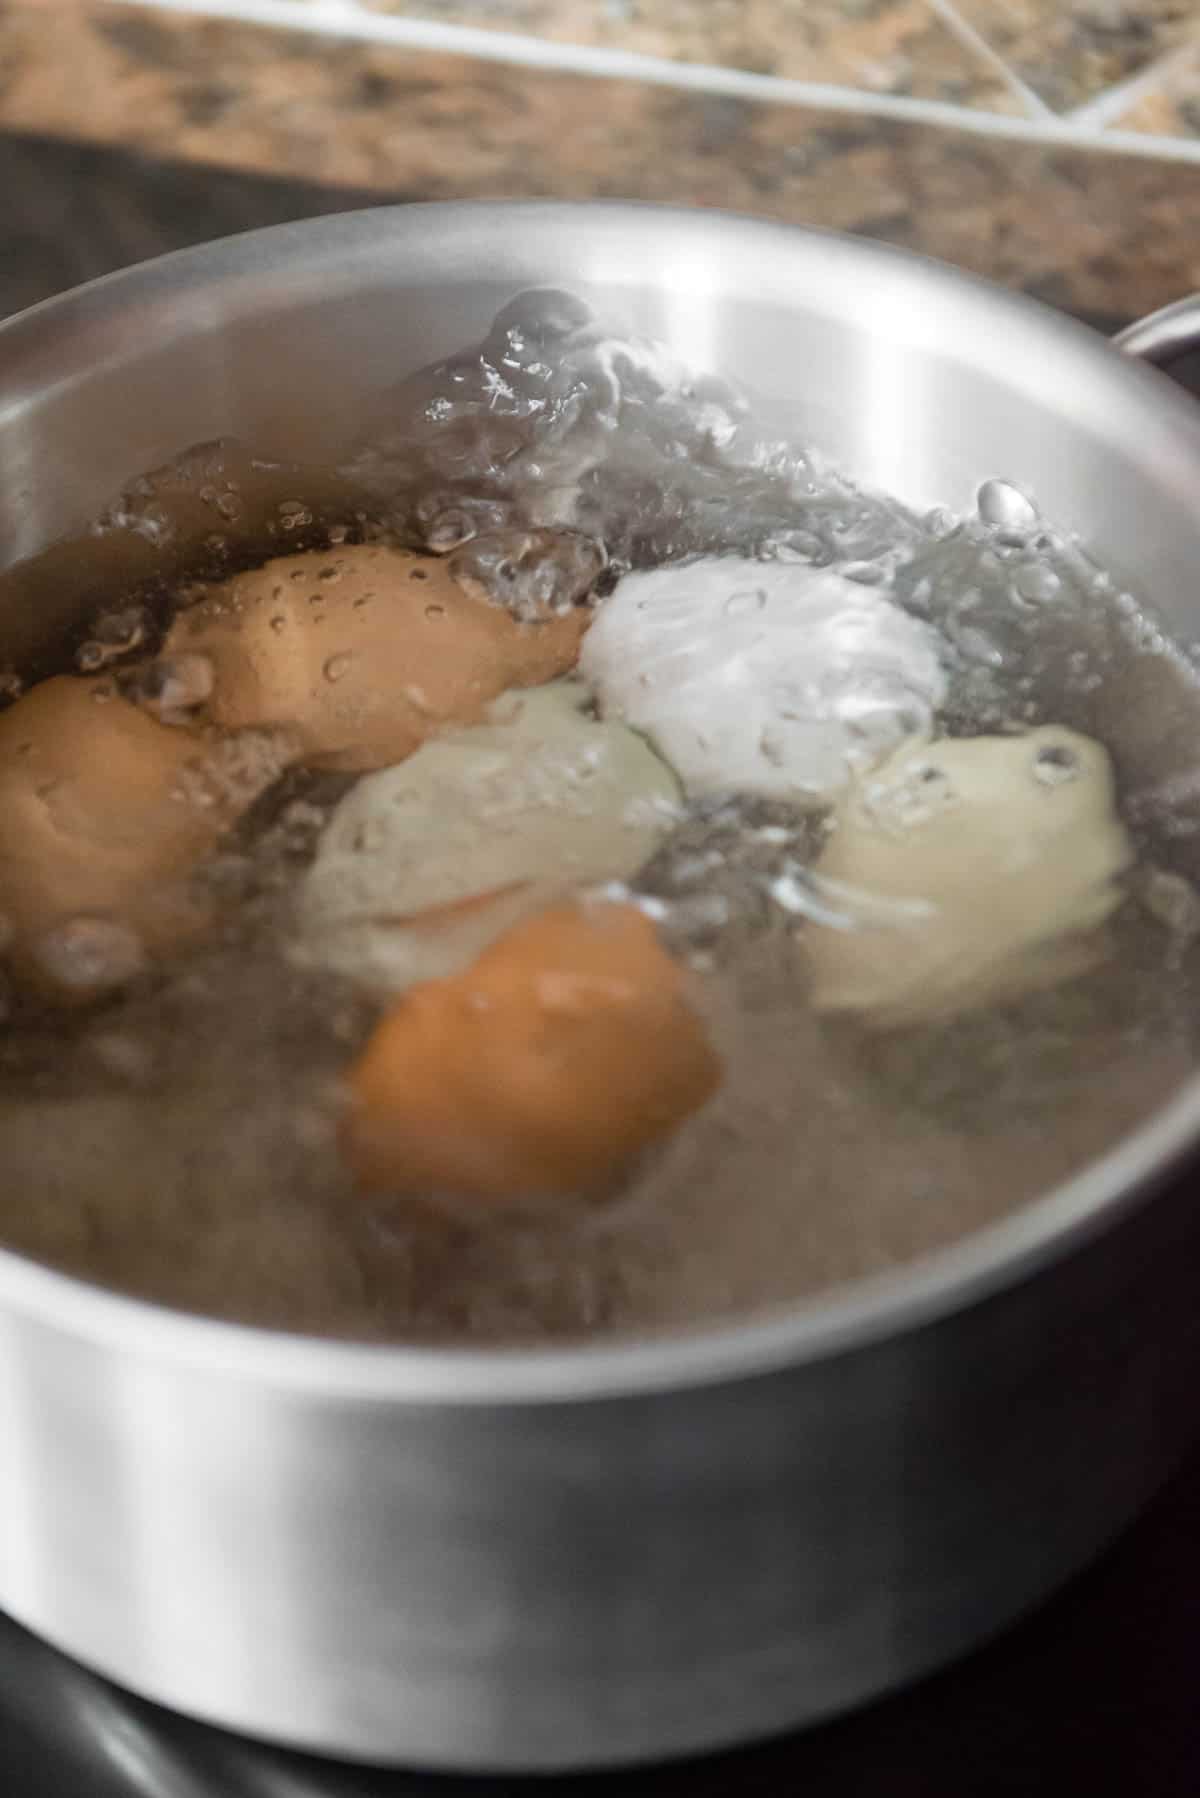
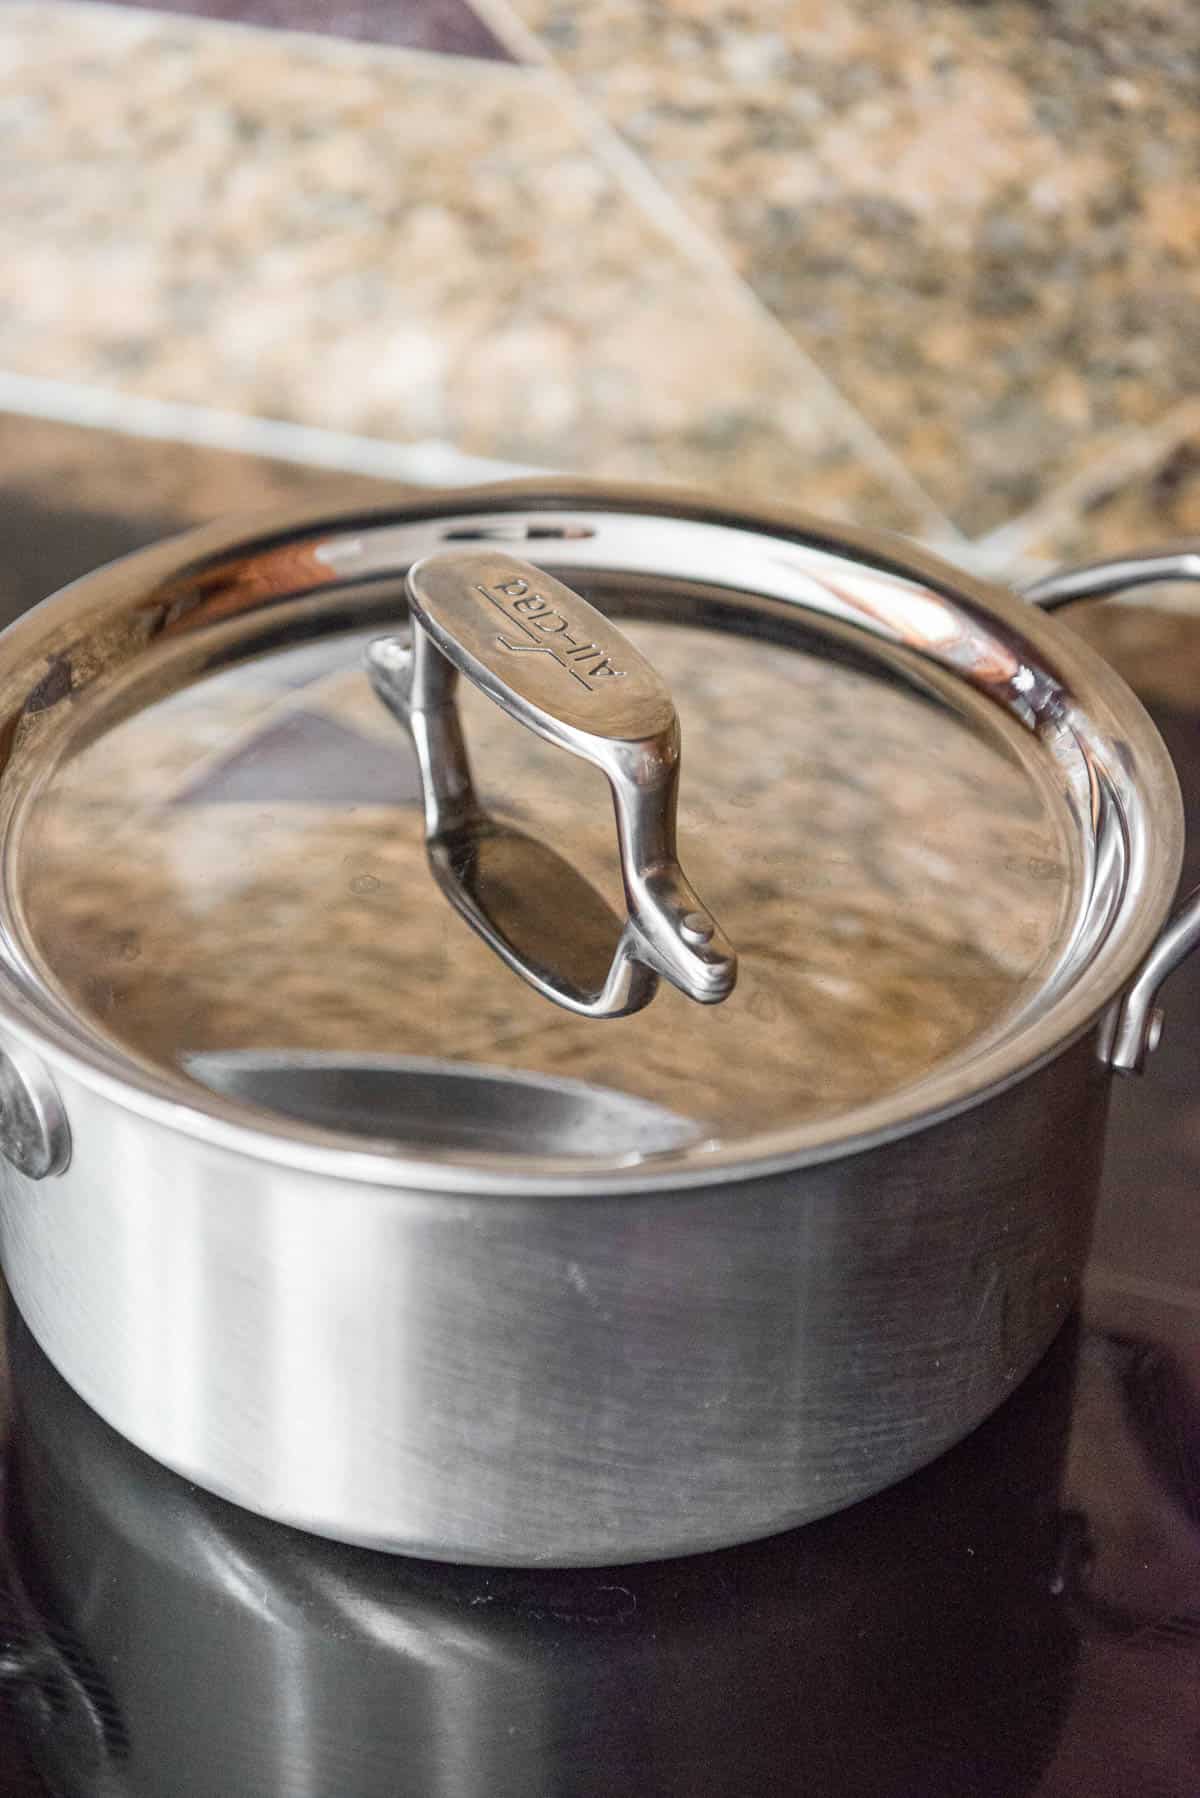
- Bring the water to a roiling boil over high heat for about a minute. Then, turn off the heat and cover the pot. Allow the eggs to sit in the pot like this for 10-12 minutes.
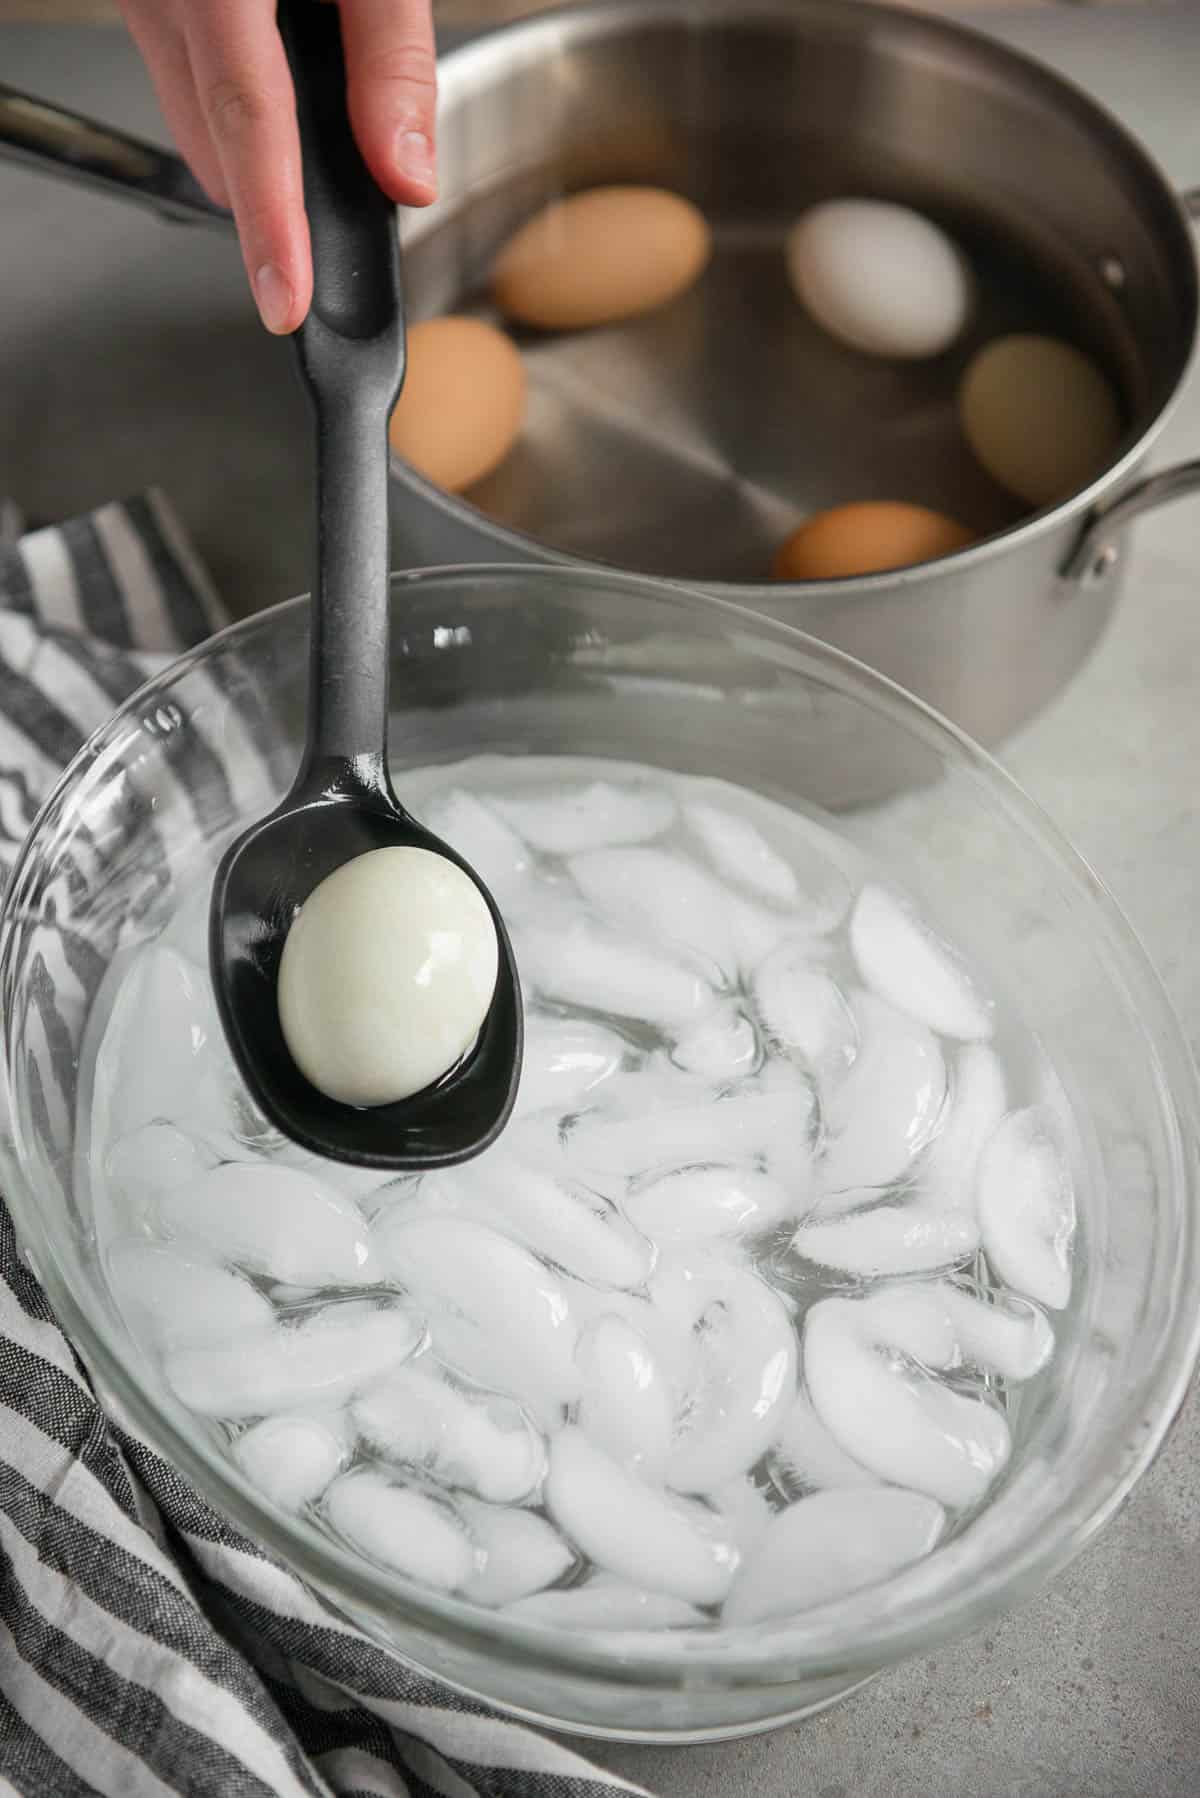
- Transfer the eggs to an ice water bath until they are completely cold.
Cooking Tips:
If using the Instant Pot:
- Make sure the seal on the lid is properly fit and the pressure valve is in the correct position. If it doesn’t properly come to pressure, this method won’t work.
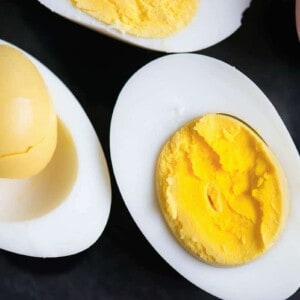
- I prefer the 5-5-5 method, but you can vary the times based on your preferred doneness of the yolks. This method, however, will create perfectly cooked, creamy yellow yolks and you won’t see that dreaded green ring on the outside of the yolks.
- Do not forget about your eggs once they have finished cooking and it’s on the warm setting. Be sure to set a timer!
If using the Stove Top:
- The type of stove you use will impact the resting period. If you have a gas range, keep the pot on the burner. If you have an electric range, you will need to move the pot away from the hot burner after a couple minutes because it remains too hot. Induction ranges will need to reduce the heat to low for a couple of minutes before turning the heat off.
- Lay eggs in a single layer. Take care not to overcrowd the eggs as they may crack while boiling.
- Older eggs will peel better when using this method.
Peeling tips:
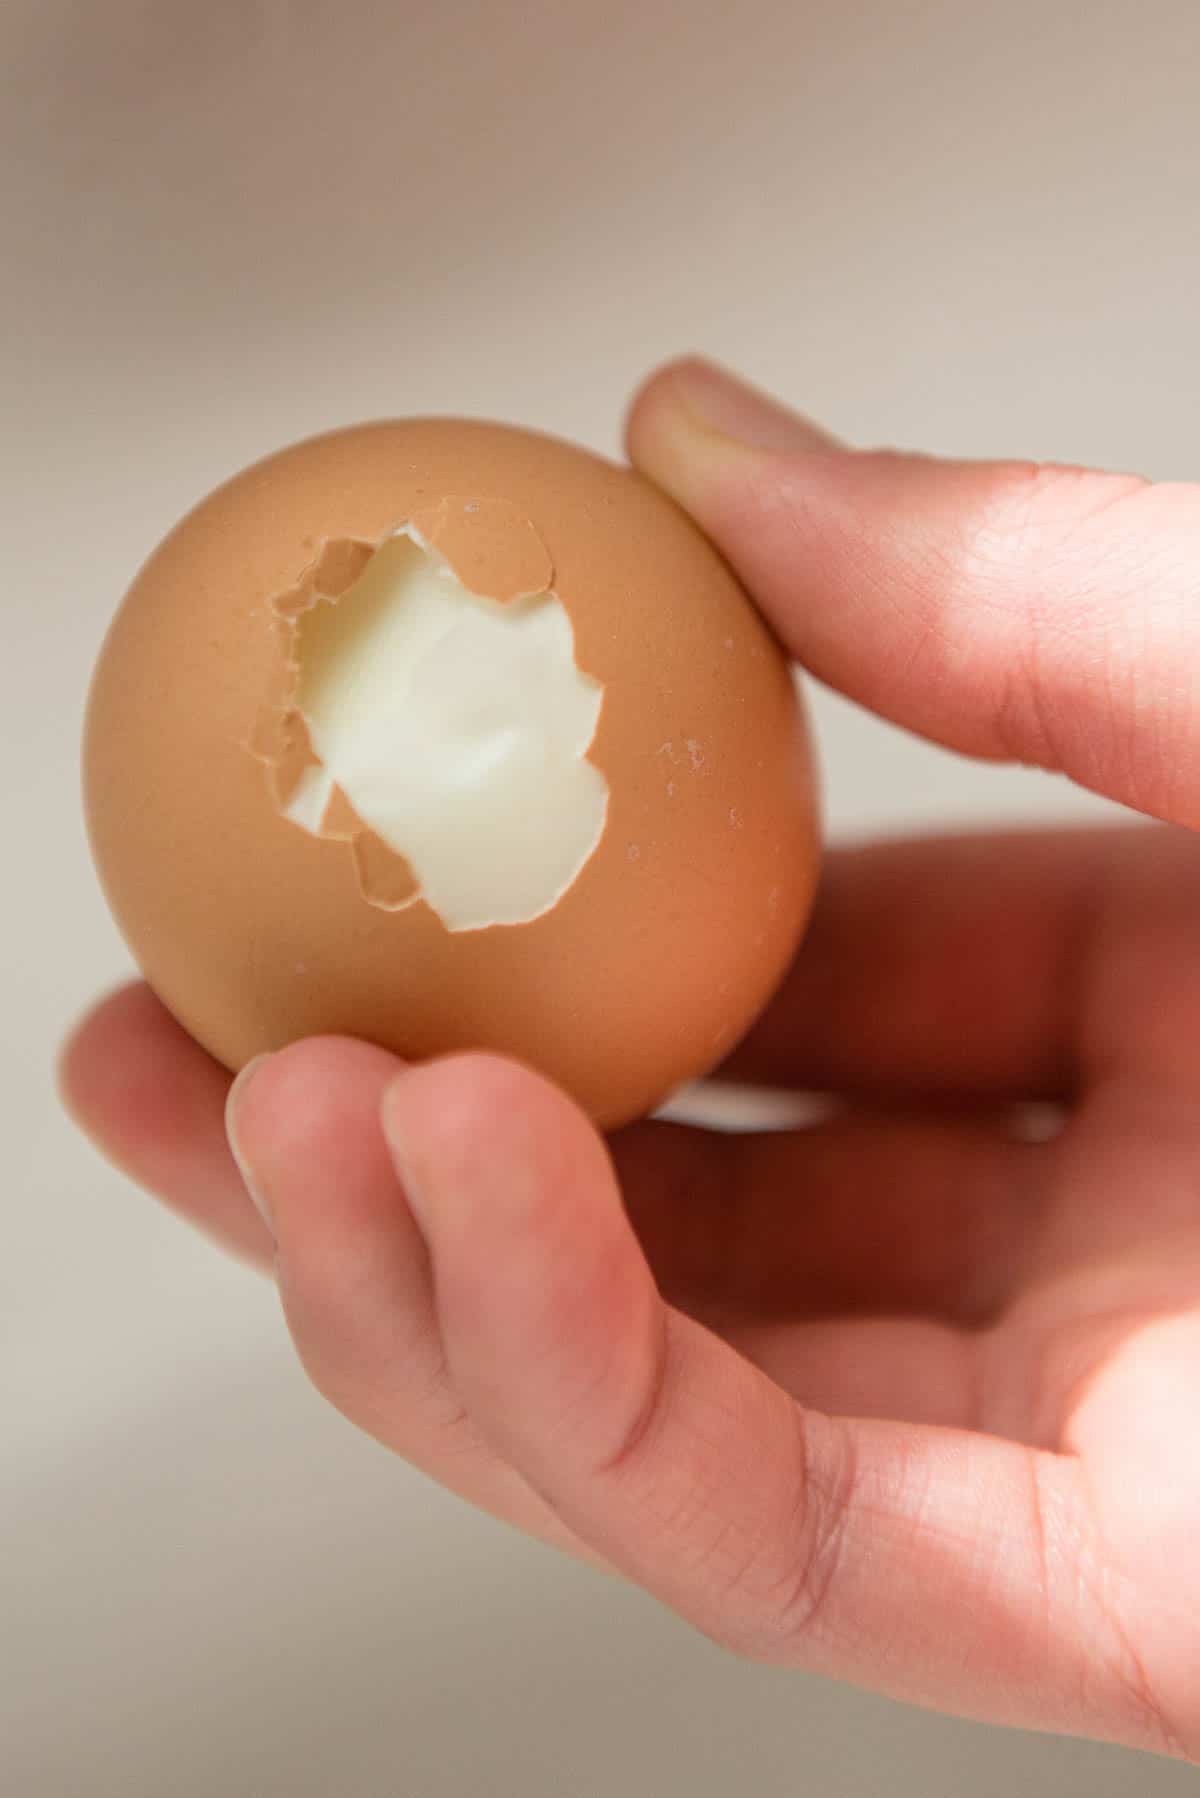
Every egg has a small pocket of air in between the shell and the egg. This is most often found at the round large end opposite the pointy end.
Give that spot a gentle tap on a hard surface and then peel away the shell.
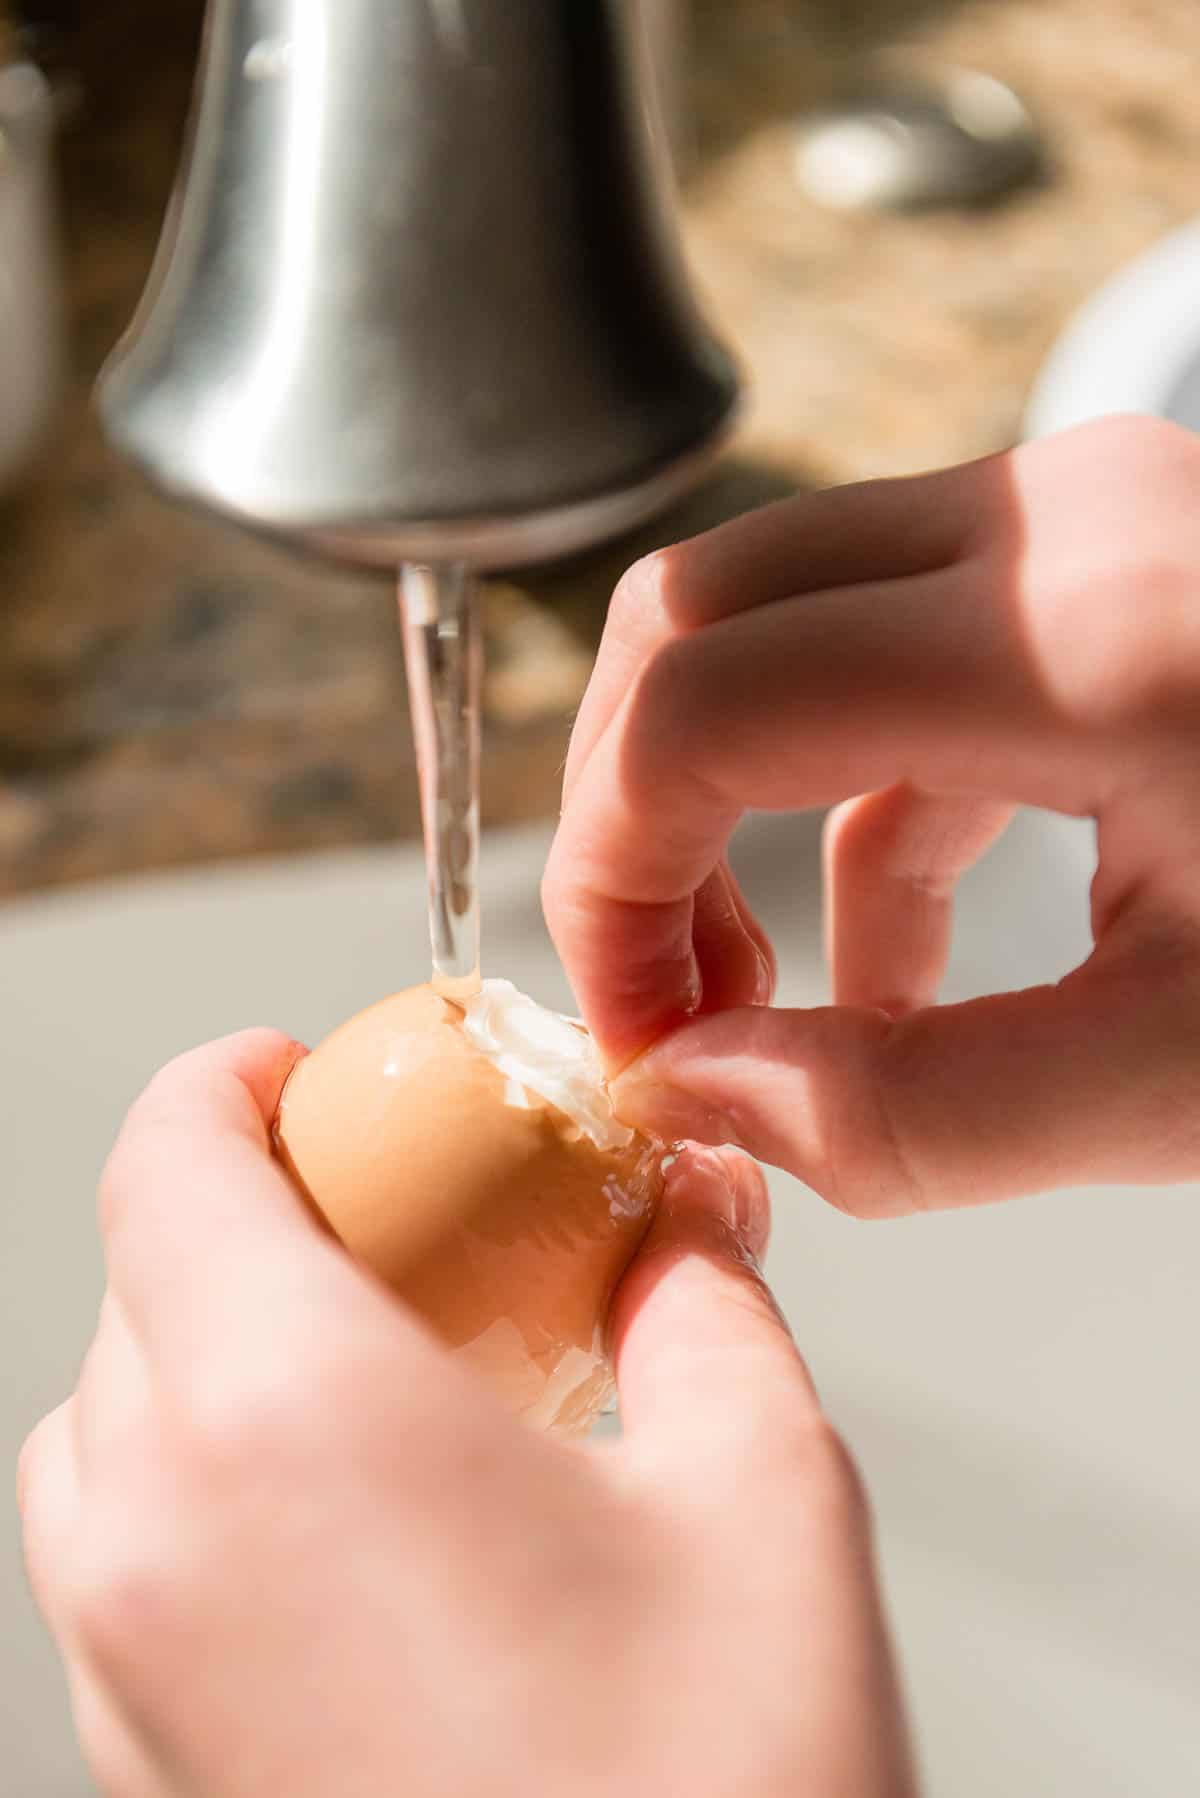
The easiest way to peel an egg is to separate the membrane from the egg. To do this, give the egg a gentle squeeze under cold running water. You should see the membrane pull away from the egg, and if you can get running water in that area, it will peel away easier.
This process is much more difficult when you cook the eggs on the stovetop. The Instant Pot, however, steams the eggs under pressure which makes the membrane stick to the shell instead of the egg, thus making it incredibly easy to peel.
Hard Boiled Egg FAQs
Boiling eggs for an extended period of time is not recommended. The rolling boil could crack the eggs. Instead, bring the water to a boil with the eggs and then turn off the heat. They should be done in about 10-12 minutes.
The 5-5-5 method in the Instant Pot will produce the best results.
You must submerge the hot eggs in a large bowl of ice water. This provides rapid cooling and causes the freshly cooked egg whites to contract and pull away from the shell, thus making it easier to peel.
There’s no real way to tell based on the appearance of the eggs, so you must follow a recipe like this and then adjust the time and temperature the next time you make them, if necessary.
Hard-boiled eggs keep well in the refrigerator and make for a quick and easy protein-packed snack. To avoid having your entire refrigerator smell like eggs, keep them in an airtight container. They are best if consumed within 3-5 days.
Best recipes to make with hard boiled eggs:
Besides eating them as a quick snack with some salt and pepper, I love to make both deviled eggs and egg salad when I hard boil my eggs. Here are some of my favorite recipes.
- Classic Deviled Eggs
- Bacon Jalapeño Deviled Eggs
- Dill Pickle Deviled Eggs
- Avocado Deviled Eggs
- Peperoncini Deviled Eggs
- Green Chile Deviled Eggs
- Bacon Sriracha Deviled Eggs
- Avocado Egg Salad
- Mini Bacon Jalapeno Egg Salad Sandwiches
- Deviled Egg Potato Salad

Did you make this recipe? Be sure to leave me a comment and let me know what you think!
Pin this now to save it for later
Pin ItHow to Make Perfect Hard Boiled Eggs
Ingredients
- 12 eggs
- 2 tablespoons rice wine vinegar not needed if using Instant Pot
- 1/2 teaspoon salt not needed if using Instant Pot
Instructions
Instant Pot (recommended):
- Arrange 12 eggs in single layer on rack. Add 1 cup cold water. Close lid and make sure pressure valve is seated correctly.
- Cook on high pressure for 5 minutes. Once done, allow eggs to sit undisturbed while Instant Pot transitions to Keep Warm Setting. Release pressure and open lid.
- Transfer eggs to ice water bath for at least 5 minutes. Peel and enjoy.
Stove top:
- Arrange eggs in a single layer in a pot. Cover with at least an additional inch of cold water. Add 2 tablespoons rice wine vinegar and 1/2 teaspoon salt to water.

- Turn heat on high and heat, uncovered, until the water starts to boil. Don’t cheat here. Wait for a real boil.

- Cover and turn heat off. Allow to sit in covered pot for 10-12 minutes. Use that kitchen timer because you will forget.

- Drain off hot water and immediately submerge eggs into ice water. Ensure there’s enough ice so that it doesn’t all melt. Allow to sit in ice water for at least 15 minutes.
Notes
Cooking Tips:
If using the Instant Pot:
- Make sure the seal on the lid is properly fit and the pressure valve is in the correct position. If it doesn’t properly come to pressure, this method won’t work.
- I prefer the 5-5-5 method, but you can vary the times based on how done you like your yolks. This method, however, will create perfectly cooked, creamy yellow yolks.
- Do not forget about your eggs once they have finished cooking and it’s on the warm setting. I did this once and they sat for an hour. The eggs were inedible!
If using the Stove Top:
- The type of stove you use will impact the resting period. If you have a gas range, keep the pot on the burner. If you have an electric range, you will need to move it off of the hot burner after a couple minutes because it remains too hot. If you have an induction burner, you will need to reduce the heat to low for a couple minutes before turning off.
- Take care not to over crowd the eggs as they may crack while boiling.
- Old eggs will peel better when using this method.
Nutrition
Nutrition information is automatically calculated, so should only be used as an approximation.
This recipe was originally published in June 2014. It has been updated with the Instant Pot method, new photos, and helpful tips and tricks.


Great information! Works every time! Thank you for the tips!
Can you use apple cider vinegar
Yep! -Krissy
We made these as an addition to a yummy kale salad and they were, uh, perfect! Thx!!!
I’m so happy you let me know!!! -Krissy
If this works, I’m gonna make out with you.
I will hold you to it, Laura!
So, we’re gonna have to make out because this works SO WELL. I hardboil a ton of eggs every week for my kids’ breakfast. Before I was adding the rice wine vinegar, I would be tediously picking off stupid bits of shell from the eggs and it was driving me crazy. Now, they peel so nicely… just slide right off! It is rare that I have a problem, and even when I do, it’s just that a little bit of the outer part of the egg sticks to the shell. Nothing major. This is a HUGE time saver. I was just adding rice wine vinegar to my grocery list and figured I should tell you how great this has been. Self Proclaimed Foodie: saving moms’ sanity one recipe at a time. Thank you!