This post may contain affiliate links. Please read our disclosure policy.
If you’ve never made homemade pasta before, or you have and weren’t thrilled with the results, you’re in luck. This is in my top ten most viewed recipes and everyone agrees – this is the best homemade pasta recipe!
Read below to see step-by-step photos and a video detailing the ingredients and process. Whether you have a pasta roller or plan on rolling and cutting it by hand, you’ll get amazing results, with or without any special equipment.
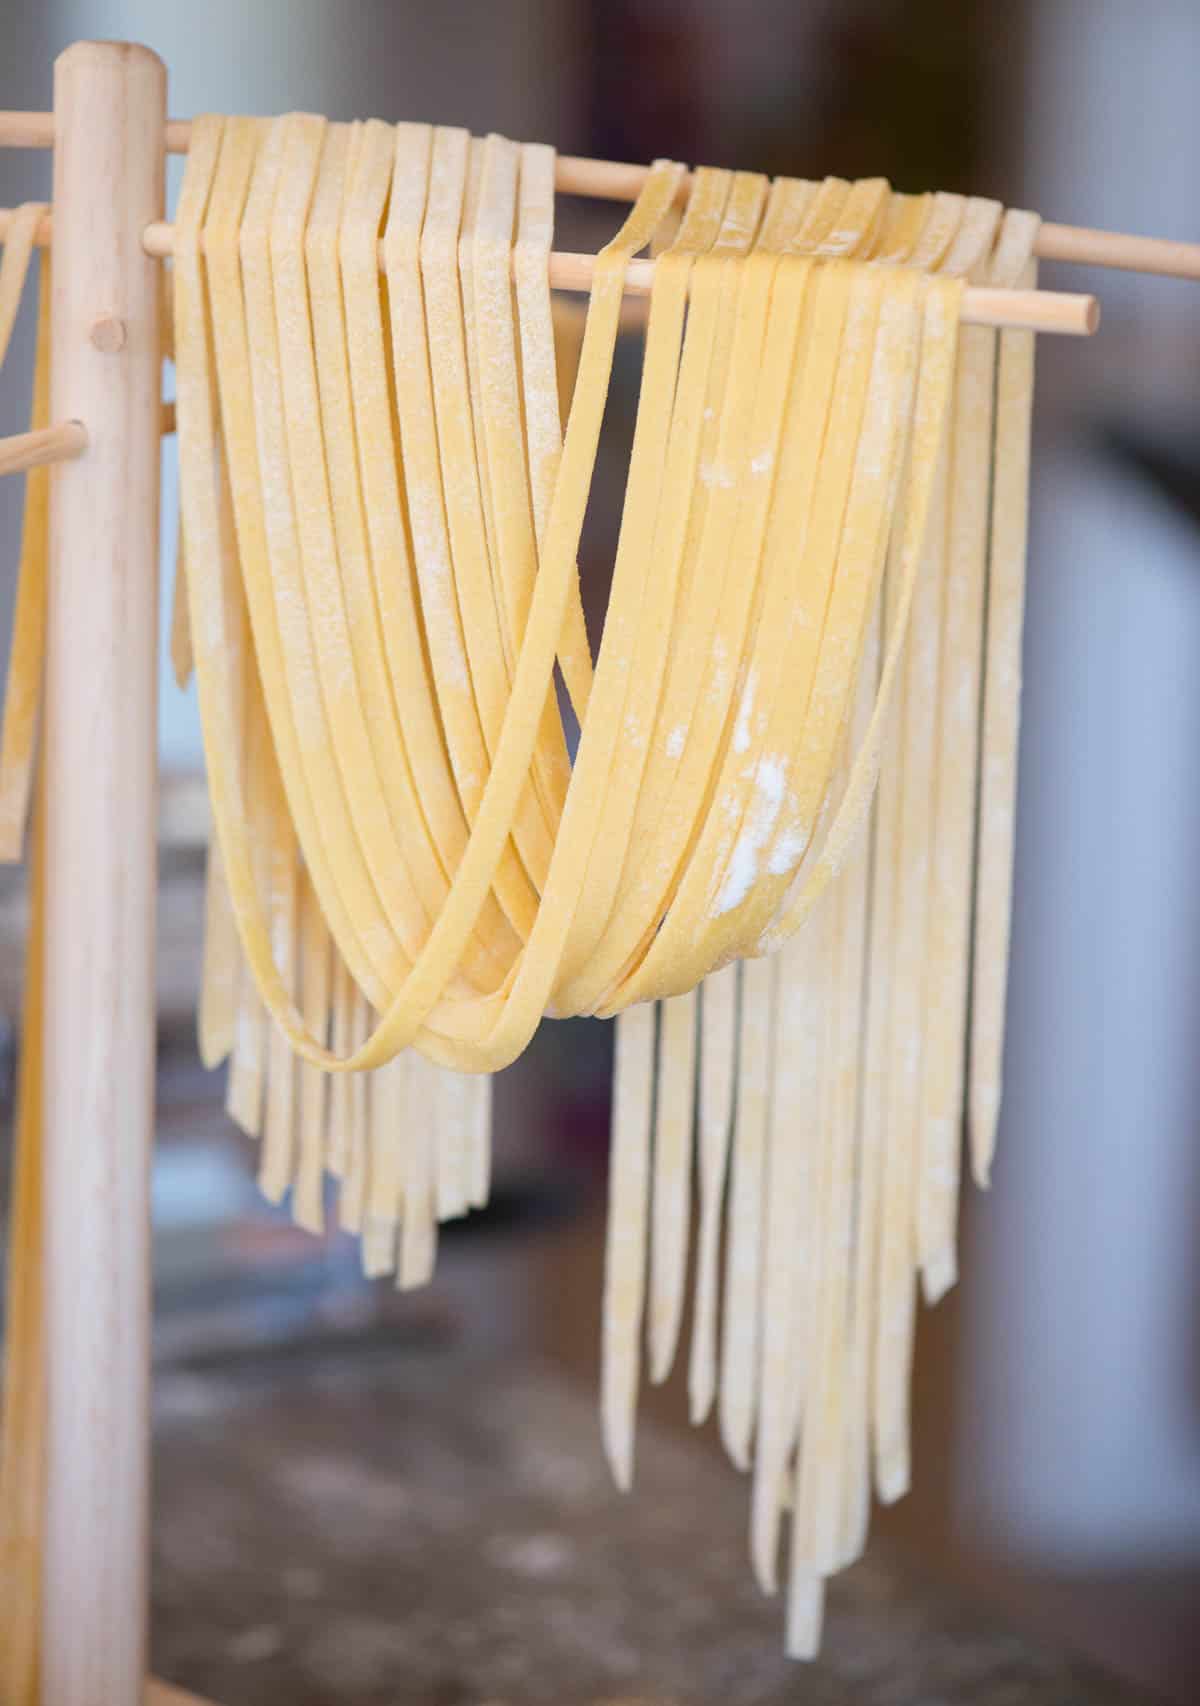
Table of Contents
- Why I Love This Recipe
- Ingredients Needed to Make Homemade Pasta
- How to Make Fresh Pasta Dough
- Option 1: Pasta Dough by Hand
- Option 2: Pasta Dough With a Stand Mixer
- Option 3: Pasta Dough With a Food Processor
- Pasta Dough Must Rest
- How to Roll and Cut Fresh Pasta
- Option 1: Roll and Cut by Hand
- Option 2: Roll and Cut with a Pasta Roller
- What to Do with the Freshly Made Homemade Pasta
- How to Cook Fresh Pasta
- Best Way to Dry Fresh Pasta
- Storage recommendations
- Recipe Tips for Best Results
- Recipe Variations and Substitutions
- What to Serve With Homemade Pasta
- Common FAQs
- Homemade Pasta Recipe
- Tips for using a pasta roller:
Why I Love This Recipe
Homemade Pasta is something everyone should make at least once in their lifetime. It’s fun to make and it is so much more delicious than dried pasta you buy at the store.
- Simple ingredients
- Perfect flavor and texture – The pasta not only tastes great, but the texture is absolutely perfect – soft with a “bite”.
- Recipe is easy to follow – I’ve taken many pasta-making classes and have taught many friends how to make my semolina pasta recipe as well. I have the technique down! Even beginner cooks will agree.
Ingredients Needed to Make Homemade Pasta
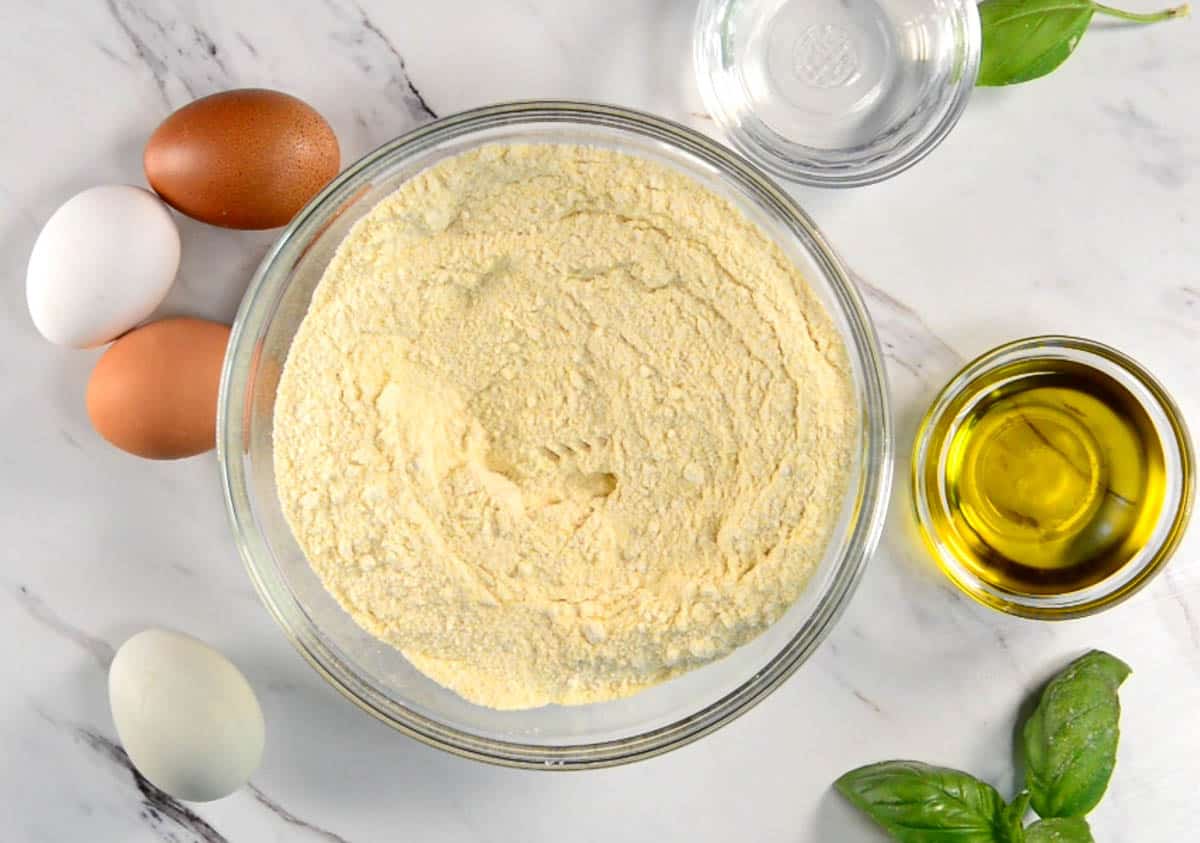
My pasta dough consists of olive oil, water, room temperature eggs, and equal parts all-purpose flour and semolina flour.
The exact quantities are listed in the recipe card below.
How to Make Fresh Pasta Dough
There are two parts to making homemade pasta – making the pasta dough and rolling it out. We’ll break the process down into two detailed sections.
Option 1: Pasta Dough by Hand
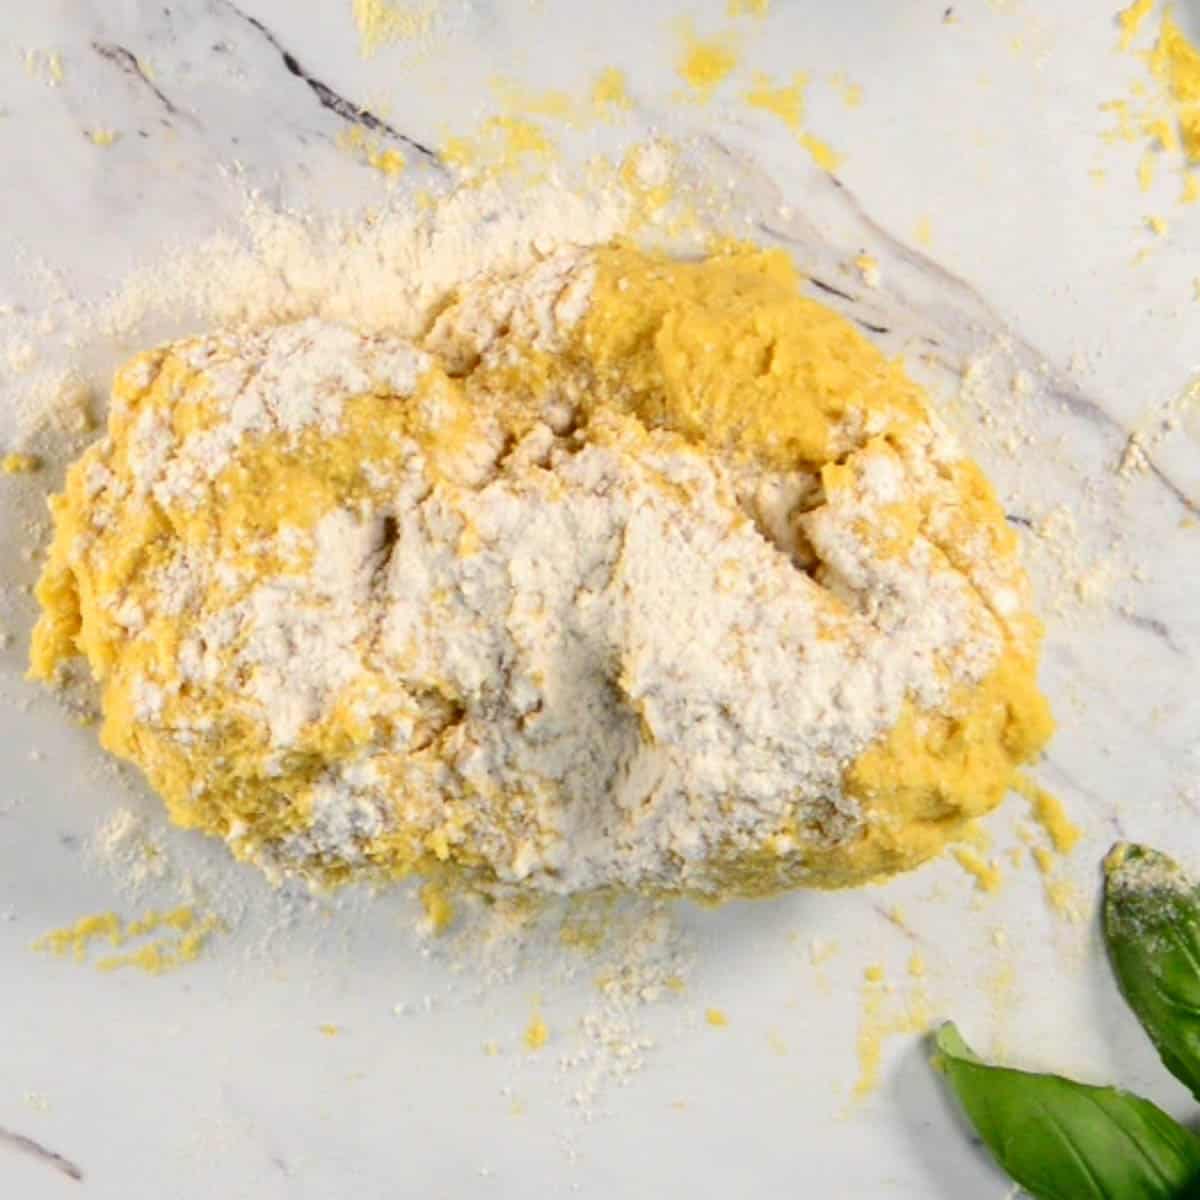
You will start by combining the flour with the salt and placing them on a clean work surface.
Make a well in the center of the flour and add the eggs and the olive oil.
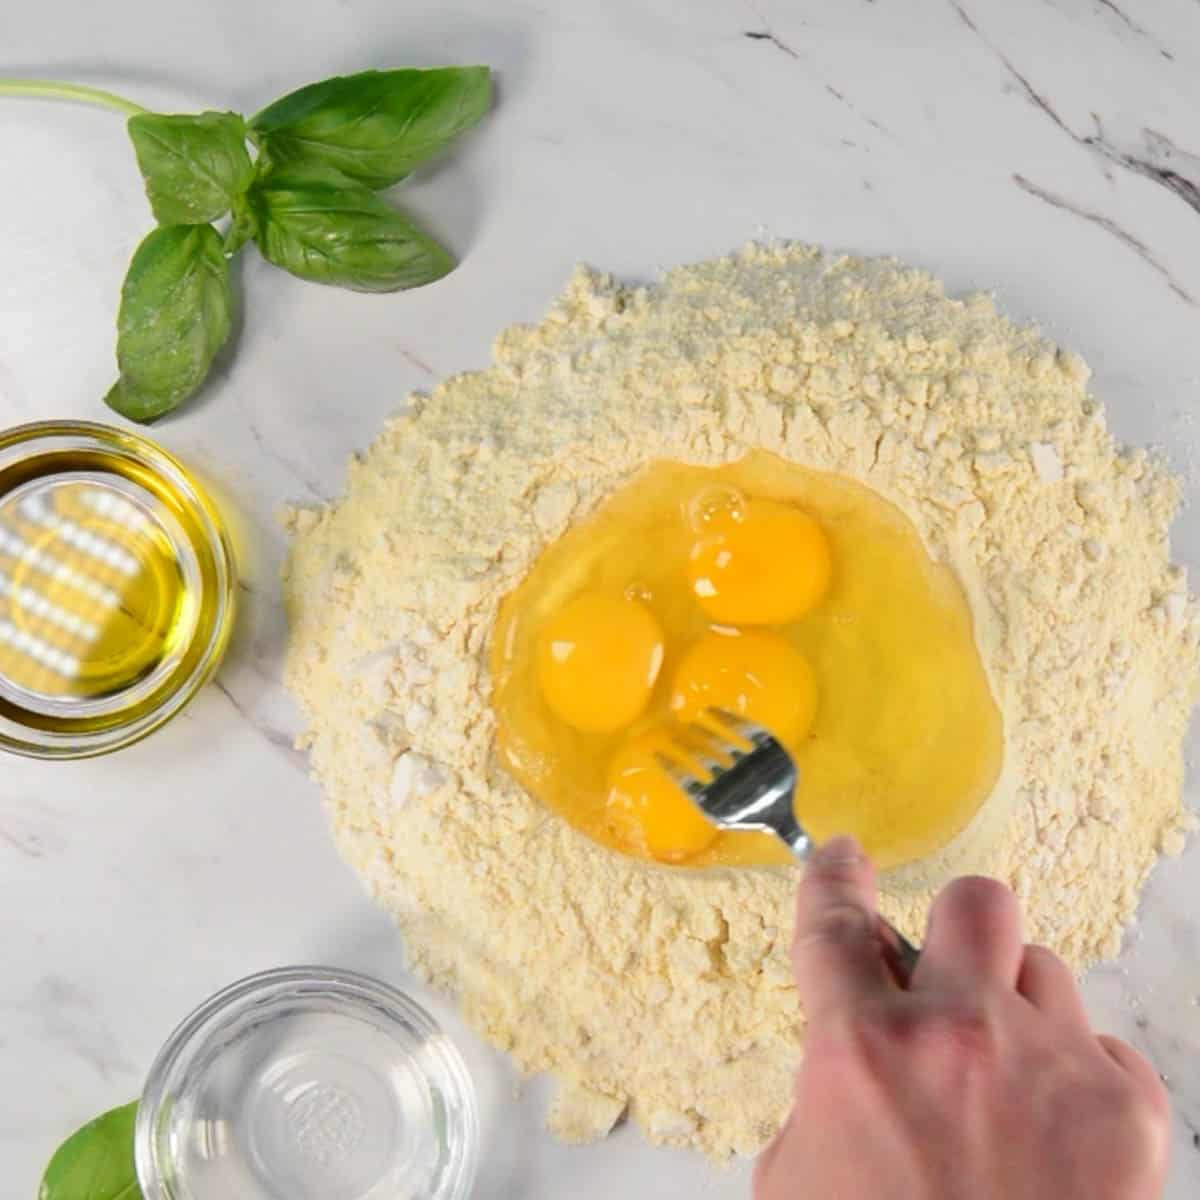
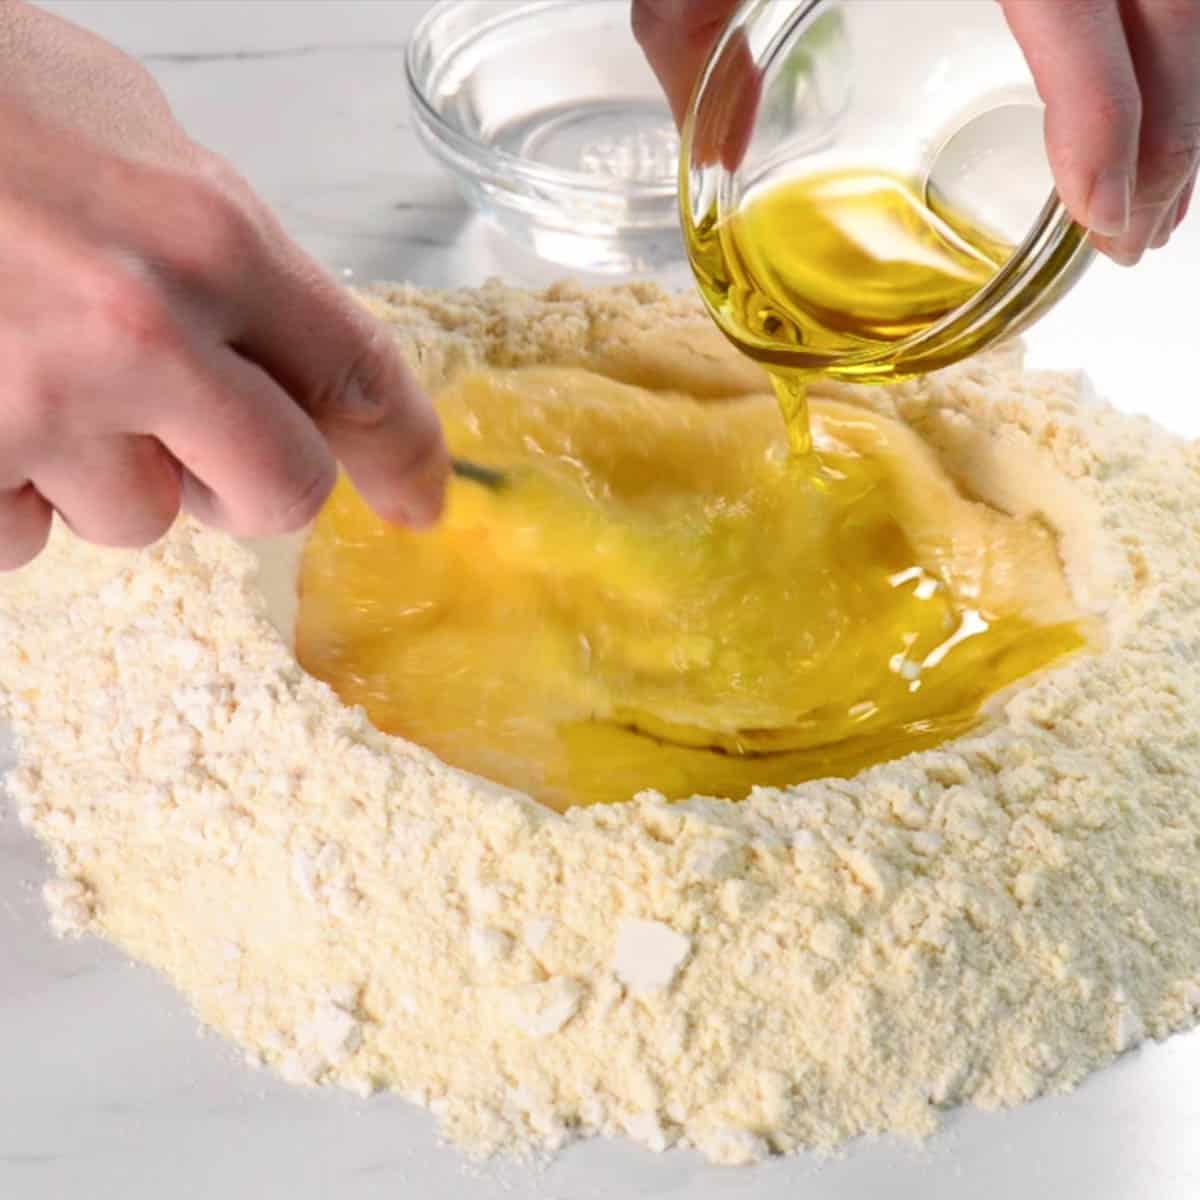
Use your hands to incorporate the mixture and then work in the water. If the dough is sticky, sprinkle with a little bit of flour until it is no longer sticky.
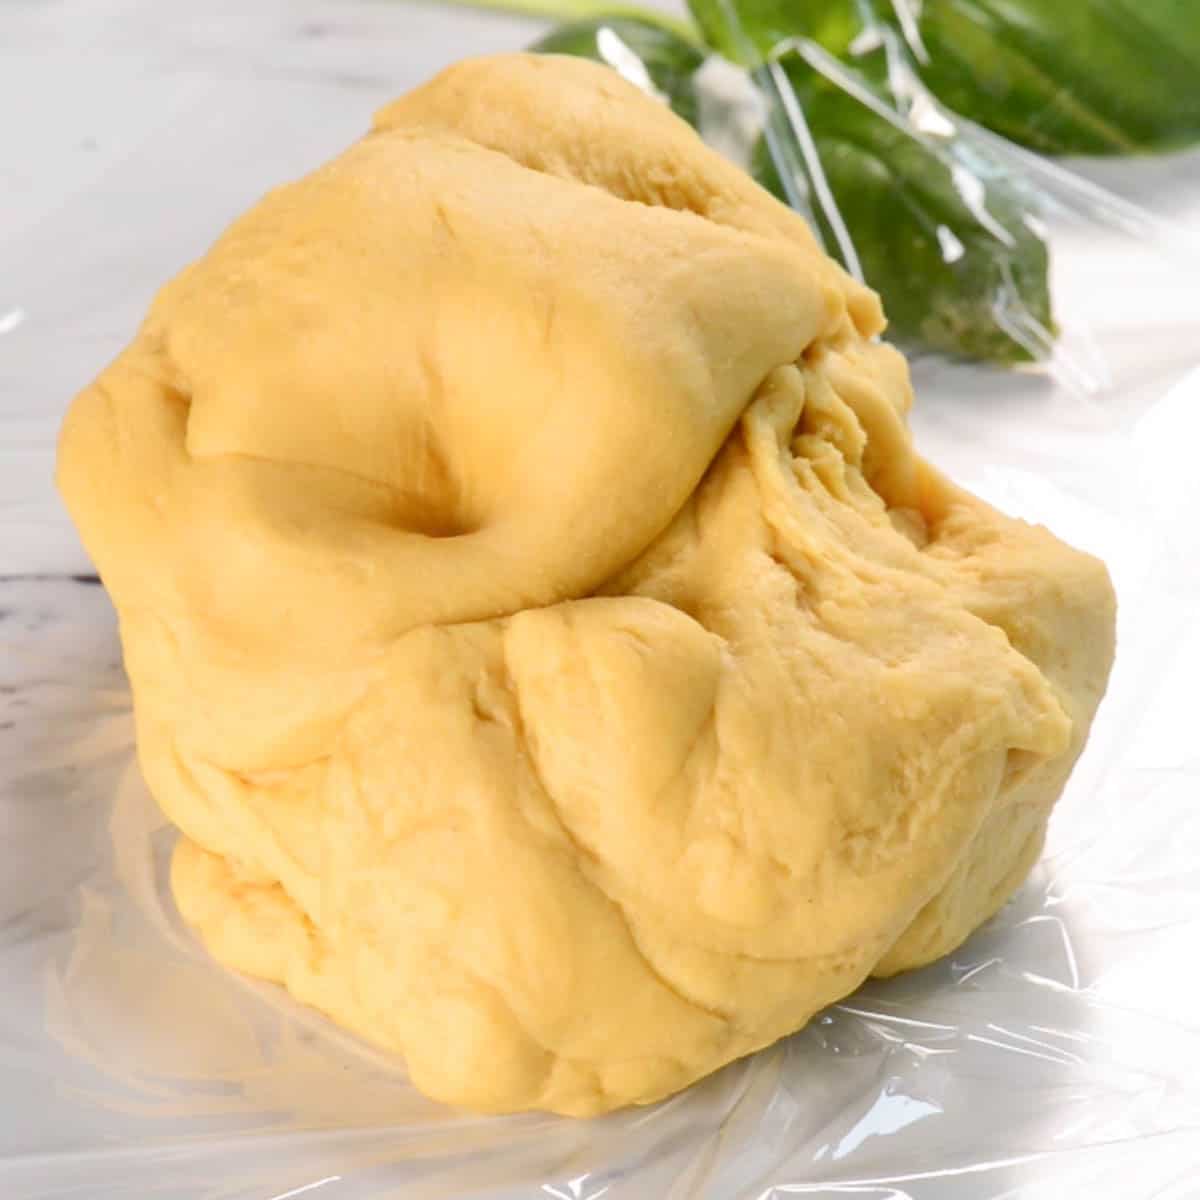
Knead the dough by hand for at least 10 minutes to activate the gluten. This is hard work as the dough is quite firm.
Option 2: Pasta Dough With a Stand Mixer
- If you have a KitchenAid mixer with a dough hook, combine all of the ingredients in the bowl of a stand mixer. Start mixing on low speed and add small amounts of flour until the dough forms a ball that is no longer sticking to the sides.
- Knead the dough on medium speed for 10 minutes.
Option 3: Pasta Dough With a Food Processor
- If you have a large heavy-duty food processor with a dough blade, you can use it to mix and knead the pasta dough.
- Add all of the ingredients to the bowl of a food processor and pulse to combine the ingredients. Add additional flour until the dough forms a ball and is no longer sticking to the sides.
- Knead the dough in the processor for ten minutes.
Pasta Dough Must Rest
Wrap the ball of dough in plastic wrap, place it in a plastic bag, or cover it with a kitchen towel.
Let the dough rest for at least 30 minutes before you begin to roll it out. This rest period allows the flour to absorb the liquid and hydrate. It also allows the gluten to relax.
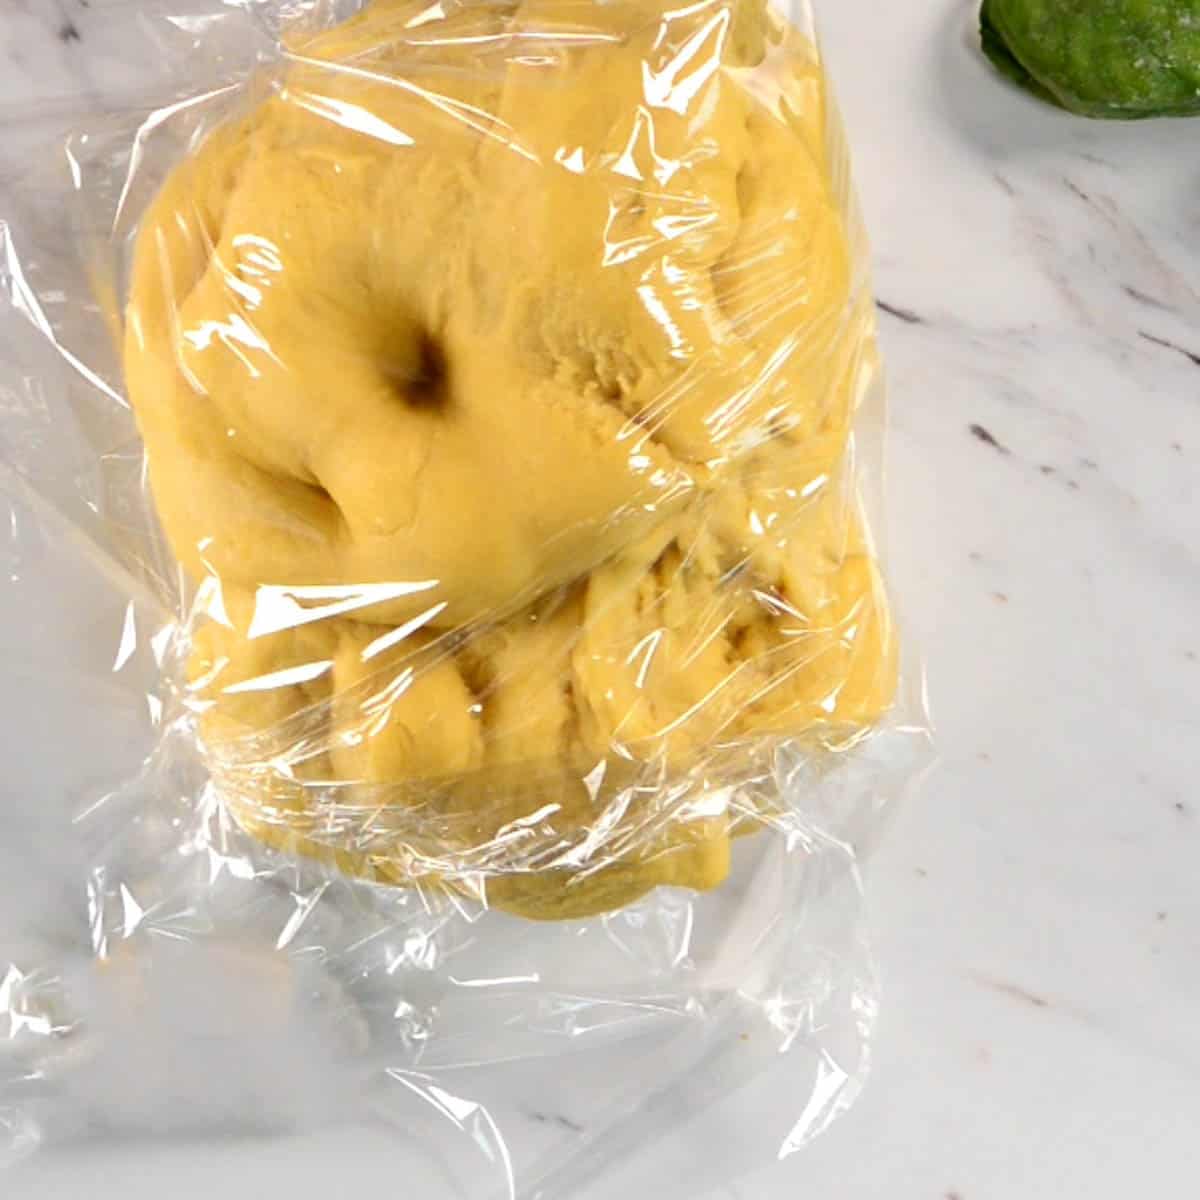
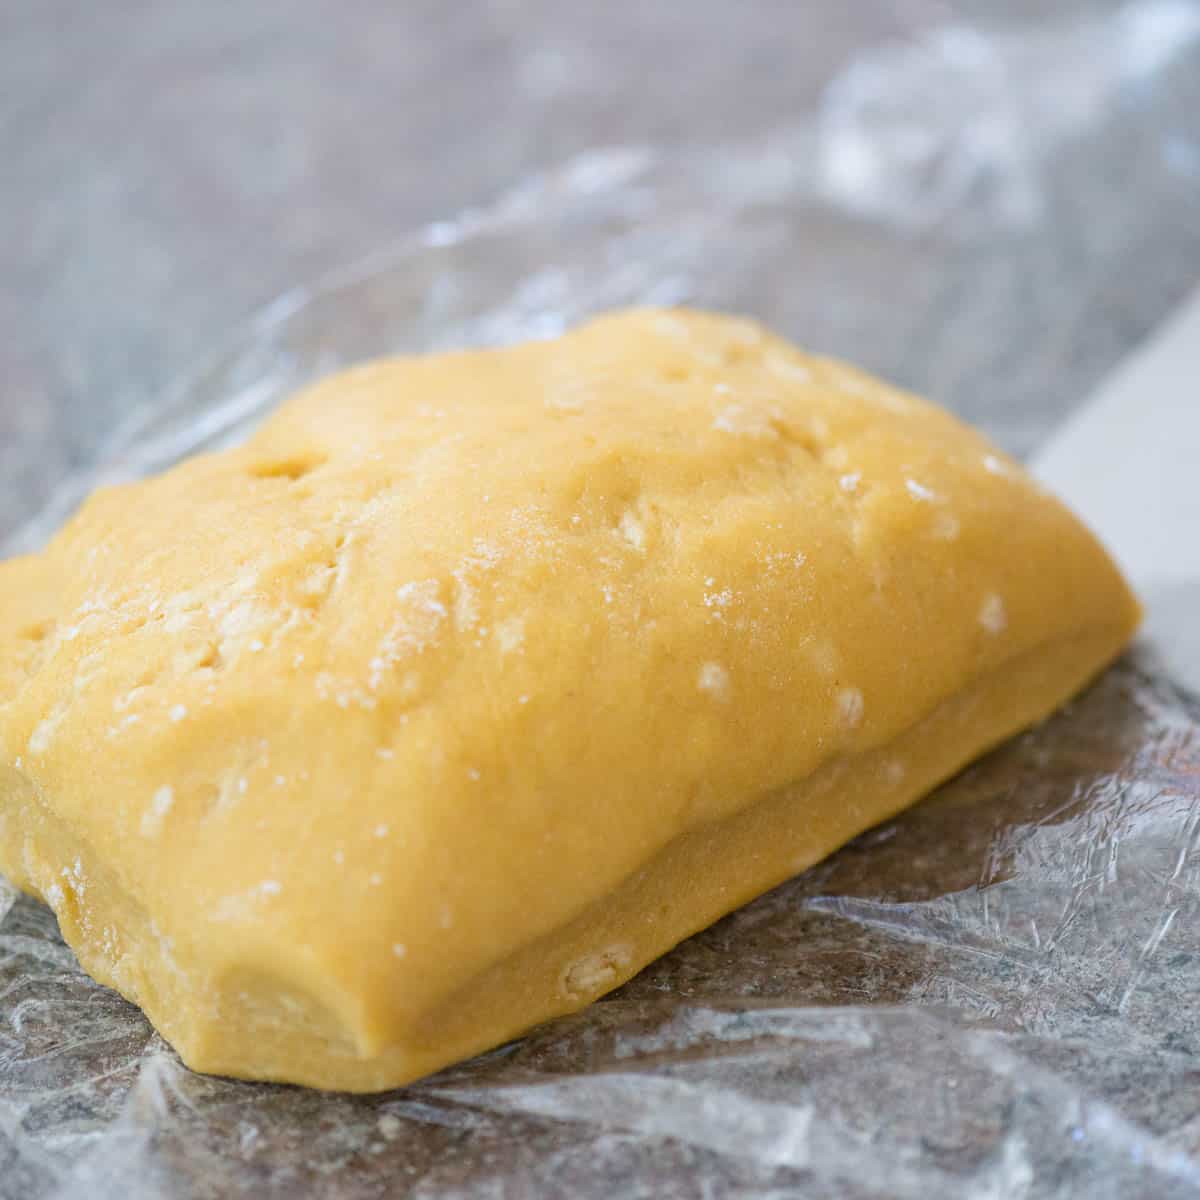
let it rest before rolling
How to Roll and Cut Fresh Pasta
You can definitely roll and cut fresh pasta by hand. Italians have been doing it that way since the beginning of time. But, if you have the KitchenAid attachment for pasta or an Atlas hand roller, it will make the process even easier.
Start by setting the homemade pasta dough on a cutting board covered with a bit of all flour. You can use all purpose or semolina (or a mixture of both). Use a bench scraper to partition off a small amount of dough to work with.
For either method, as you continue to roll and cut the pasta, continue to add flour to prevent sticking.
Option 1: Roll and Cut by Hand
Using a rolling pin, flatten each small segment of dough to a long piece that is about 1/8″ thick.
Using a pizza cutter, a sharp knife, or a specialized pasta cutter hand tool, cut the pasta noodles to your desired thickness.
Any pieces around the outside that need to be re-cut can be added back to the rest of the dough before partitioning the next segment.
Option 2: Roll and Cut with a Pasta Roller
The same process works whether you use a hand roller or a pasta machine. If this is your first time making homemade pasta, it’s best to get someone to help you feed the pasta through the rollers.
Start with a small piece of dough and flatten it with the heel of your hand.
Send it through the KitchenAid pasta roller attachment or the pasta roller attachment on the widest setting. Next, fold dough into thirds and send it through again. Repeat the roll-and-fold one more time. This is done to give the sheet of pasta straight edges.
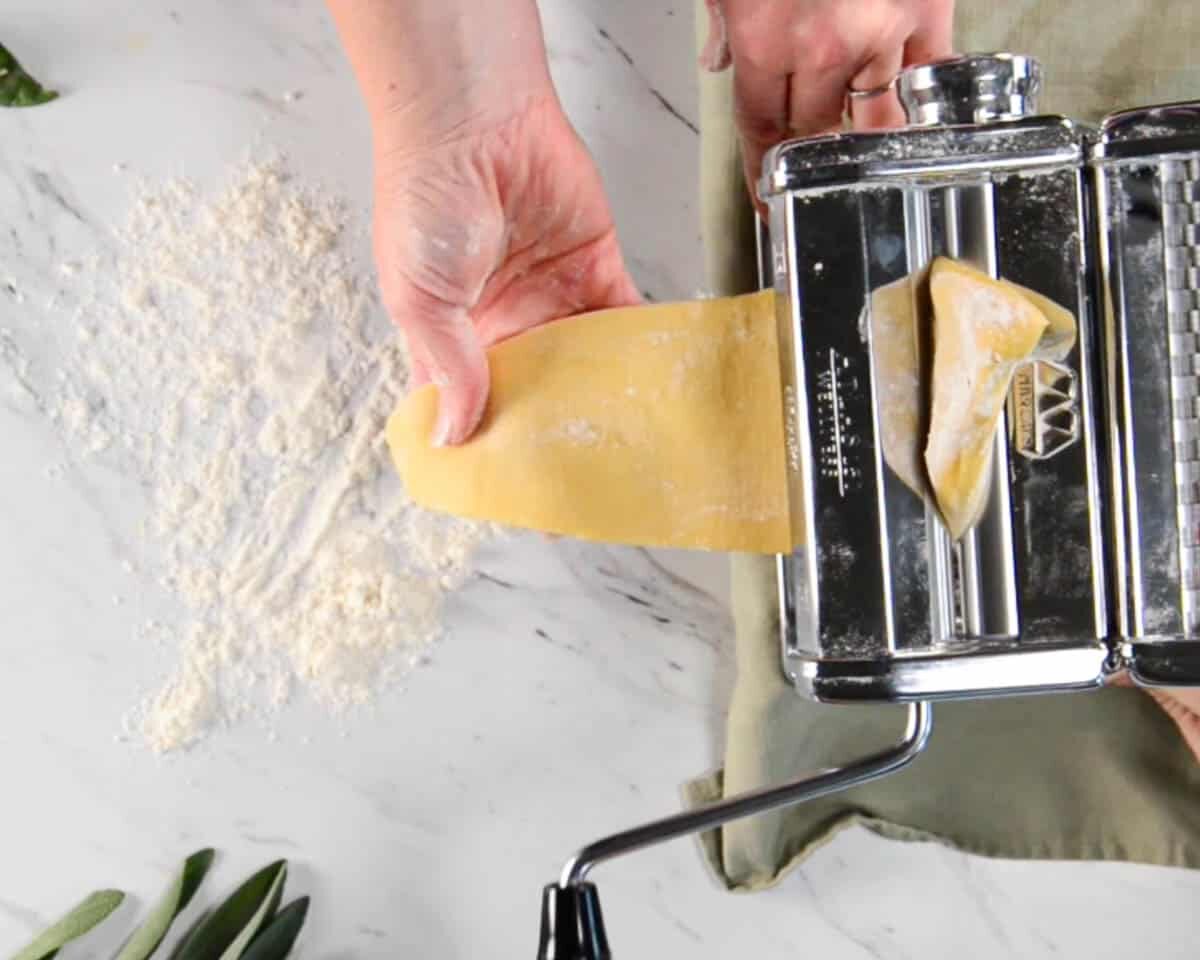
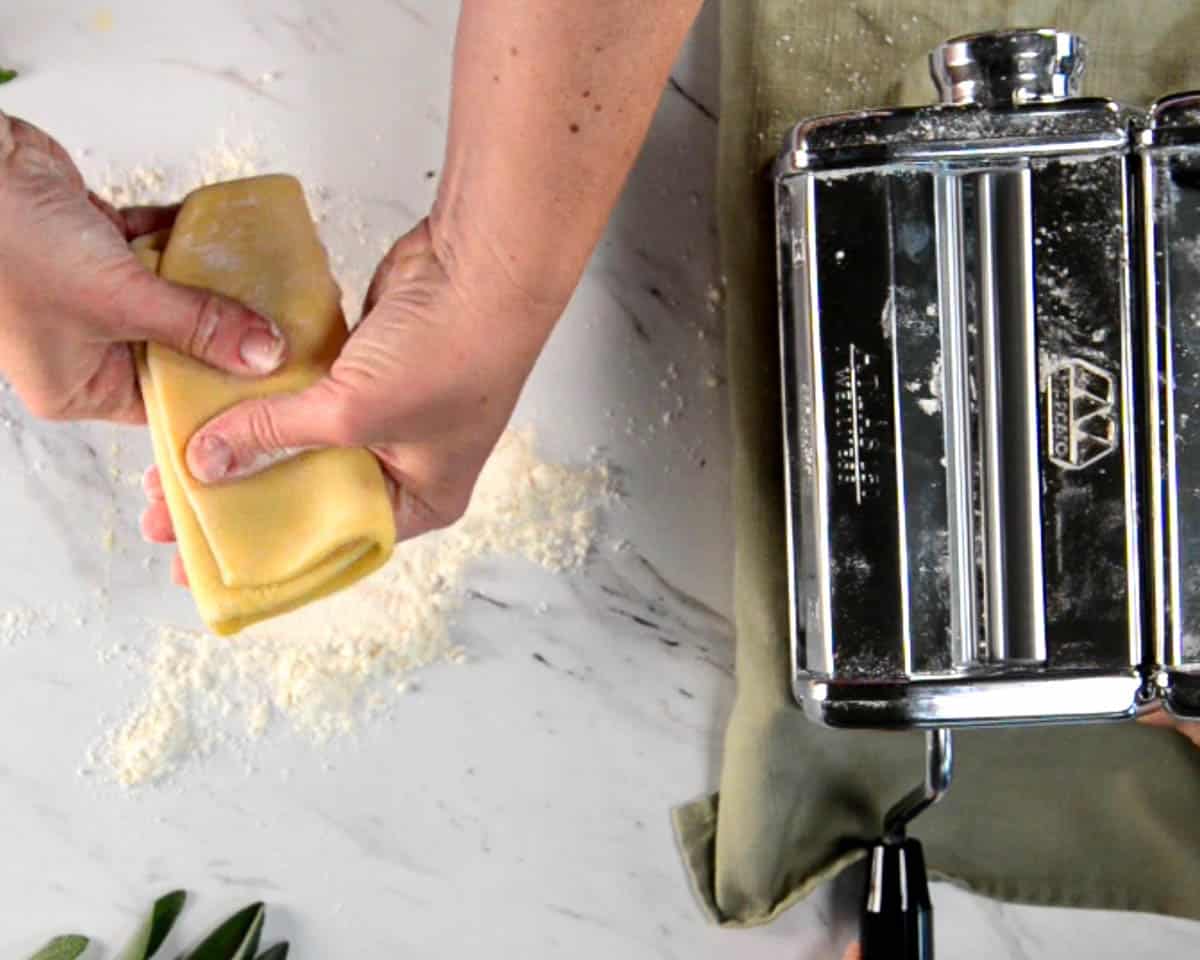
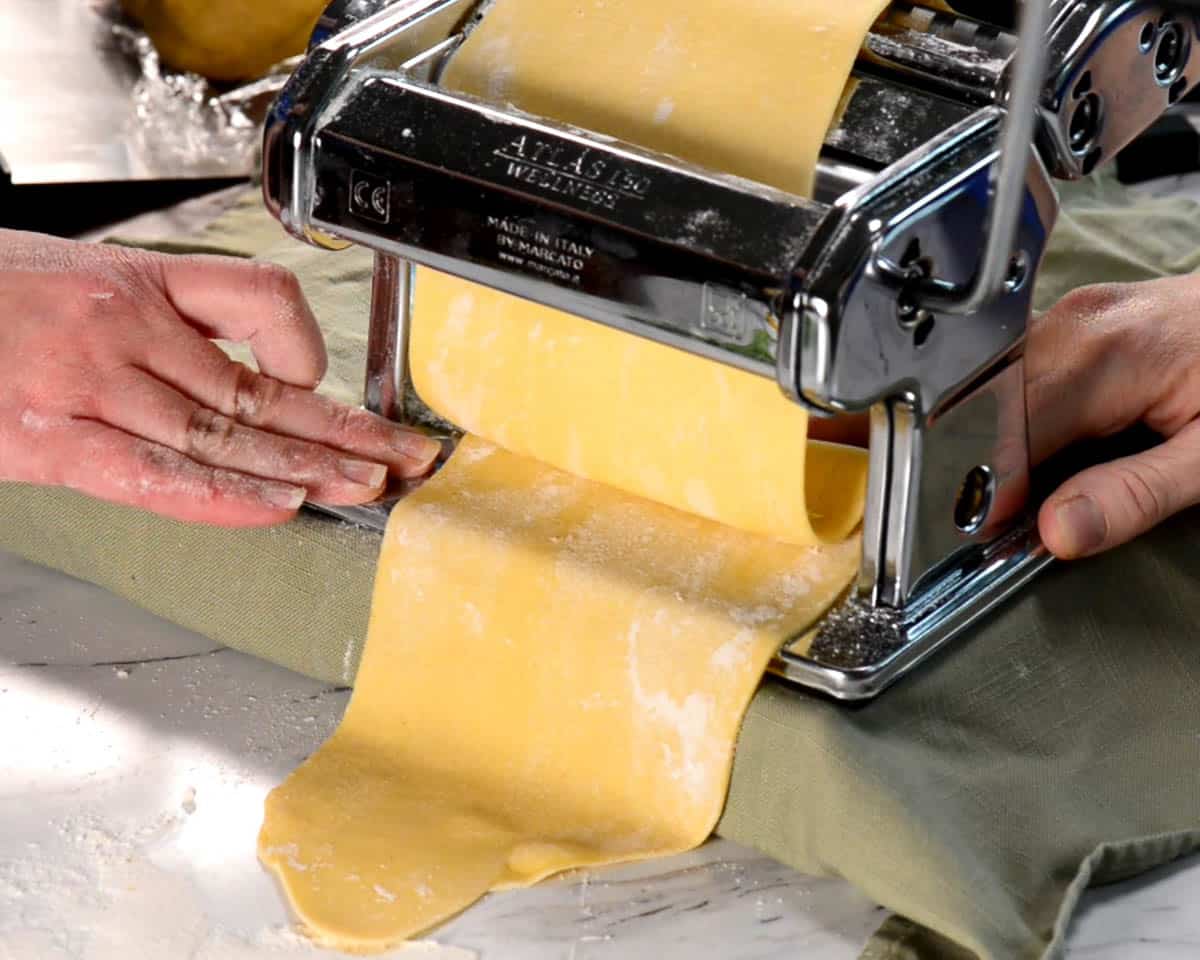
Next, you will continue to send the sheets of pasta through the roller, reducing the thickness with each pass. I usually go to setting 5, but you can make it thinner or thicker based on preference.
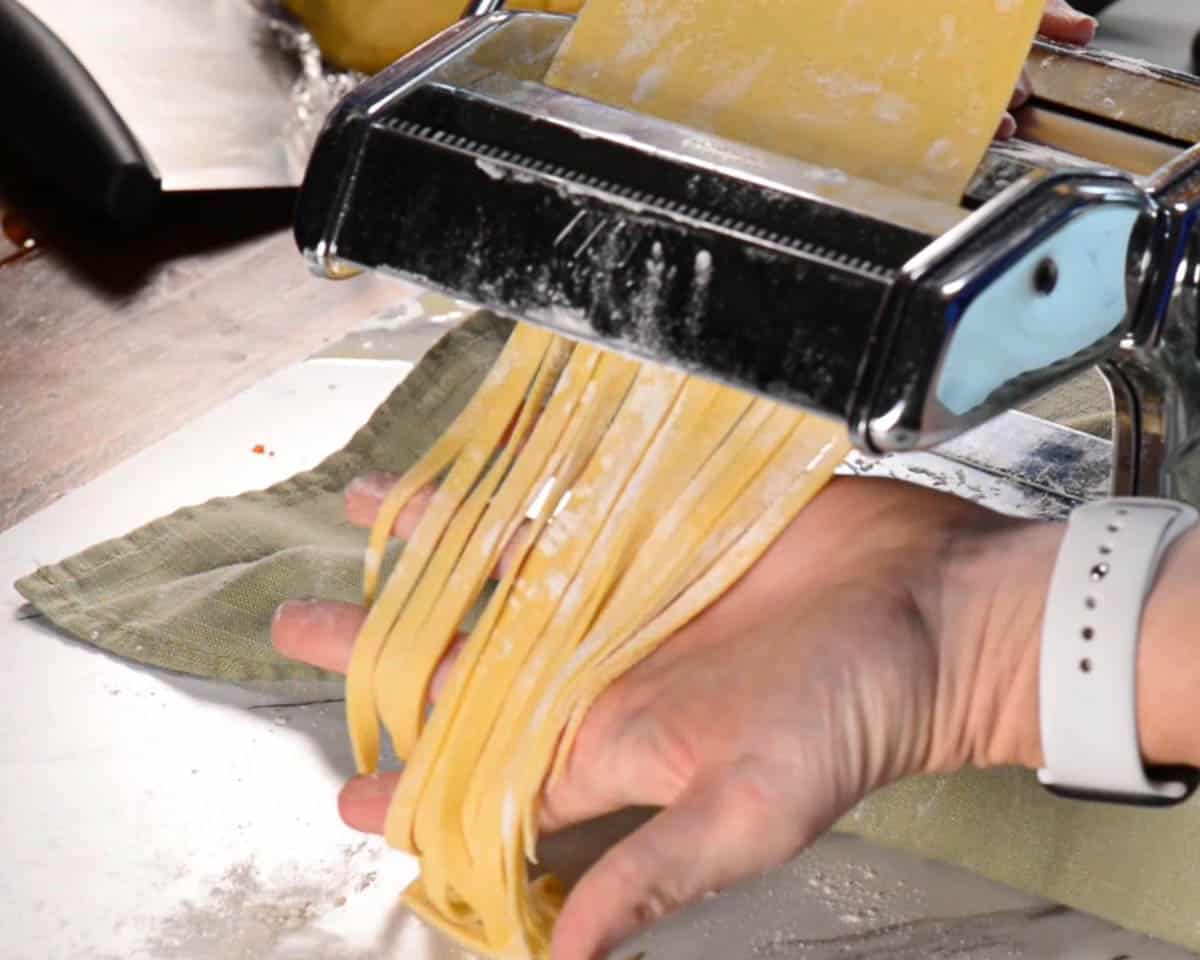
Finally, run the thin sheet of pasta through the cutting attachment.
What to Do with the Freshly Made Homemade Pasta
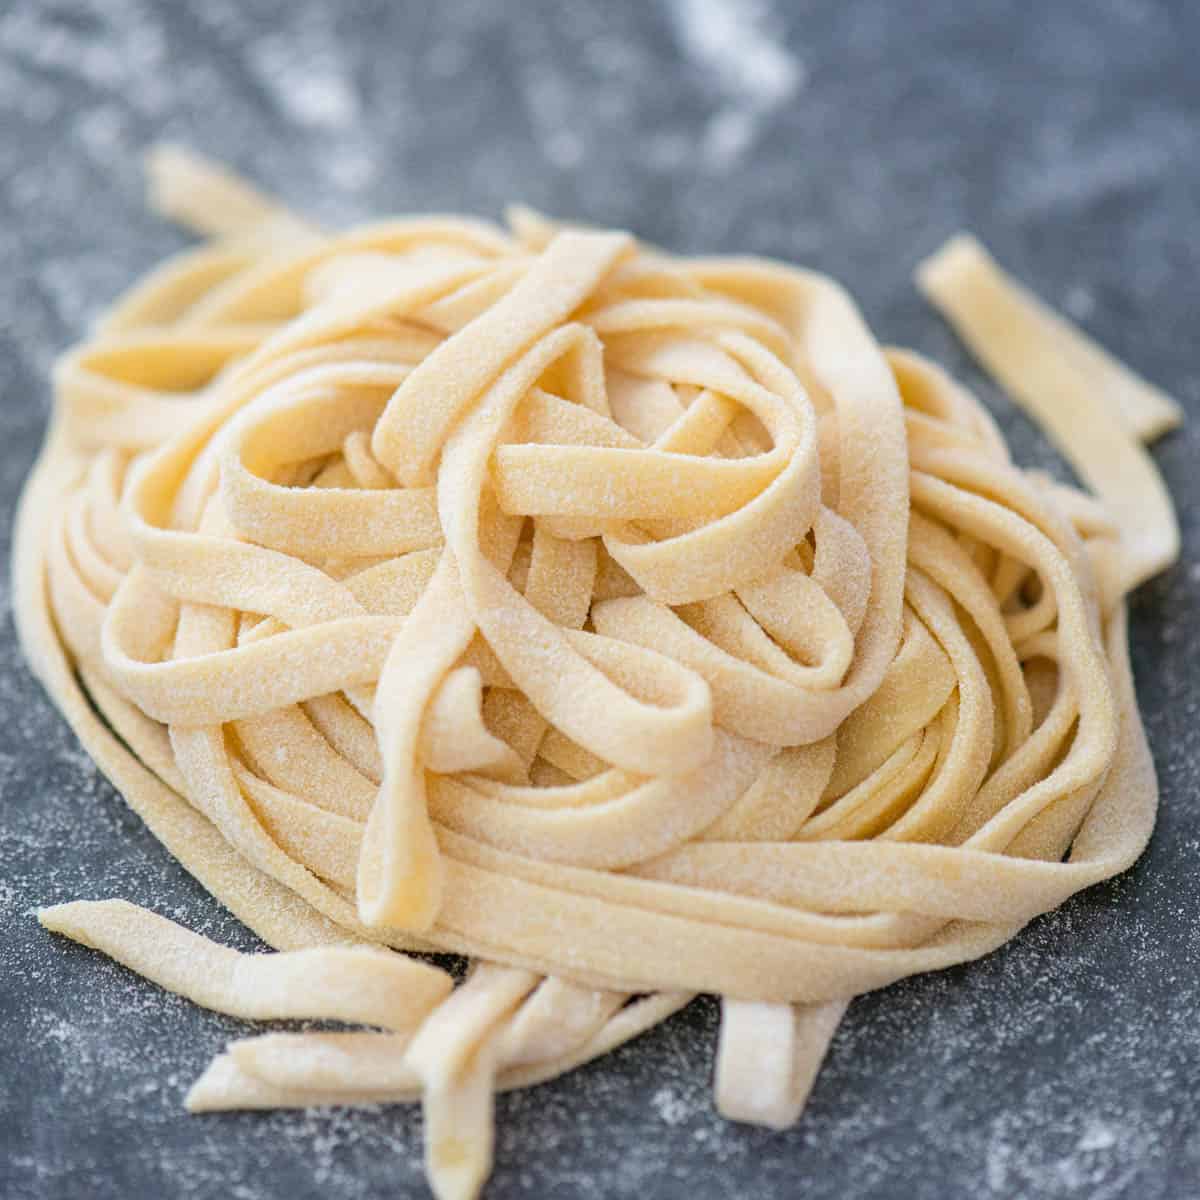
Ensure all sides of the cut pasta are heavily coated in flour. Place cut pasta in nests on a large baking sheet covered in flour.
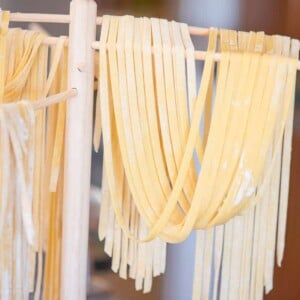
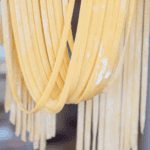
You can also hang it on a pasta rack.
Once the pasta is rolled and cut, you then have three choices: cook it fresh, store it fresh, or dry it for longer storage.
How to Cook Fresh Pasta
Fresh pasta cooks really quickly.
Simply bring a large pot of water with a tablespoon of kosher salt to a boil and add the pasta. It should only take a few minutes to cook. Once the pasta begins to float, you know it is done.
If you like your pasta cooked al dente, be sure to taste a couple of bites to ensure the pasta is cooked to your satisfaction before draining.
Pro tip: If you will be tossing the pasta in any kind of sauce, scoop out a cup of pasta water before draining it. This starchy salted pasta water can be used to thin sauces without changing the flavor. This works especially well with cream-based sauces used in recipes like Cajun shrimp pasta or blackened chicken alfredo.
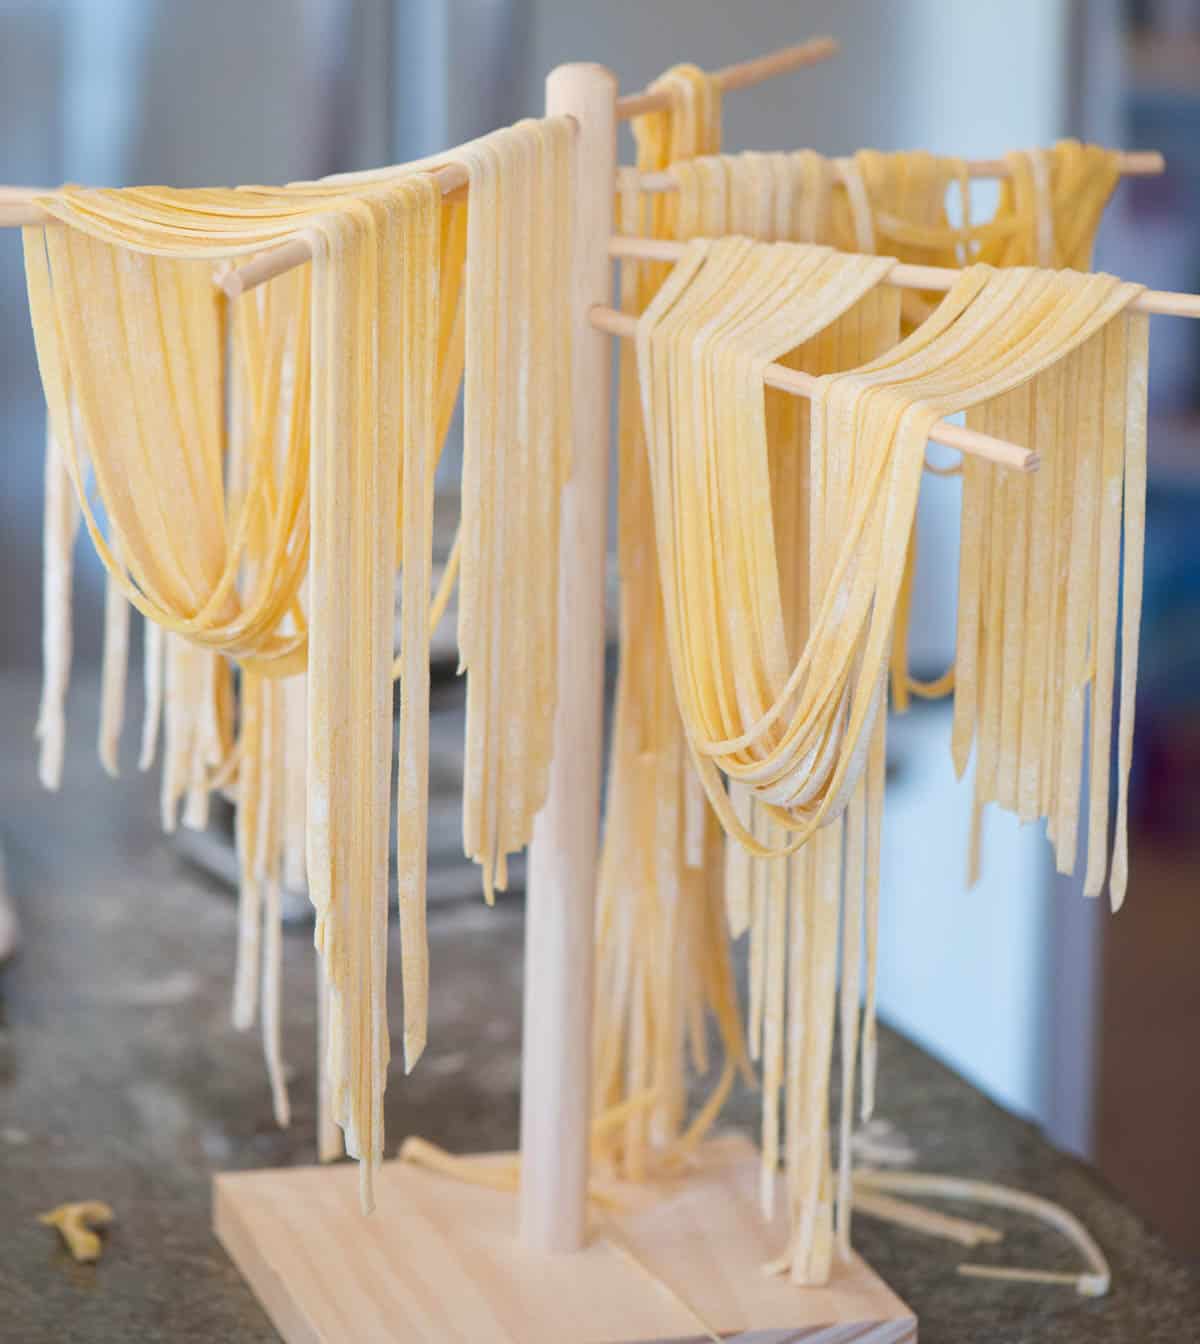
Best Way to Dry Fresh Pasta
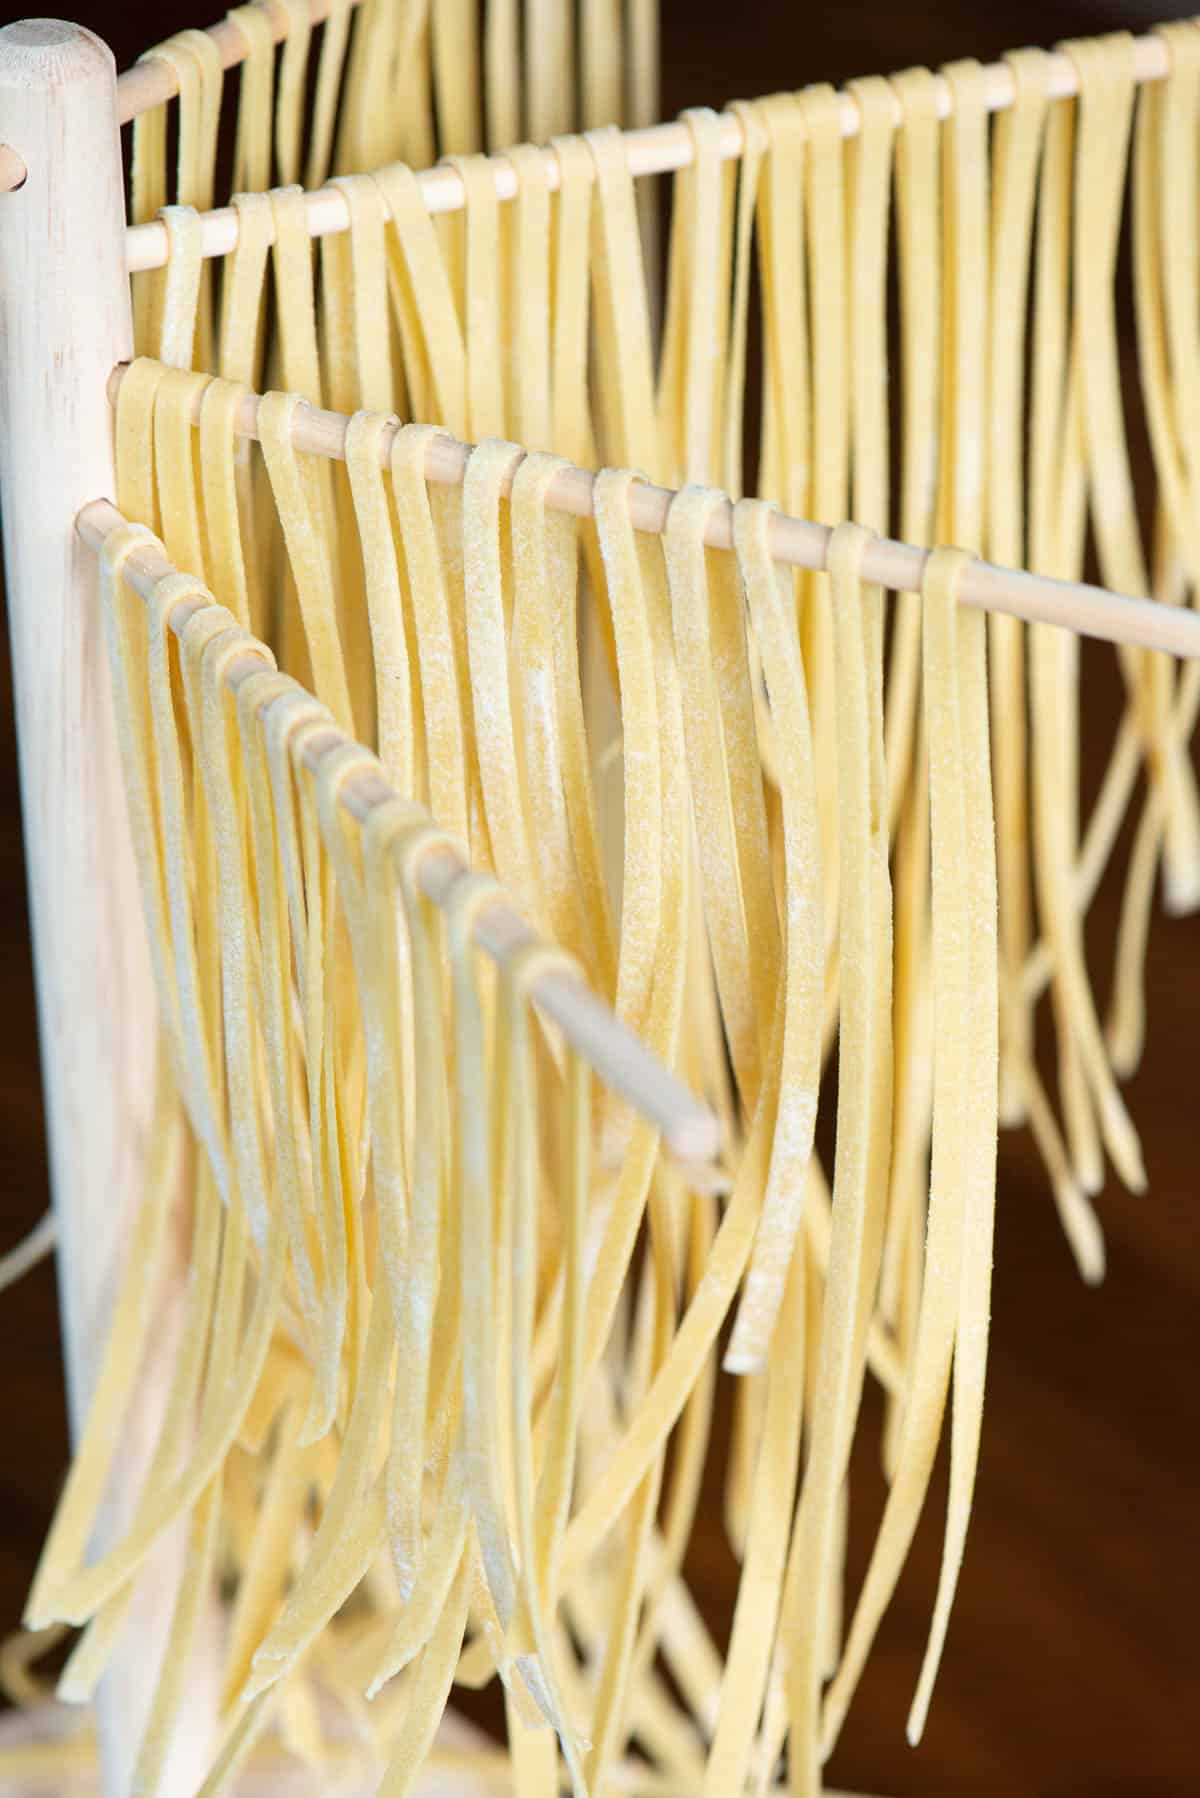
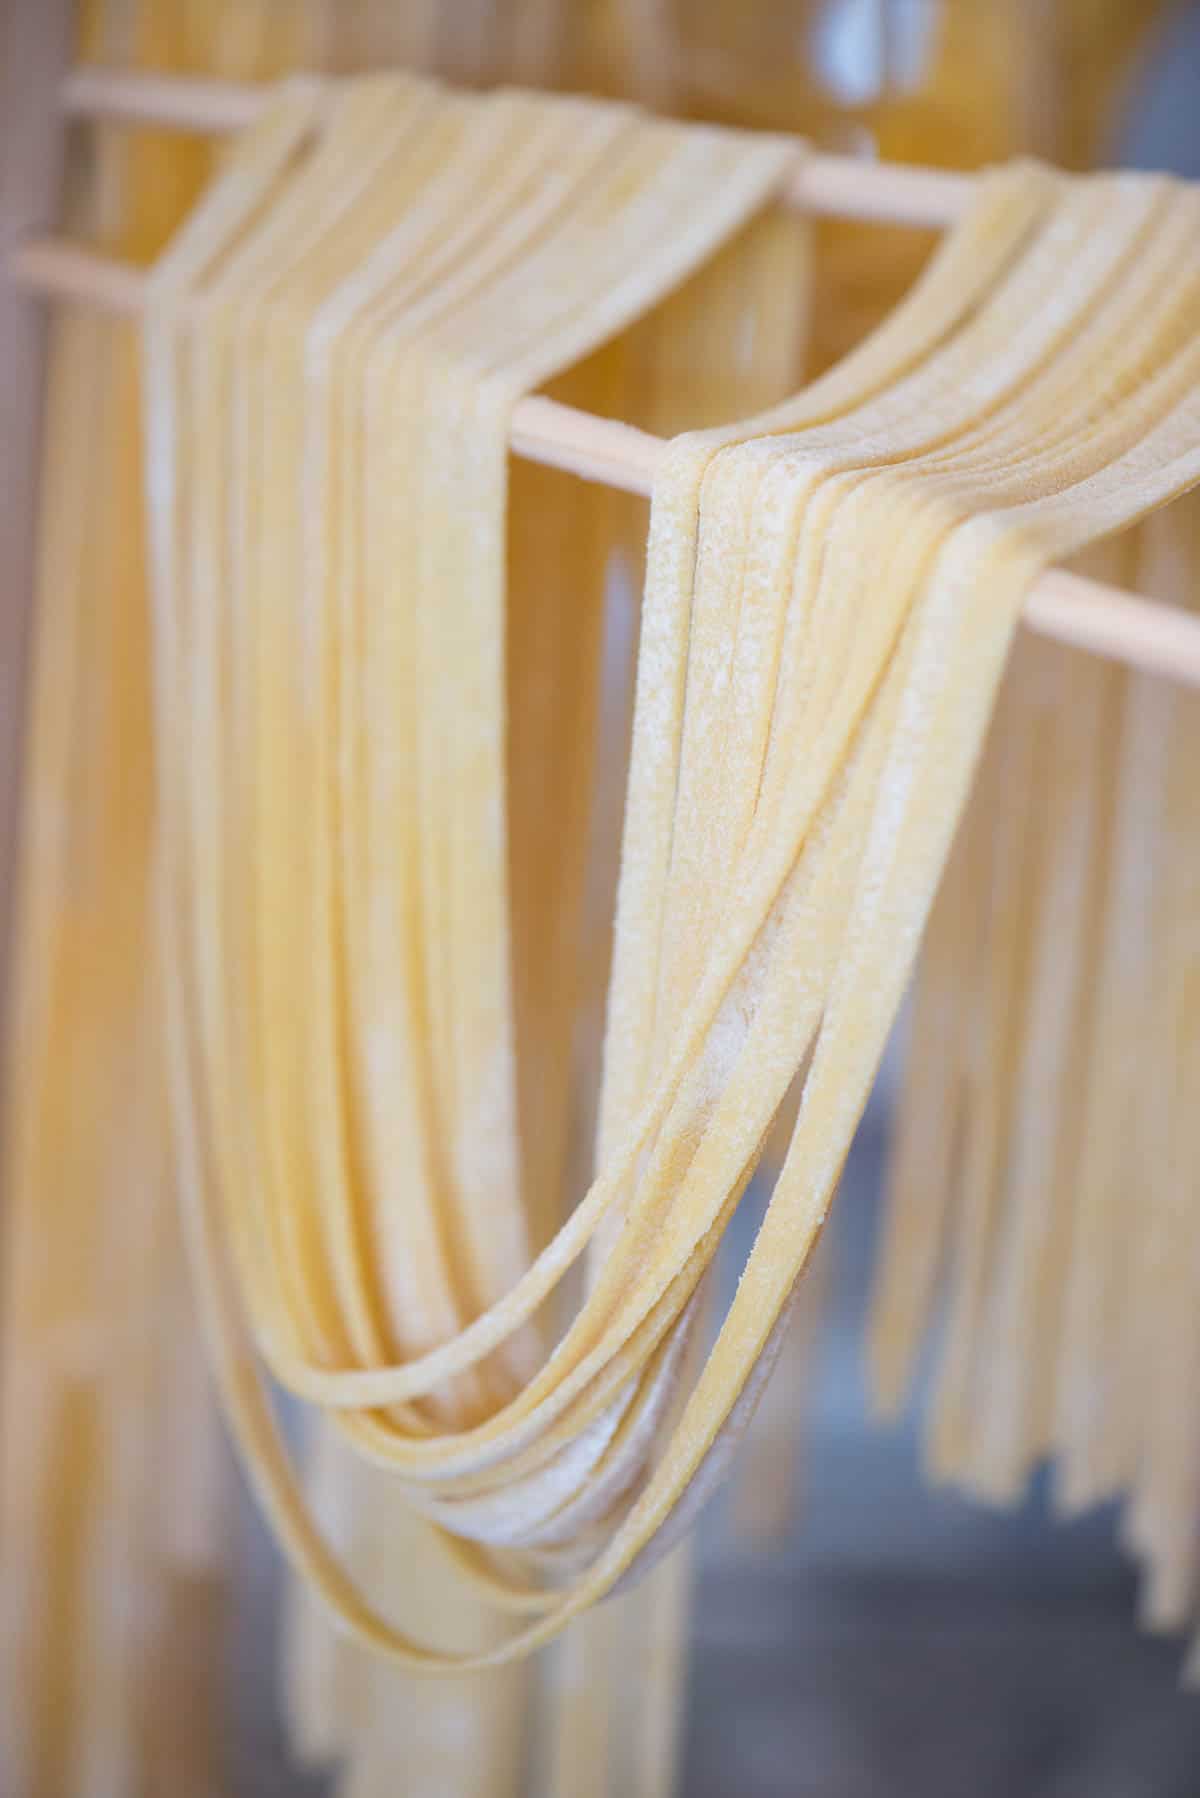
You can dry fresh homemade pasta two ways. Either hang it on a pasta drying rack or allow the nests of heavily floured pasta to have enough air and time to completely dry.
Pasta left on a drying rack will be fully dry within about 12 hours.
Storage recommendations
How you store homemade pasta will depend on whether it is fresh or dried.
How to Store Fresh Pasta
If you don’t plan on eating all of the fresh pasta when made, you can store it for later.
Gently transfer the pasta from the rack or the nests that have been arranged in a single layer on the large baking sheet to an airtight container. Store the pasta in the refrigerator or the freezer.
Ensure the pasta is heavily floured so that it does not stick together.
It will taste best if its used within 3-5 days.
How to Store Homemade Dried Pasta
Pasta that has been completely dried can be stored in an airtight container at room temperature. It will taste best if used within a month.
Recipe Tips for Best Results
- Elasticity and gluten development – To ensure your pasta dough has been kneaded enough, stick your knuckle into the dough. It should slowly push back. If you create an indentation and the dough just stays, you need to continue kneading. You know the dough is ready when there is elasticity.
- Use quality ingredients – Farm fresh large eggs, fresh flour, and high-quality extra virgin olive oil should be used. The higher the quality, the better the pasta will taste.
- Utilize flour while rolling and cutting – To prevent sticking, you will need to use a lot of flour. Any excess flour will come off when you boil it. You can use either all-purpose, semolina, or a combination of both.
Recipe Variations and Substitutions
- Flour – I’ve made pasta using only all-purpose flour before and thought it was too doughy. It will work, however. The semolina gives the pasta more bite. It adds to the taste and the texture. You can, of course, only use semolina, but I find that the combination of the two flours yields a dough that is easy to work with and tastes great. I have not attempted to make a gluten-free pasta or use any other types of flour with this recipe.
- Fresh herbs – minced herbs can be worked into the dough.
What to Serve With Homemade Pasta
Once you decide to cook your pasta, you can either smother it in your favorite sauce, or you can use the fresh pasta dough in a delicious recipe.
Favorite Pasta Sauce Recipes
- garlic infused homemade Alfredo sauce
- easy bolognese sauce
- authentic Italian beef ragu
Amazing Pasta Recipes
- Fettuccine-based recipes – My favorites include Fettuccine Alfredo, Shrimp Fettuccine Alfredo, Asparagus Mushroom Fettuccine Alfredo, Fettuccine with Salmon Dill Cream Sauce, and Creamy Sun Dried Tomato Shrimp Pasta.
- Lasagna – If making lasagna with fresh pasta, cut the sheets to the exact size you need, bring a heavily salted pot of water to a rolling boil, and cook the pasta just for a couple of minutes. Use these par-boiled pasta sheets to make classic lasagna with sausage, roasted vegetable lasagna, butternut squash lasagna, green chile chicken lasagna, or even some slow cooker lasagna soup.
- Ravioli – I’ve made three different kinds of ravioli with this fresh pasta. Recipes include four cheese ravioli, meat and cheese ravioli, or butternut squash ravioli in a sage brown butter sauce
- Think about how delicious some basil meatballs with a rich homemade pasta sauce would taste on top of this pasta?
- Fettucine Alfredo made with homemade pasta and a rich garlic infused homemade Alfredo sauce. Yes please.
Desserts to Serve with Italian Food
- My Mascarpone Cannoli Recipe definitely takes some time to make, but is totally worth it.
- My homemade lemon cupcakes with mascarpone whipped cream frosting are simply delicious.
Common FAQs
My recommendation is to use equal parts of all-purpose and semolina flours. This will make the dough easy to work with but will also taste great.
Use high quality ingredients and follow this recipe!
Homemade pasta is absolutely worth the trouble. It is fun to make and tastes great. But, there are plenty of fantastic store-bought fresh and dried kinds of pasta available. Make homemade pasta because you enjoy it.
Flour, eggs, and olive oil are the main ingredients. Water is also needed but is often not considered an ingredient. I use salt in my pasta recipe but there is some debate as to whether you should.
The gluten that gives pasta its shape and strength are created when the flour is mixed with moisture from the eggs and water. The eggs supply fat, which enriches the dough and gives it a smooth, silky finish, in addition to the water that the gluten needs for hydration.
My recipe uses whole eggs, however, you can replace the whole eggs with only egg yolks, or you can use a combination of whole eggs and egg yolks. For every two whole eggs, use 3-4 egg yolks.
If you have an egg allergy or are vegan, you might be looking for an egg alternative for this recipe. Although there are many great egg replacement ideas that work for baking and binding in various recipes, I cannot recommend a good egg replacement for pasta.
Pin this now to save it for later
Pin ItHomemade Pasta
Ingredients
- 1 1/2 cups semolina pasta flour
- 1 1/2 cups all purpose flour
- 4 eggs room temperature and slightly beaten
- 4 tablespoons olive oil
- 4 tablespoons water
- 1 teaspoon salt
Instructions
Homemade pasta can either be made by hand or in a stand mixer.
- If making by hand: Combine 1 1/2 cups semolina pasta flour, 1 1/2 cups all purpose flour, 4 eggs, 4 tablespoons water, 4 tablespoons olive oil, and 1 teaspoon salt. Mix to make a stiff dough. Knead 10 minutes by hand.
- If using a stand mixer: Combine 1 1/2 cups semolina pasta flour, 1 1/2 cups all purpose flour, 4 eggs, 4 tablespoons water, 1 teaspoon salt and 4 tablespoons olive oil in stand mixer bowl. Knead on medium speed with a dough hook.
- If dough is too sticky, sprinkle on additional semolina until it comes together. If dough is too dry, sprinkle water until you get the right consistency. You'll want to knead until the dough is elastic. Slice into the dough with a paring knife; if you see lots of air bubbles, keep kneading. The dough is kneaded when it forms a smooth elastic ball and has very few air bubbles when cut. Test by pressing your knuckle into the dough; if it starts to bounce back then it's ready.
- Wrap dough in plastic wrap or in a covered bowl and let rest for at least 30 minutes.
Rolling and cutting the dough:
- On a lightly floured surface roll out to desired thickness and cut as desired. Alternatively, cut into small chunks, flour, and roll through pasta roller. For this process, send through on thickness of 0. Fold in thirds and rotate so that straight edges are on the side and send it through again. Fold in thirds once more, again with straight edges on sides, and then send it through thickness 0 for a third pass. Then, change thickness to 1 and send dough through once. Continue process stepping through thicknesses 2, 3, 4 and end with 5. Give dough sheet one last dip in flour and then run it through the fettucine cutting side.
- You can dredge pasta in flour to ensure it doesn’t stick together. Either set on cookie sheet until ready to cook or dry pasta on a drying rack.
- To cook, bring a large pot of heavily-salted water to a boil. Add pasta and cook until tender (approximately 3 – 5 minutes). When making lasagna, no need to boil noodles. Add directly to your recipe.
Notes
Tips for using a pasta roller:
The same process works whether you use a hand roller or the KitchenAid attachment. I actually have the Atlas hand roller and highly recommend it. There’s just something fun about cranking the pasta through manually.- Working with small pieces of well-floured dough, send through the roller on the widest setting. Fold the dough into thirds and send it back through with the folded ends on the sides. Do this one more time and send it through the widest setting. The reason you do this is to get a pasta sheet with straight edges so there’s little waste when you cut.
- Continue to work the dough through the roller, rotating the dial each time to make the pasta sheet thinner and thinner. Ensure your dough always has enough flour so that it doesn’t stick to your roller.
- I usually go to the thickness setting of 5, but you can choose how thick or how thin you want your pasta.
- Once you have your sheet, you can then make your own ravioli or lasagna. Again, having the right tools helps, so if you’re making ravioli I recommend using a ravioli press. If you plan to cut spaghetti or linguine noodles, send the pasta through the cutting side.
- Ensure each of the noodles are well covered in flour so they don’t stick. You can’t go overboard here because it will all come off when you cook the pasta.
Video
Nutrition
Nutrition information is automatically calculated, so should only be used as an approximation.
This post was originally created in February 2018 and has been updated with process photos, helpful information, and cooking tips. Don’t worry – I didn’t change the recipe!





I’ve tried many variations of Homemade Pasta.
This is the first I would consider giving 5 stars to.
My guests gave it an 11 on my scale of 1-10.
Thank you so much! I’m so glad you liked it!!!
If your using a standmixer aka Kitchenaid to knead the dough “DO NOT PUT IT ABOVE 2 OR YOUR WILL BREAK YOUR MACHINE!!!!!!
Curious if you have a small kitchenaid, because I have a larger one where the bowl rises (not the neck of the machine) and it handled the dough just fine at medium speed.
How long should I boil this for
If it’s fresh, it only takes a minute or two. If you dried the pasta, it will take a bit longer. I always do a taste test and take it out when it’s heated through and still has a pretty firm texture.
I noticed when decreasing the amount of pasta to be made to half the amount the eggs used remained 4. I would think if the ingredients were halved so would the eggs. 2 instead of 4
Thank you SO MUCH for catching that! It was a formatting error on my end. All fixed now!
I have a electric pasta machine,can I use this recipe to make in ?thank you!
Yep! I’ve never used one, but I don’t see why this recipe wouldn’t work.
Hi krissy
How long you need to let the cut pasta to dry before cooking?
It doesn’t have to dry. You can toss it in the water as soon as you cut it.
Hi Krissi thanks
I am making this and not using until 5 days from now. Should I freeze or is it better to dry it for 12 hours and then freeze? Or not freeze t all?
I prefer to make, roll, and cut the dough and let them dry out. I’ve never frozen the dough.
When I dry them out how should I preserve them for next week?
I usually just keep it in a tupperware container in the pantry.
How can you make this healthier
You can probably try replacing the all purpose flour with whole wheat flour. I haven’t tried it that way, but I think it would work but it will definitely taste a bit different.
1) How long do you usually dry the pasta for and once dried how long does it last?
2) I’m thinking of getting a Phillips pasta maker but the dough won’t get a chance to rest. I’m concerned about the end result. I do have a Marcato pasta maker that I have never used. What do you think?
The time required depends on the temperature and humidity of your house. I’ve always just left it out overnight. Also, I’ve only ever made it this way where I allow the dough to rest, so I’m really not sure how much it will impact the final outcome.