
This post may contain affiliate links. Please read our disclosure policy.

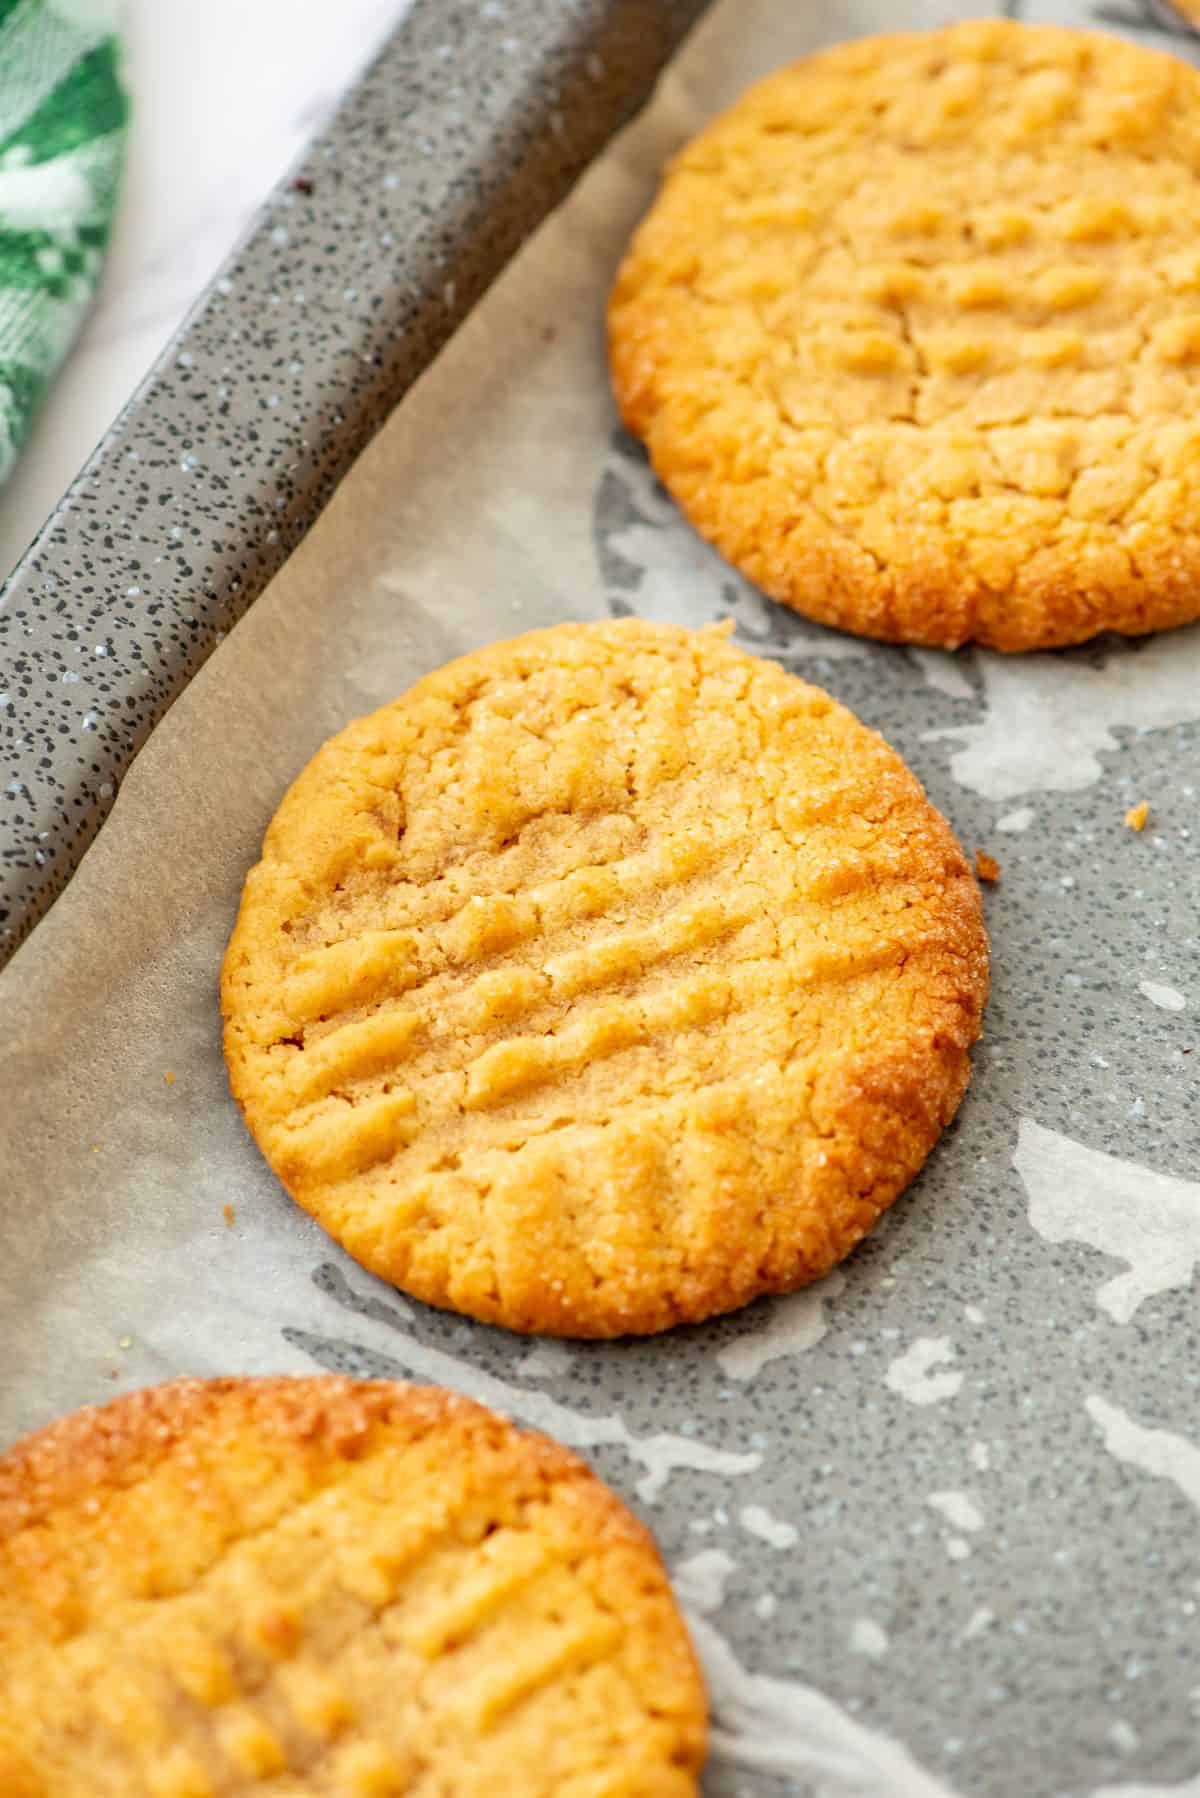
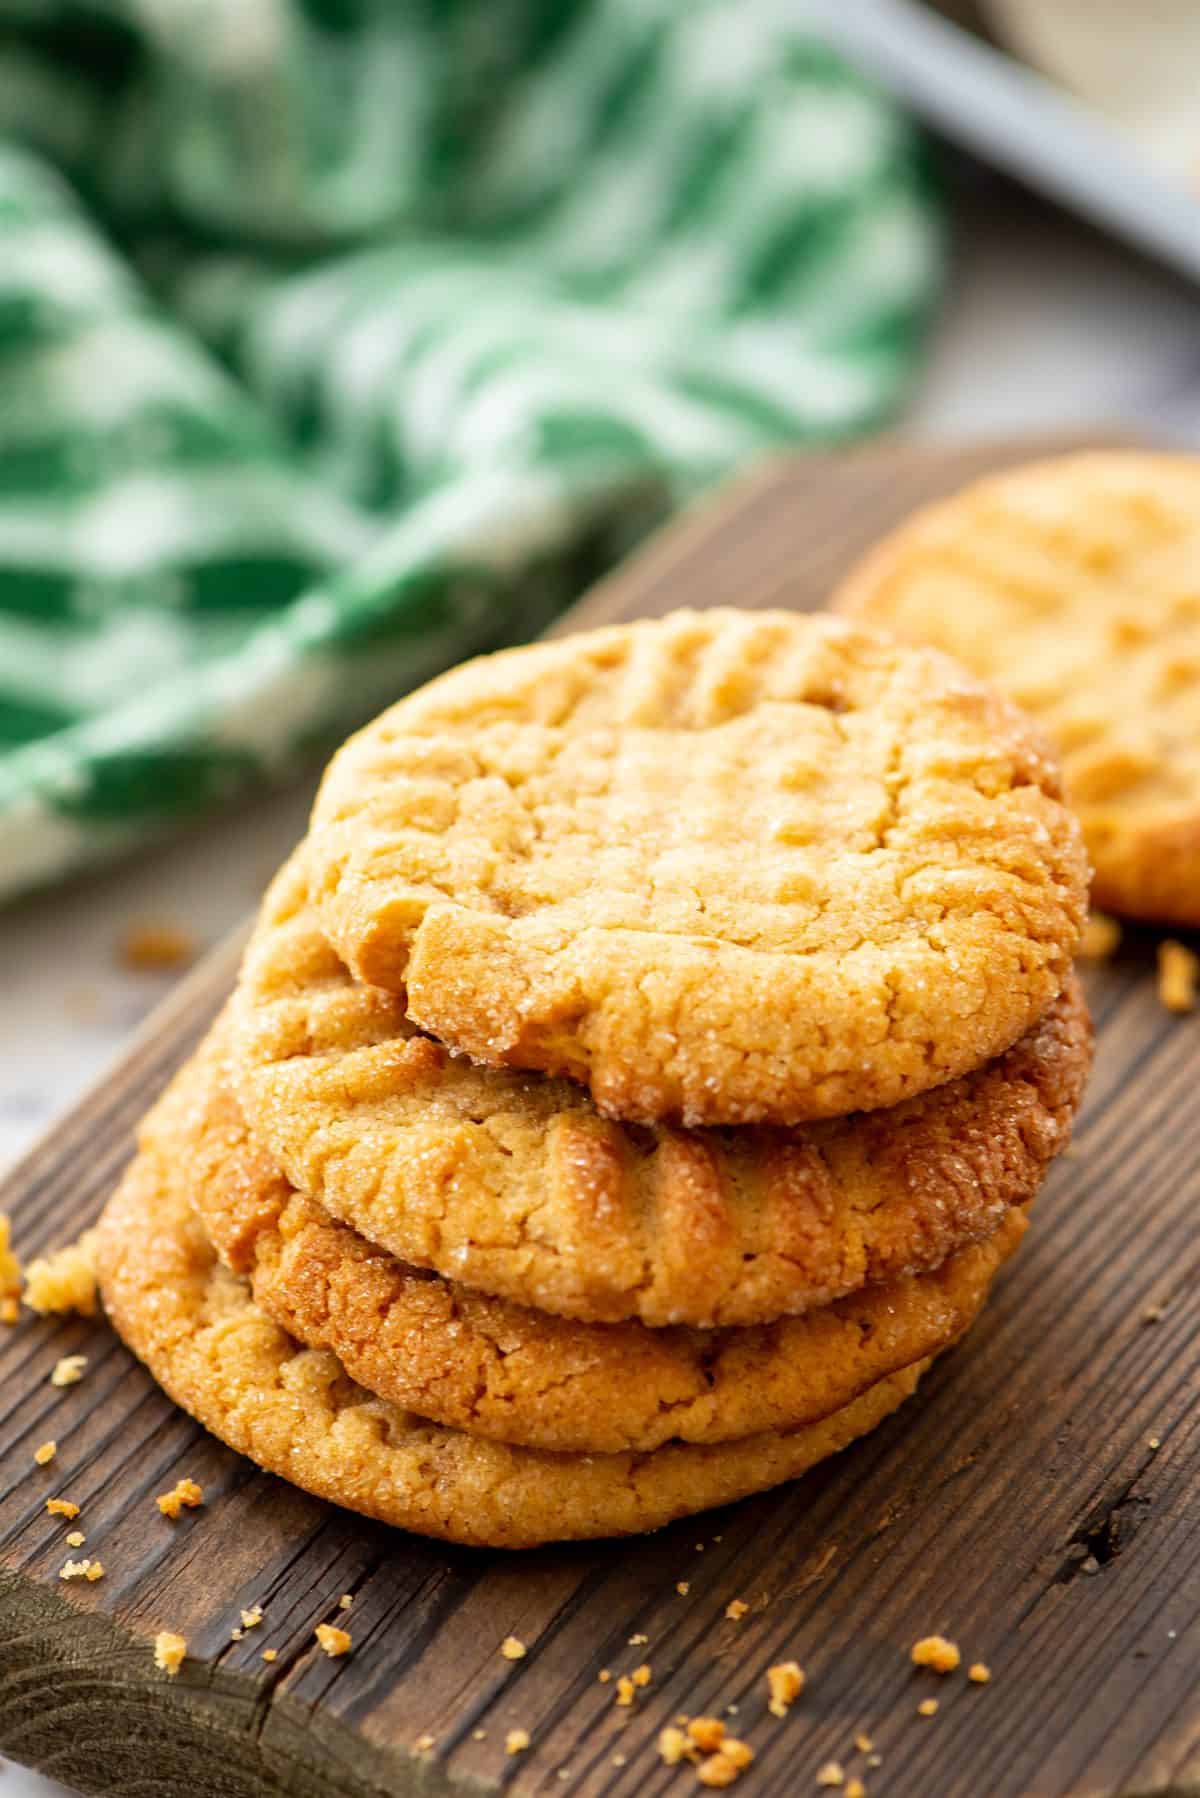
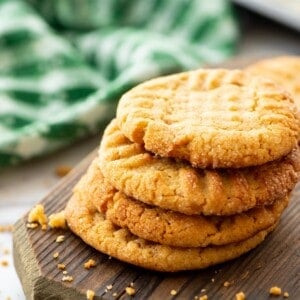
Grandma’s Classic Peanut Butter Cookies are crisp on the outside, chewy on the inside, and just so good! This is the classic peanut butter cookie I grew up on. These cookies will hold their shape while baking.
And if you’re a fan of sweet peanut butter treats, be sure to check out my easy peanut butter dip, peanut butter pie and buckeye balls recipe!
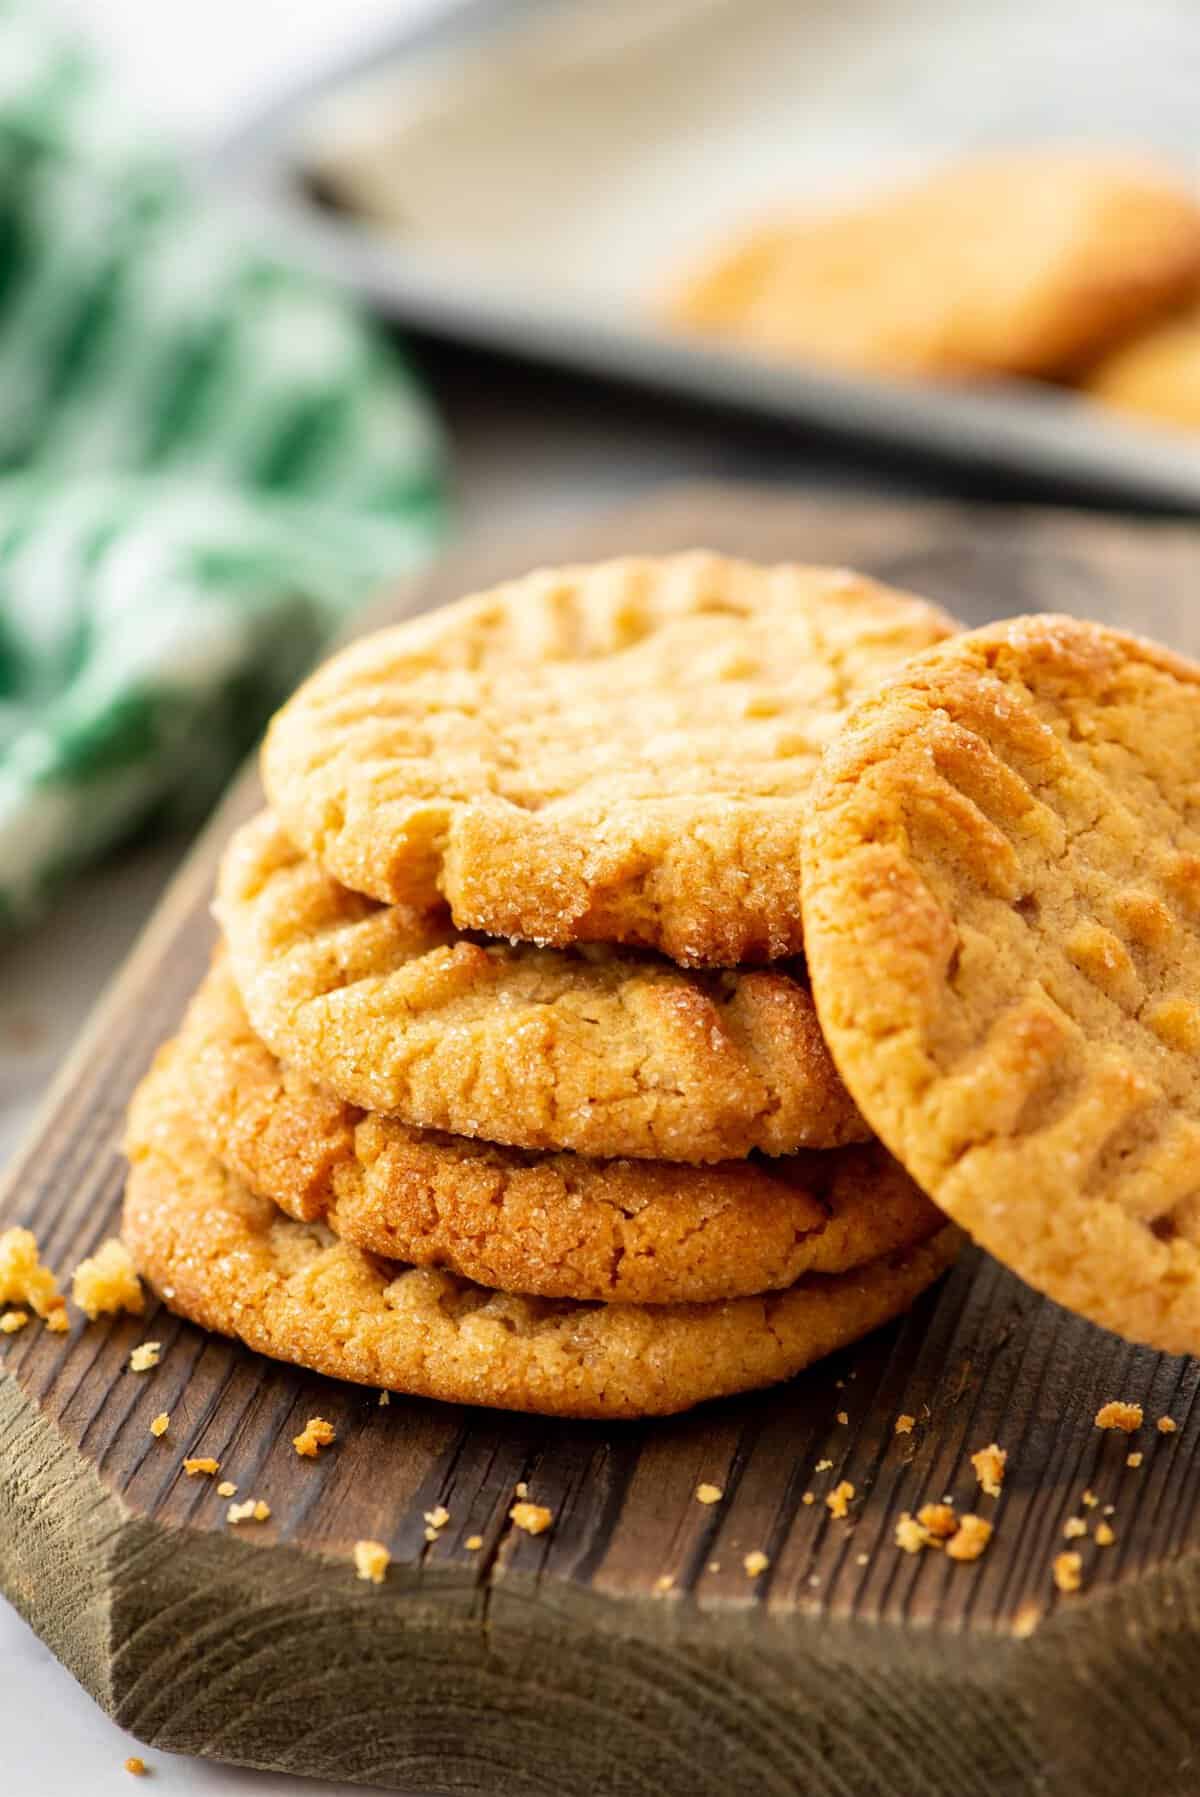
Grandma’s Classic Peanut Butter Cookies remind me of my childhood because it was the most made cookie in our house. Well, most made after classic chocolate chip cookies, of course.
Grandma is my mom (that’s what my kids call her), and she made peanut butter cookies all the time when I was a kid. I can’t promise this is her exact recipe, but every bite tastes like the ones she used to make.
If you want a peanut butter cookie that will be crisp on the outside, chewy on the inside, and won’t go completely flat when cooked, this is the one. This recipe uses just the right amount of flour to hold the cookie together without drying it out.
Table of Contents
- Grandma’s Peanut Butter Cookies at a Glance
- What You’ll Need
- Can You Use Natural Peanut Butter?
- Can You Use Oil Instead of Butter in Peanut Butter Cookies?
- How to Make Peanut Butter Cookies
- 1. Cream the Butter, Peanut Butter and Sugars
- 2. Add the Eggs and Vanilla
- 3. Mix in the Dry Ingredients
- 4. Chill the Dough
- 5. Shape, Sugar and Fork the Cookies
- 6. Bake and Cool on the Pan
- Reasons Why Peanut Butter Cookies Are Dry and Crumbly
- Should You Refrigerate Peanut Butter Cookie Dough Before Baking?
- Why Do You Fork Peanut Butter Cookies?
- How to Store Peanut Butter Cookies
- Peanut Butter Cookie FAQs
- Love Homemade Cookie Recipes?
- Grandma’s Classic Peanut Butter Cookies Recipe
Grandma’s Peanut Butter Cookies at a Glance
- The recipe: classic crisscross peanut butter cookies made with butter, peanut butter, brown and white sugar, and a full tablespoon of vanilla.
- Texture: crisp on the outside, chewy in the middle, and they hold their shape.
- Time: about 1 hour 25 minutes, including a 1-hour chill.
- Makes: about 4 dozen cookies.
- Peanut butter: crunchy or creamy, natural or Jif. They all work.
- Biggest tip: pull them a little early and let them finish on the hot pan.
- Make ahead: freeze the dough balls or the baked cookies.
What You’ll Need
- Butter: unsalted and softened, so you control the salt.
- Peanut butter: crunchy or creamy. I usually use a natural, no-sugar-added kind (more on that below).
- Sugar: granulated and packed brown sugar, plus a little extra granulated sugar for rolling.
- Eggs: 2 large eggs.
- Vanilla: a full tablespoon. Yes, really. I’m heavy-handed with vanilla, and it’s what makes these taste like more than just peanut butter. If that’s too much for you, cut it to 2 teaspoons. Want to make your own? Here’s my homemade vanilla extract.
- Dry ingredients: all-purpose flour, baking soda, baking powder and kosher salt.
Full amounts are in the recipe card below.
Want chocolate in there too? Try my chocolate chip peanut butter cookies.
Can You Use Natural Peanut Butter?
Yes! It’s the kind I use most often. I despise the kind of peanut butter that has the oil on the top and requires stirring. There are plenty of no-stir peanut butters out there that are natural, meaning the only ingredients are peanuts and salt.
Why do I recommend using natural peanut butter?
Many peanut butters contain added sugar. Sure, it tastes great on a spoon, but when baking things like these peanut butter cookies, I like to control the amount of sugar added to my cookies. If you use a natural no-sugar added peanut butter, they will taste the same every time.
That said, I’ve also made these with Jif, and they turn out great. Use what you have.
Can You Use Oil Instead of Butter in Peanut Butter Cookies?
I’ve never made these with oil, and I’m not planning to. I’m purely a butter-in-my-cookies kind of girl.
Here’s why I’d skip that swap in this recipe. Butter is about 80% fat and the rest is mostly water, while oil is 100% fat. Butter also gets creamed with the sugar, which beats in air and gives these cookies their crisp edges and chewy middles. Oil can’t do that, so you’d likely end up with a flatter, greasier cookie.
If you need a cookie without butter, look for a recipe written for oil from the start instead of swapping it into this one.
How to Make Peanut Butter Cookies
The dough comes together in about 15 minutes, then it needs at least an hour in the fridge before baking.
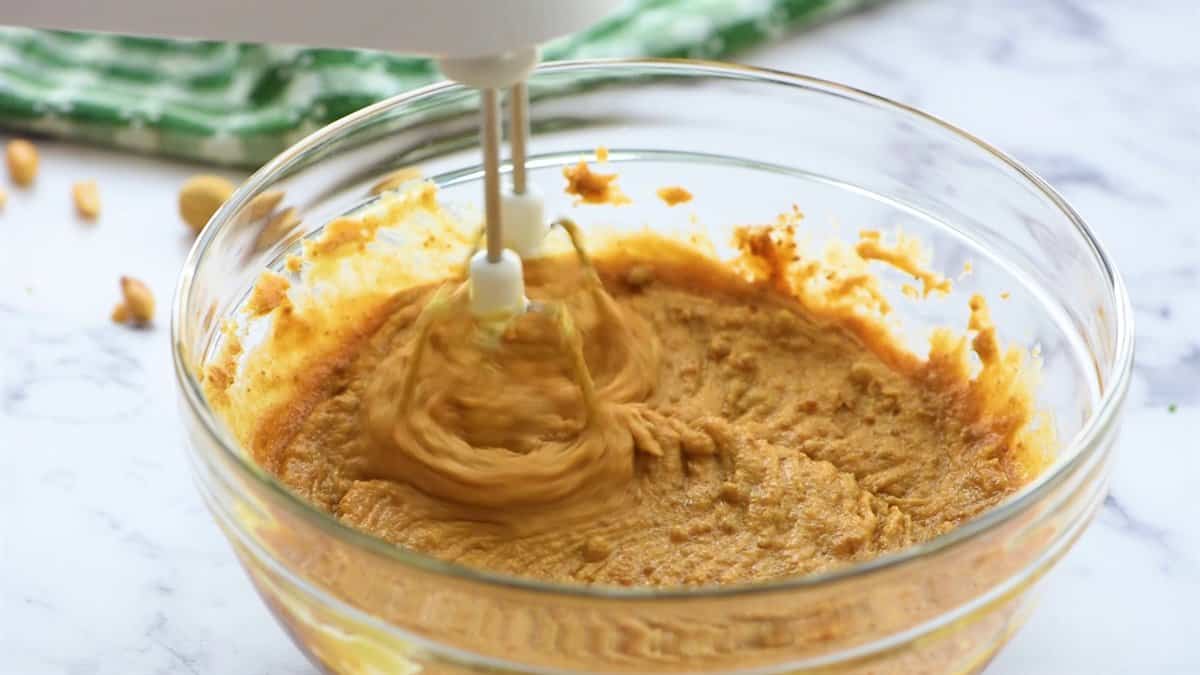
1. Cream the Butter, Peanut Butter and Sugars
Beat the butter, peanut butter, granulated sugar and brown sugar together until light and fluffy, scraping down the bowl a few times. I use my stand mixer with the paddle attachment, but a hand mixer works just fine.
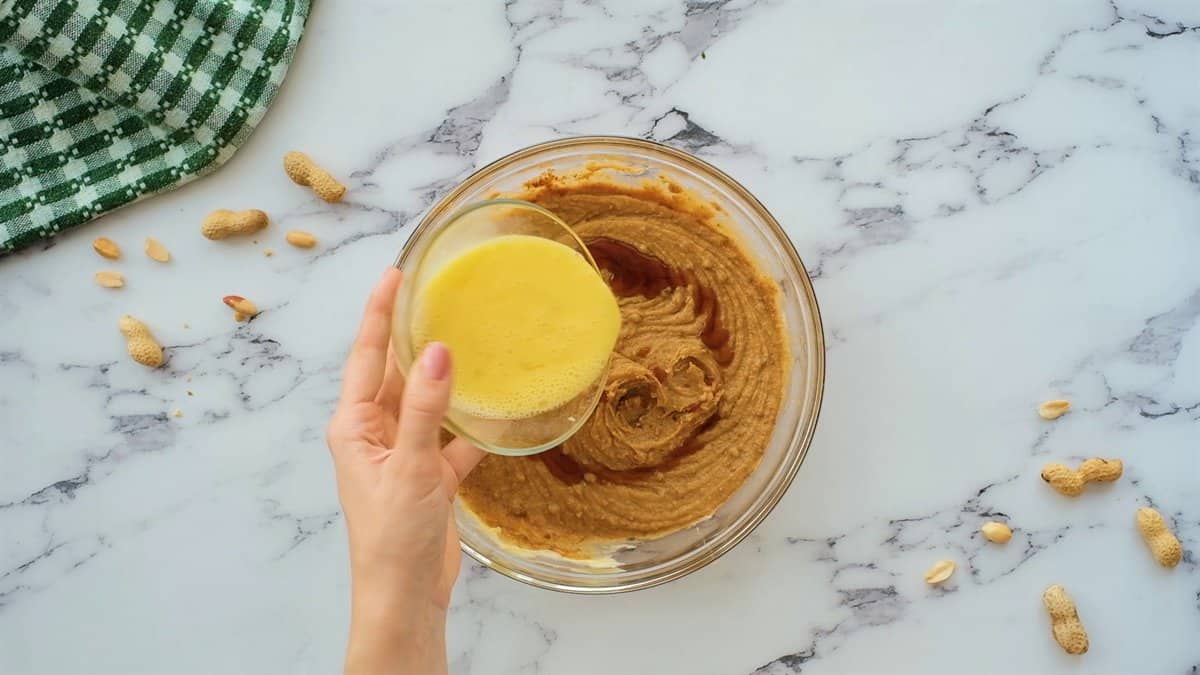
2. Add the Eggs and Vanilla
Mix in the eggs and vanilla, scraping the sides at least once so everything is fully mixed in.
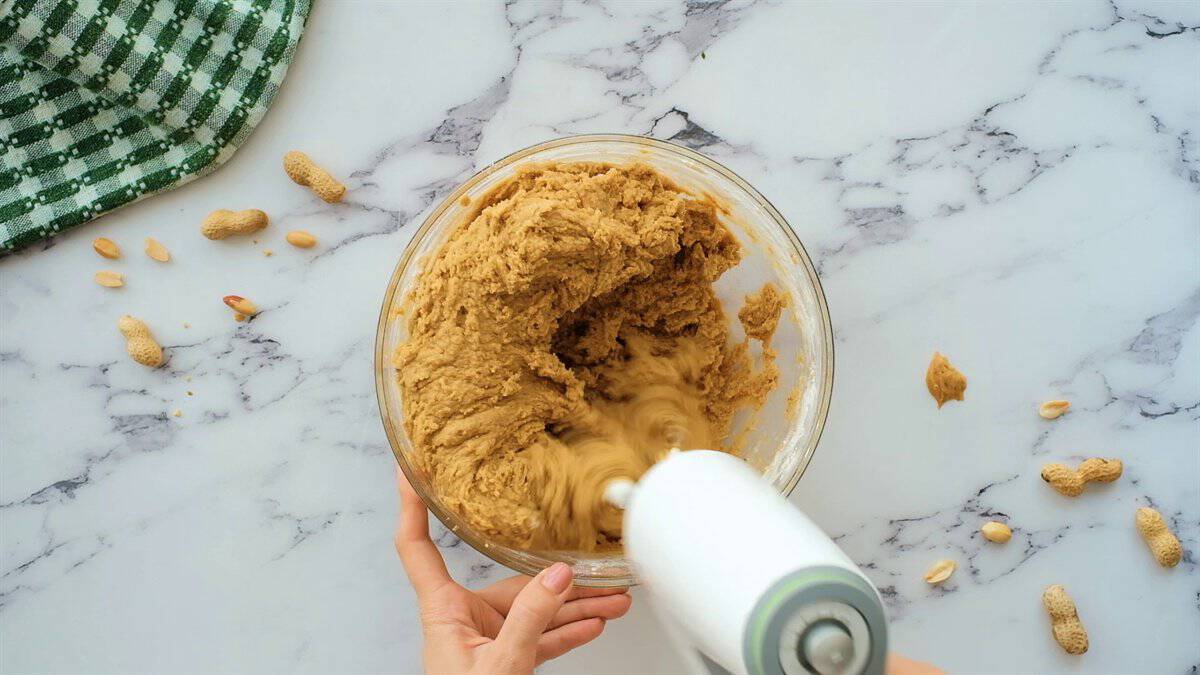
3. Mix in the Dry Ingredients
Whisk the flour, baking soda, baking powder and salt in a separate bowl, then slowly mix them into the peanut butter mixture until there are no dry streaks.
4. Chill the Dough
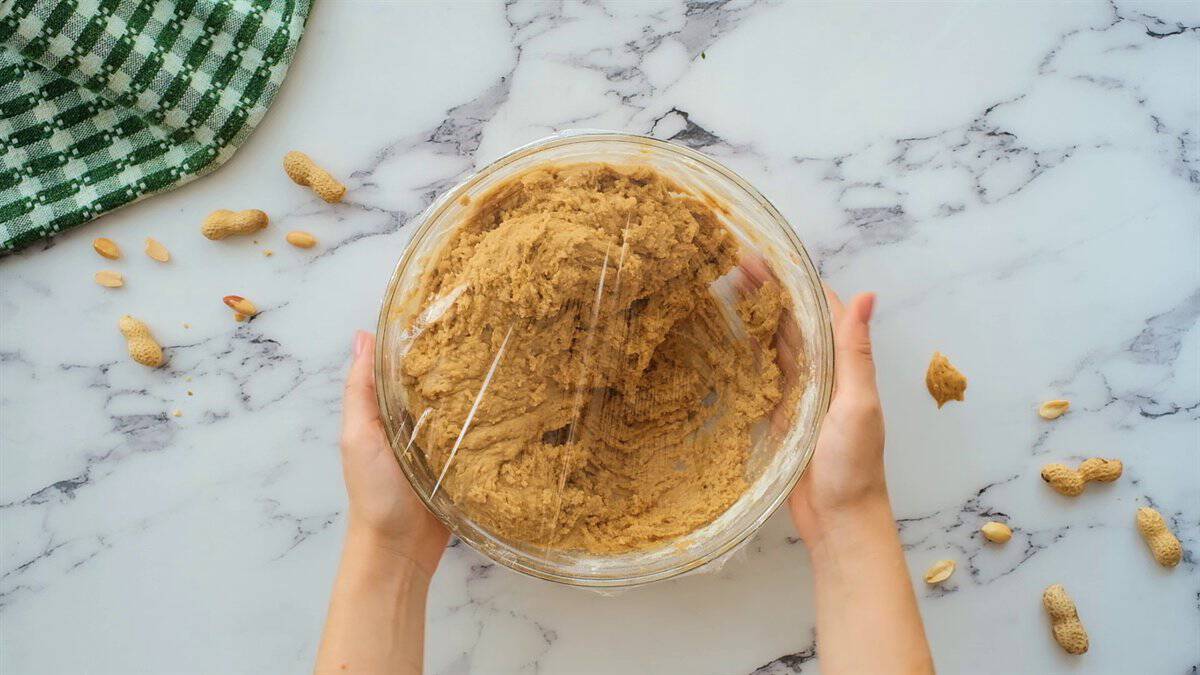
Cover the bowl and refrigerate for at least 1 hour.
PRO TIP: Use a cookie scoop if you have one. You get the same size cookie every time, so they all bake evenly. A regular spoon works too; you just need to scoop the dough.
5. Shape, Sugar and Fork the Cookies
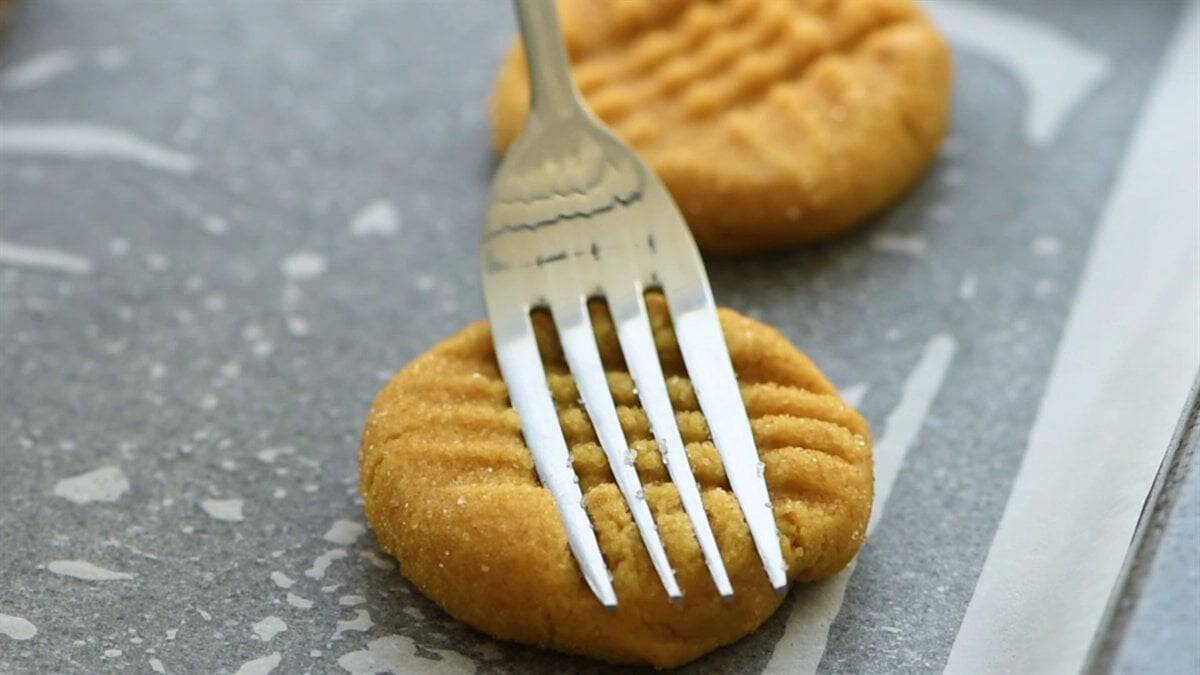
Roll 1-inch balls of dough until smooth, then roll them in sugar or just dip the tops. Set them on a parchment-lined baking sheet a couple inches apart and press a crisscross pattern with a fork.
6. Bake and Cool on the Pan
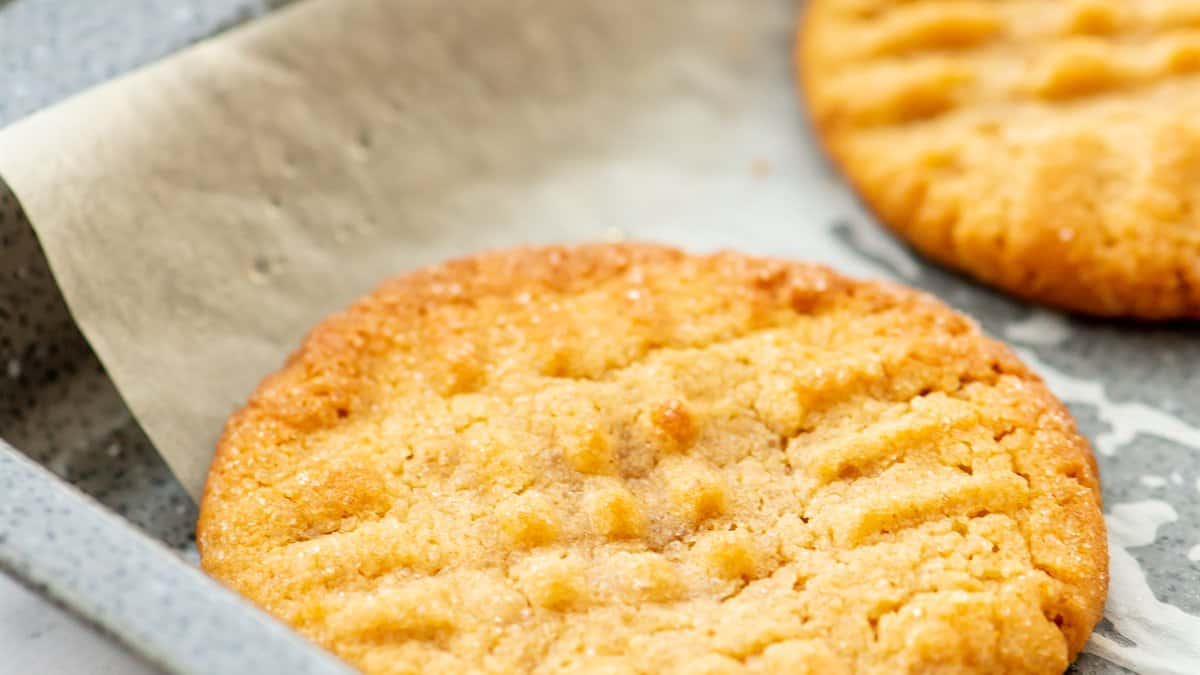
Bake at 350°F for about 8 to 10 minutes. Let them sit on the hot baking sheet until you can lift them without breaking, then move them to a cooling rack.
Reasons Why Peanut Butter Cookies Are Dry and Crumbly
There can be a few reasons for your cookies turning out too dry and crumbly:
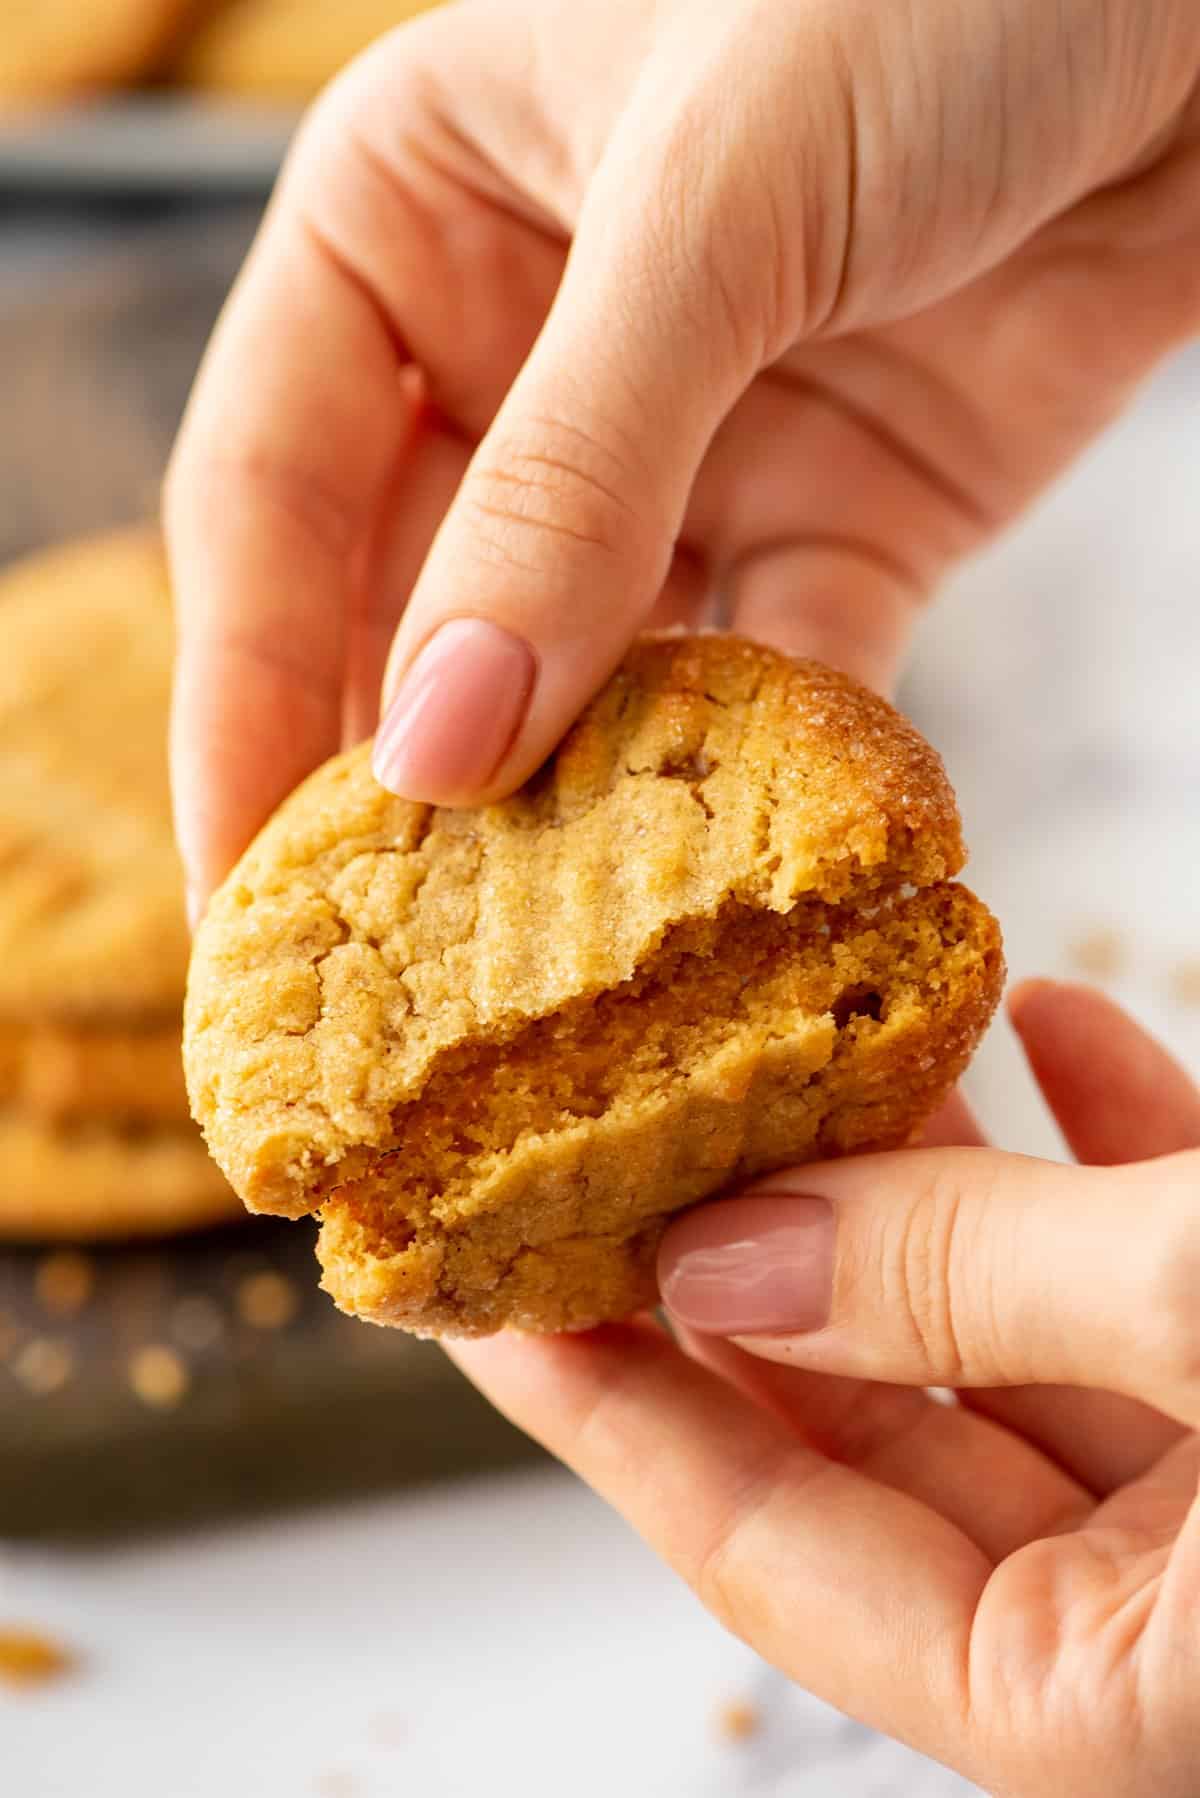
- You cooked them a wee bit too long. Peanut butter cookies can be extremely deceiving. They don’t always look cooked when, indeed, they are fully cooked. They’ll go brown around the edges if you cook them too long, so this is one of those cookies you want to take out a little early. Take them out of the oven as soon as they no longer look wet or raw. They will finish cooking on the baking sheet after you take them out of the oven. Do not over cook your peanut butter cookies!
- You added a wee bit too much flour. Be sure to measure your flour exactly. This recipe calls for just the right amount of flour to allow the cookies to hold their shape during the cooking process. Less flour will result in a chewier cookie but it might spread more. More flour than what I recommend will result in a drier, more crumbly cookie. I measure flour by dipping the measuring cup into the bag and leveling it off with a knife. If you bake with a scale, 2 3/4 cups is about 385 g.
- Your dough was already dry before baking. Peanut butter varies a lot from brand to brand, and egg size makes a difference too. If your dough won’t hold together when you squeeze it, beat in a tablespoon or two of softened butter or milk until it does.
Should You Refrigerate Peanut Butter Cookie Dough Before Baking?
Yes. I recommend refrigerating the dough for at least an hour before baking.
Cold cookie dough will spread less during the cooking process. Ever made homemade sugar cookies that can’t hold their shape? That might be because the dough wasn’t cold enough. Same principle.
If you’re in a real hurry, you can skip the refrigeration process, but your cookies just might not look as good and could potentially take less time to cook.
Why Do You Fork Peanut Butter Cookies?
The main purpose to “fork” your peanut butter cookies is to make them flat prior to cooking.
Can you just smash them with your hand? Yes. Does that yield the classic peanut butter shape? No.
Want to know the best part about using a fork in a criss-cross pattern on your peanut butter cookies? It’s a job that you can let your kids do and they will love you for it. Plus, if you’re a control freak in the kitchen like I am, it’s a difficult task for the kids to mess up. That’s a win-win combination right there!
★★★★★
“These are hands down the best peanut butter cookies I’ve ever had in my life. I will never follow another recipe”
How to Store Peanut Butter Cookies
You can store peanut butter cookies in an air-tight container at room temperature and they’ll stay fresh for days. Just be sure they are completely cooled before you store them. Never put a hot cookie in a sealed container.
If you don’t feel like baking all the cookies at once, you can also store any leftover dough in the refrigerator for several days. Or, you can wrap the dough balls with plastic wrap and freeze any leftover dough for a future date when that pesky peanut butter cookie craving strikes again!
Baked cookies freeze well too. Once they’re completely cool, pack them in a freezer bag or airtight container and press out as much air as you can. They’re best within about 3 months.
To bake frozen dough, let the dough balls thaw in the fridge until they’re chilled but not frozen, then bake as usual.
Peanut Butter Cookie FAQs
Here are the answers to the questions you’ve asked most in the comments.
Can I use salted butter?
Yes. If salted butter is all you have, use it and leave out the 1/2 teaspoon of kosher salt.
Can I use Crisco instead of butter?
I don’t recommend it. One reader who used Crisco sticks found the dough came out a little dry.
How many cookies does this recipe make?
About 4 dozen, using 1-inch balls of dough.
Love Homemade Cookie Recipes?
You’ll definitely want to make these:


If you tried this Grandma’s Peanut Butter Cookies recipe or any other recipe on my website, please leave a 🌟 star rating and let me know how it went in the 📝 comments below. Thanks for visiting!
Pin this now to save it for later
Pin ItGrandma’s Classic Peanut Butter Cookies
Ingredients
- 1 cup unsalted butter softened
- 1 1/2 cups peanut butter no sugar added crunchy recommended; creamy or regular peanut butter also work
- 1 cup granulated sugar
- 1 cup brown sugar packed
- 2 large eggs slightly beaten
- 1 tablespoon vanilla extract
- 2 3/4 cups all purpose flour
- 1 1/2 teaspoon baking soda
- 1 teaspoon baking powder
- 1/2 teaspoon kosher salt
- 2 tablespoons sugar for rolling
Instructions
- Cream 1 cup unsalted butter, 1 1/2 cups peanut butter, 1 cup granulated sugar, and 1 cup brown sugar together in large mixing bowl until light and fluffy. I use my stand mixer with the paddle attachment (a hand mixer works too) and beat on medium high speed, scraping the sides of the bowl several times.
- Mix in 2 large eggs and 1 tablespoon vanilla extract, scraping sides at least once to fully incorporate.
- In separate bowl, mix together 2 3/4 cups all purpose flour, 1 1/2 teaspoon baking soda, 1 teaspoon baking powder, and 1/2 teaspoon kosher salt. Slowly stir into peanut mixture, scraping down sides as needed to fully mix.
- Cover bowl and refrigerate at least one hour.
- To bake cookies, preheat oven to 350°F. Form 1-inch sized balls and roll in between hands to make smooth, then roll in the remaining 2 tablespoons sugar or just dip the tops. Set on parchment lined baking sheet with the sugar side up. Use a fork to gently flatten cookie, turning the fork 90 degrees to make a crisscross pattern. Once flattened, cookies will continue to spread a bit during the cooking process, so allow a couple inches in between each cookie.
- Bake in preheated oven for about 8-10 minutes. When you remove them from the oven, they should still be pretty soft. Allow them to sit on the hot baking sheet until you can lift them off without them falling apart. Transfer cookies to a cooling rack. Allow to fully cool before storing in an airtight container.
Notes
Video
Nutrition
Nutrition information is automatically calculated, so should only be used as an approximation.











Made them this morning. Delicious!
These Peanut Butter Cookies are delicious. Followed the recipe as written. How long should you keep the baked cookies in the freezer?
They’re best within about 3 months. Press out as much air as you can so they don’t get freezer burn.
Krissy,
I’m making a double batch of PB cookies for a 90th bd party that I won’t be in town to attend. I’d like to know if your recipe can be frozen in meal saver bags to keep them fresh? Thank you.
Yes! Either the portioned dough or the baked cookies can be frozen.
Best pesnut butter cookies ever!!!!
Delicious…follow the directions to the letter… you will love them