This post may contain affiliate links. Please read our disclosure policy.
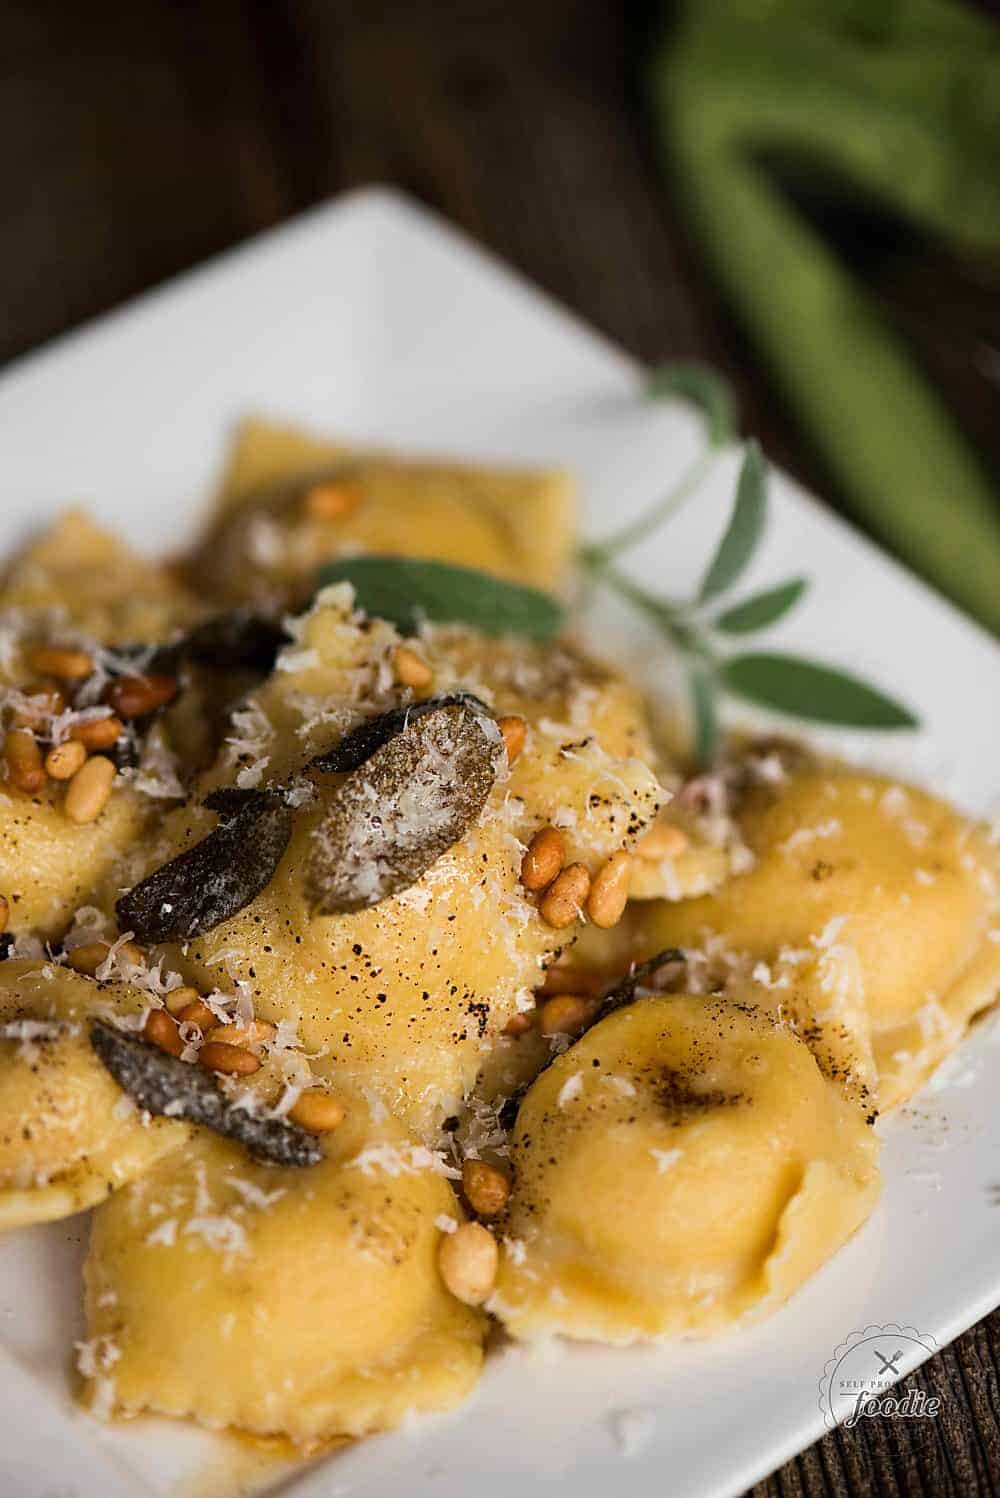
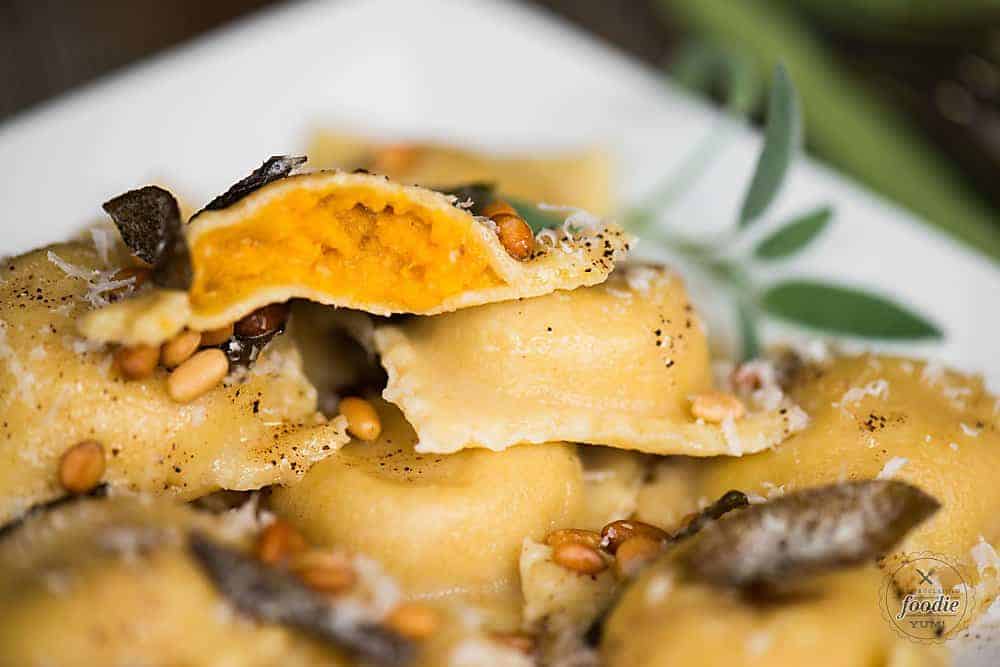
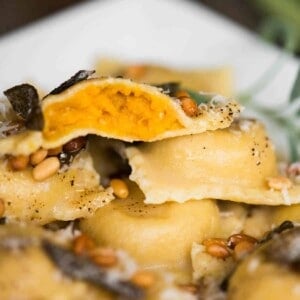
Homemade Butternut Squash Ravioli with Brown Butter Sage Sauce, made with pasta dough from scratch and roasted garlic and butternut, tastes like heaven.
Why this recipe works
Homemade Butternut Squash Ravioli with Brown Butter Sage Sauce – it’s like fall perfection on a plate. In fact, it’s one of my favorite pasta recipes.
- Roasting butternut squash is so easy to make. Once you roast butternut squash with whole cloves of garlic, you’ll never go back. Pure heaven, I tell you!
- Homemade pasta is actually super simply to make and the taste and texture can’t be beat. My pasta recipe works perfectly for this ravioli.
- And let’s not forget the brown butter sage sauce. You know I love my brown butter, and it is perfect for savory dishes like this butternut squash ravioli too. This homemade ravioli has so much flavor, but it requires the perfect sauce to compliment it rather than over power it.
How to Make Homemade Butternut Ravioli
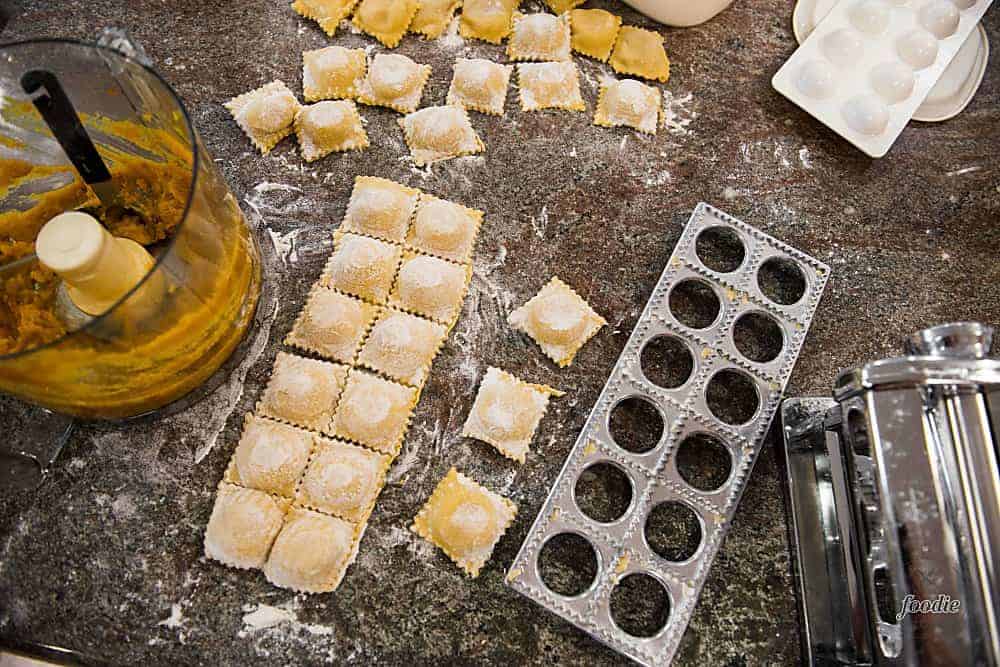
In my opinion, there are three necessary pieces of equipment: a stand mixer with a dough hook, a pasta roller, and a ravioli maker. These are amazon links to the exact products I use. Now, you certainly don’t need all of this equipment and people have been making pasta by hand for centuries, but if you have them, making pasta is a breeze.
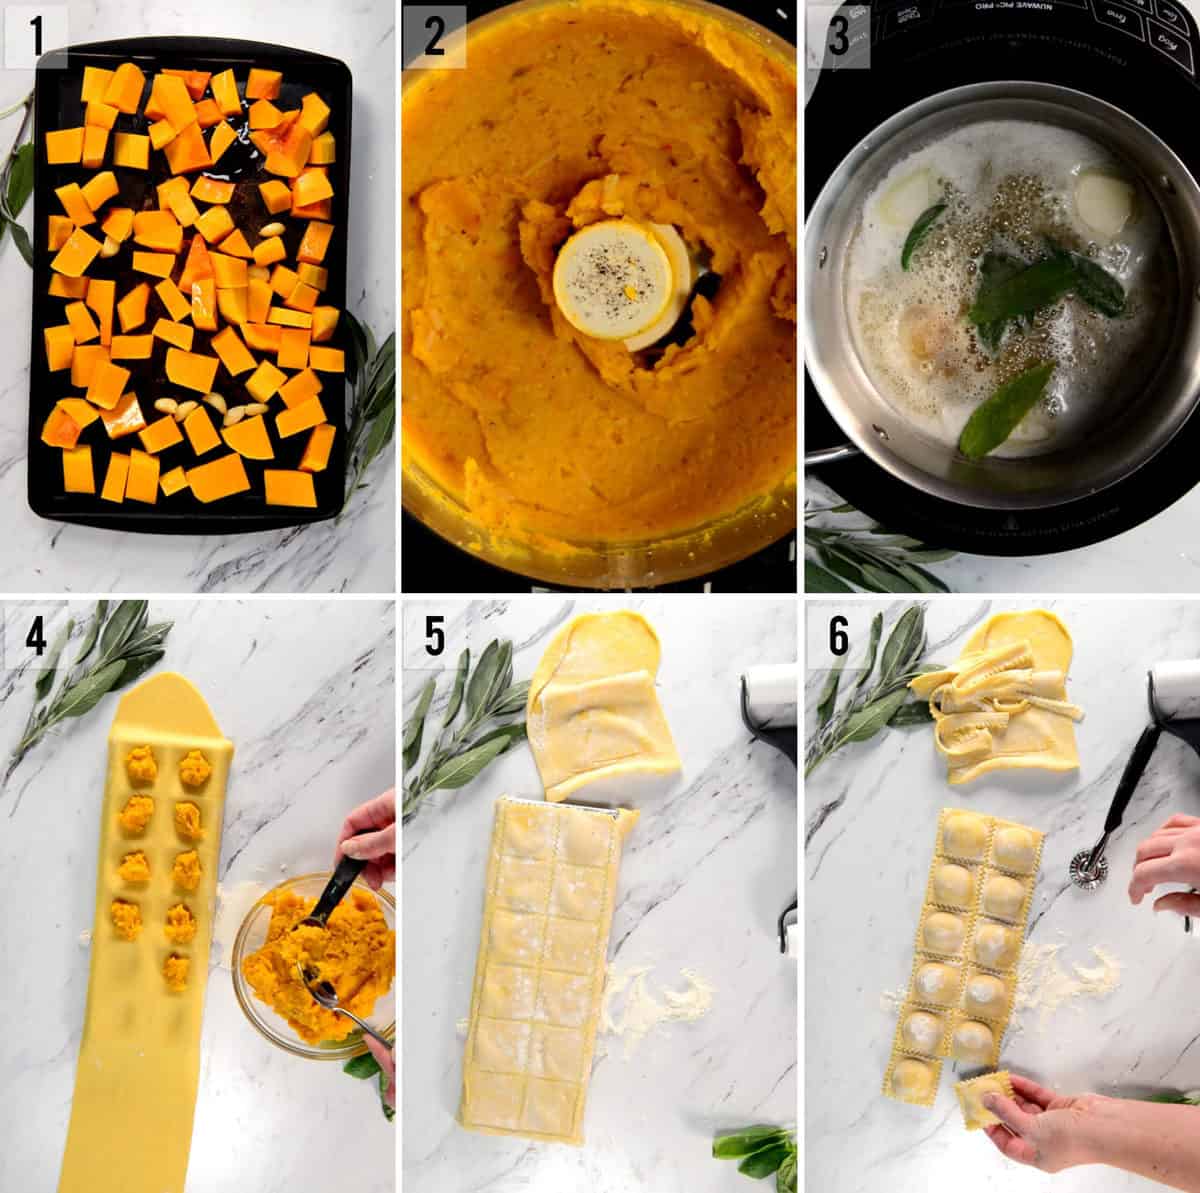
- Prepare the filling. This is done by coating butternut squash and garlic cloves in olive oil and roasting on a baking sheet (photo 1). This gets pureed in a food processor with additional olive oil, parmesan cheese, dried sage, and salt and pepper (photo 2).
- Make the sauce. Butter and fresh sage are cooked over low heat until the butter is browned and the sage is infused (photo 3). This is to be done just prior to serving.
- Make the pasta. Equal parts of all-purpose and semolina flour are combined with eggs, olive oil, water and salt, then kneaded until elastic. After a period of rest, the dough gets rolled into sheets.
- Assemble the ravioli. Cover the ravioli mold with the pasta dough, create a well for the filling, and add about a heaping teaspoon of roasted garlic butternut squash filling to each well (photo 4). Cover with the second sheet of dough (photo 5) and gently roll the dough together to cut the pieces. Then, all you have to do is turn it over, give it a tap, and they all fall out (photo 6). Easy!
Recipe Tips
- To cook: toss the ravioli in salted boiling water for just a few minutes until they float.
- To freeze: line a baking sheet with parchment paper and add a single layer of the homemade ravioli. Set in freezer and once completely frozen, they can be added to a resealable plastic bag. Be sure to squeeze out as much air as possible to prevent freezer burn.
- Making the pasta: I prefer an even mix of semolina flour to all-purpose flour. It gives the pasta great texture and chew, plus it’s insanely easy to work with. The addition of olive oil to the dough can be tasted in the final pasta – YUM! You must kneed your pasta dough for a solid ten minutes. If you want to do this by hand, more power to you, but pasta dough is not a soft dough like bread dough, so you’re in for a workout. I highly recommend using your Kitchenaid mixer. You have to be sure to cover the dough and allow it to rest. This process allows the gluten to do whatever gluten does to make pasta wonderful.
- To roll out the sheets of pasta dough to make your homemade ravioli, you can roll it on the counter by hand, but I highly recommend using a pasta roller. I’ve used the KitchenAid pasta attachments before, and while they certainly are easy to use, there is something so satisfying about rolling pasta dough in a quality made in Italy pasta roller. Just be sure you use enough flour to avoid any sticking in your pasta machine.
- When forming the ravioli, be sure to have floured all of your dough generously so that it releases easily from the mold.
Other Great Ravioli and Pasta Recipes
Once you make your own homemade pasta, you’ll want to find every recipe that you can that uses it. Here are some of my favorites!
- Four Cheese Ravioli
- Meat and Cheese Ravioli
- The BEST Classic Homemade Lasagna Recipe
- Butternut Squash Lasagna
- Roasted Vegetable Lasagna
- Green Chile Chicken Lasagna
- Shrimp Cajun Pasta
- Ham and Pea Pasta Carbonara
- Homemade Alfredo Sauce Recipe
- Easy Bolognese Sauce
- Roasted Red Pepper Sauce
- Chicken Alfredo Lasagna
Pin this now to save it for later
Pin ItButternut Squash Ravioli
Ingredients
Pasta
- 1 1/2 cups Semolina Pasta Flour
- 1 1/2 cups all-purpose Flour
- 4 whole eggs
- 4 tablespoons olive oil
- 4 tablespoons water
- 1 teaspoon kosher salt
Filling
- 2 1/2 lbs butternut squash peeled and roughly chopped
- 8 whole garlic cloves
- 1/4 cup olive oil
- 1/2 cup parmesan cheese
- 1/2 teaspoon dried sage
- salt and pepper to taste
Sauce & garnish (see notes below)
- 4 tablespoons butter (1/2 stick)
- 10 whole fresh sage leaves
- Garnish with 1/4 cup toasted pine nuts and freshly grated parmesan cheese
Instructions
To make the pasta dough:
- Combine all pasta ingredients and mix together to make a stiff dough. Knead by hand or in a stand mixer with the dough hook on medium low speed for 10 minutes or until dough is elastic. Wrap dough in plastic wrap and let rest for at least 20 minutes. On a lightly floured surface roll out to desired thickness and cut as desired.1 1/2 cups Semolina Pasta Flour, 1 1/2 cups all-purpose Flour, 4 whole eggs, 4 tablespoons olive oil, 4 tablespoons water, 1 teaspoon kosher salt
To make the filling:
- Toss the 2 1/2 lbs butternut squash with the 8 whole garlic cloves in a bowl with just enough olive oil to evenly coat everything. Roast on a baking sheet at 400°F for about 45 minutes until soft. Remove from the oven and mix in a food processor to combine – slowly pouring additional olive oil into the mixture until the consistency is smooth. Add 1/2 cup parmesan cheese, 1/2 teaspoon dried sage, and salt and pepper, to taste. Use this filling to make the ravioli.
To make the sauce:
- Combine 4 tablespoons butter and 10 whole fresh sage leaves in small sauce pan. Heat over low heat for at least 15 minutes to infuse the butter. Then, increase the heat just a bit (take care not to burn) and stir continuously until the butter browns slightly and the sage leaves crisp.
To prepare:
- Use a ravioli press to add and seal one teaspoon of filling in between each pasta sheet. Dip finger in water and wet edges of pasta before adding second sheet to allow for a nicely sealed ravioli. Use a roller, gently pressing down, to seal them up. Be sure to heavily flour the outside of your pasta to enable easy release.
- Boil the ravioli in plenty of salted water until just done. This will only take a short time! The ravioli will float on the surface of the water when they are finished. Carefully remove and drain. Serve with sage butter, a 1/4 cup toasted pine nuts, and a generous amount of freshly grated Parmesan cheese.
Notes
- To cook: toss the ravioli in salted boiling water for just a few minutes until they float.
- To freeze: line a baking sheet with parchment paper and add a single layer of the homemade ravioli. Set in freezer and once completely frozen, they can be added to a resealable plastic bag. Be sure to squeeze out as much air as possible to prevent freezer burn.
- Making the pasta: I prefer an even mix of semolina flour to all-purpose flour. It gives the pasta great texture and chew, plus it’s insanely easy to work with. The addition of olive oil to the dough can be tasted in the final pasta – YUM! You must kneed your pasta dough for a solid ten minutes. If you want to do this by hand, more power to you, but pasta dough is not a soft dough like bread dough, so you’re in for a workout. I highly recommend using your Kitchenaid mixer. You have to be sure to cover the dough and allow it to rest. This process allows the gluten to do whatever gluten does to make pasta wonderful.
- To roll out the sheets of pasta dough to make your homemade ravioli, you can roll it on the counter by hand, but I highly recommend using a pasta roller. I’ve used the KitchenAid pasta attachments before, and while they certainly are easy to use, there is something so satisfying about rolling pasta dough in a quality made in Italy pasta roller. Just be sure you use enough flour to avoid any sticking in your pasta machine.
- When forming the ravioli, be sure to have floured all of your dough generously so that it releases easily from the mold.
- Sauce amount – Since I typically don’t cook all of these ravioli (I cook some and freeze the rest), the amount of sauce in this recipe is perfect for my family of four. If you’re planning on cooking ALL of the ravioli at the same time, you may want to double or triple the sauce amount.
Video
Nutrition
Nutrition information is automatically calculated, so should only be used as an approximation.
This recipe was originally published in November 2017 and has been updated with helpful information, ingredient and process photos, as well as recipe tips. Don’t worry – the recipe hasn’t changed!






Oh. My. Goodness!!! So delicious! First time making ravioli and they came out fantastic! Because I like whole wheat, I split three ways: whole wheat, 00, and semolina – very nice texture. I needed to add more water probably because of ww flour. I also took your advice in using the mixer to knead, THANK YOU….I’ve roughed it the other couple of times making pasta and ended up exhausted by dinner time. Rolled the dough thru to #5, but #4 is likely the better choice if using bleached flour.
So that seemingly too simple brown butter & sage sauce – INCREDIBLY TASTY! Thank you for sharing your recipe – it made for a very impressive meal.
I’m going to make these soon. Can I roast my own garlic and add it to,the roasted squash?
Absolutely!!!
Do you remove the garlic before purring the squash or include it?
include it!
Oh Wow . First time ever making these . Thank you so much ! I went exactly by recipe and family loved it . So then I used the dough recipe and make potato ones as well . I’m a little braver now and did it all by hand . Thanks again
Question: what size are you making the raviolis to get 72 of them? I wasn’t able to get that many, but perhaps am making them too large and not rolling thin enough. The dough was perfect though and the filling delicious!! I tried adding a big pinch of brown sugar and a touch of nutmeg to the filling, as someone mentioned above. Thanks for the recipe!!
Glad you liked it! I use a norpro ravioli press and they are definitely bite sized… not cut into 3-bite sized.
When making the dough, iet looks like you use a Pasta machine to roll out the dough. How far do you go when thining the dough…3? 4? or thinner?
THANKS
Hi Peggy, I have an ATLAS machine and I usually take it to a level 5. I know that the levels are different on various machines though. Hope that helps! Krissy
Looking forward to making this recipe this weekend! Quick question – should the filling be completely cooled before putting in the food processor / before filling?
Just made this for the first time! Also my first time attempting homemade pasta. It turned out GREAT!! Thank you so much. I’m going to tweak the filling a little by adding a touch of sugar and nutmeg. I also grated nutmeg over the top of the completed dish. Incredible. I had a bit of a learning curve on the pasta. Had to look up some troubleshooting ideas. I think I was trying to send too much through my machine (Kitchenaide attachment). I also didn’t realize I needed to send it through on the first setting lots of times, like 15…. My pasta turned out wonderfully.
Excellent recipe! On my second round, I made a few changes: added ricotta cheese and crushed amaretti cookies to the filling and more crushed amaretti cookies to garnish. I know it sounds weird but try it.
Now THAT is interesting! So glad you liked it. -Krissy
That’s how I had it in the restaurant-with the amaretti cookies. Delicious!
Can you make the filling the day before? And can you add some ricotta to the filling?
Yes and yes! I’ve never added ricotta to this particular filling but that would be a great addition. You can definitely make the filling ahead of time. Enjoy! Krissy