This post may contain affiliate links. Please read our disclosure policy.
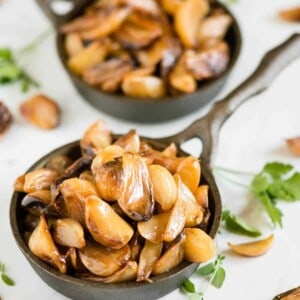
Roasted Garlic is incredibly easy to make and adds so much flavor to your favorite recipes. Here are my easy cooking tips on how to roast garlic.
Forget the old method of roasting whole heads of garlic. My method is so incredibly easy and the results are perfect every time!
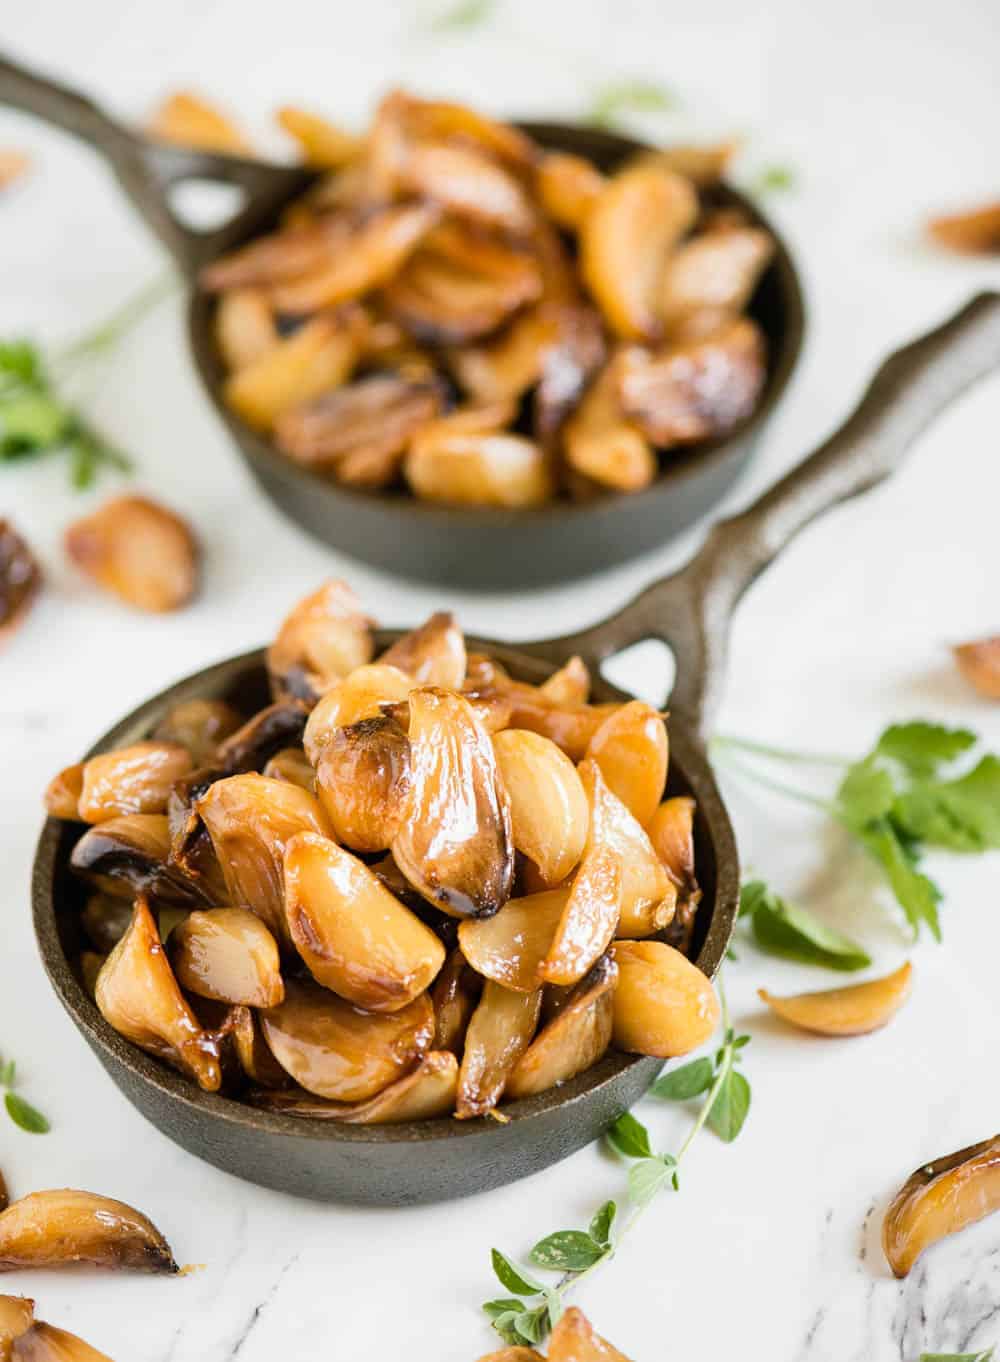
Why this recipe works:
Unlike raw garlic which is extremely strong and potent, roasted garlic has a much more mild flavor.
In it’s raw form, garlic is hard and crunchy. Once roasted properly, the golden brown outside is chewy and the inside is soft and creamy.
You can substitute roasted garlic for any recipe that calls for garlic. Since the flavor is more mild, you can double, triple, or quadruple the amount!
- Rather than making whole roasted garlic, I buy peeled garlic cloves in bulk at Costco and make roasted peeled garlic instead!
- Using pre-peeled garlic cloves saves time and enables you to make a large batch.
- This method is much easier than roasting a garlic bulb where you simply cut off the end, drizzle it in olive oil, and bake it in the oven.
- When you roast garlic in olive oil, it keeps much longer than fresh garlic. Also, by making a large batch, you will always have it available to use in recipes.
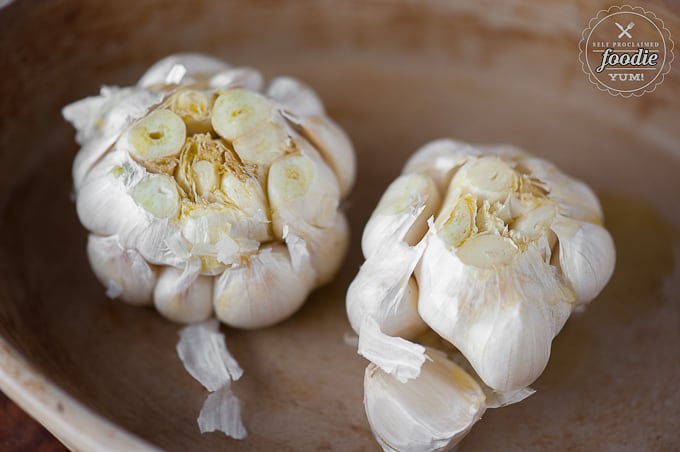
How to roast garlic:
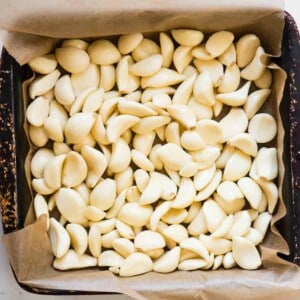
- First step is to line a baking dish with parchment paper. This step isn’t necessary, but it makes for easy clean up.
- I roast about 4 cups of peeled garlic cloves at a time. This may seem like a lot, but it keeps a lot longer in the refrigerator once it has been roasted versus raw. Plus, I throw my roasted garlic cloves in just about everything I make.
- Not a lot of olive oil is needed. Figure about a half tablespoon for every cup of garlic cloves.
- Then, to roast, simply start off with a 400 degree F oven and roast the garlic for about 20 minutes. This will make the tops nice and brown. At this point, I give it a good stir and reduce the heat to 350 degrees F.
- I like to stir the garlic about every five minutes during the second half of the cooking process to ensure even cooking and browning. Just make sure you’re careful not to smash them.
That’s it! No squeezing the golden cloves of garlic out of the papery bulb. No mess. Perfect results every time.
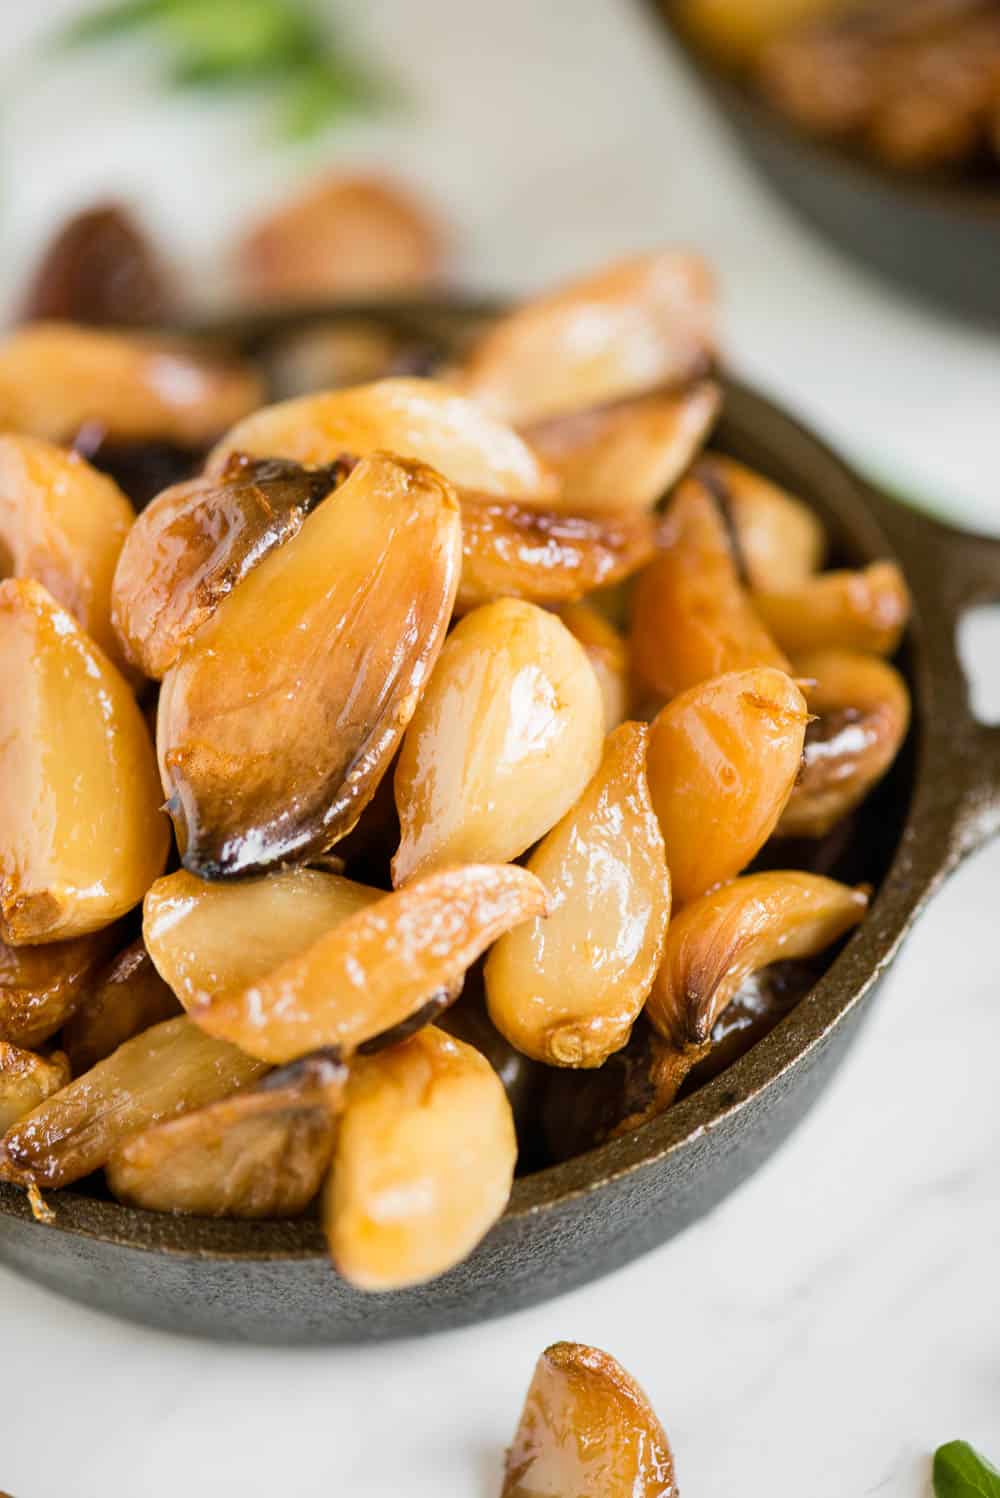
Best uses for roasted garlic:
I seriously use roasted garlic almost daily in my cooking. Here are some of my favorite methods for incorporating roasted garlic into your meals.
- Puff Pastry Pigs in a Blanket – These little appetizers taste so good with the roasted garlic. They’re a hit at every party.
- Garlic bread – I have found that roasted garlic makes the absolute best garlic bread! I cook an entire loaf until heated through. While it’s cooking, I mix together some high quality butter, a ton of roasted garlic, and some garlic herb blend to make a spread. Then, when the bread comes out of the oven, just lather each piece up with the spread.
- Garlic roasted potatoes – Stir in a handful and watch the flavor change from good to oh-my-god-what’s-in-these?
- Roasted Brussels sprouts with garlic – Since I keep my roasted garlic in the fridge, I just toss some in with the sprouts for the last few minutes of cooking.
- Homemade pizza – technically we buy frozen pizzas all the time and add a bunch of veggies at home before we cook them. You better believe I add a ton of garlic.
- Roasted garlic aioli – aka the best spread or dip ever
- Make a vibrant pink Beet Hummus!
And the list goes on and on!
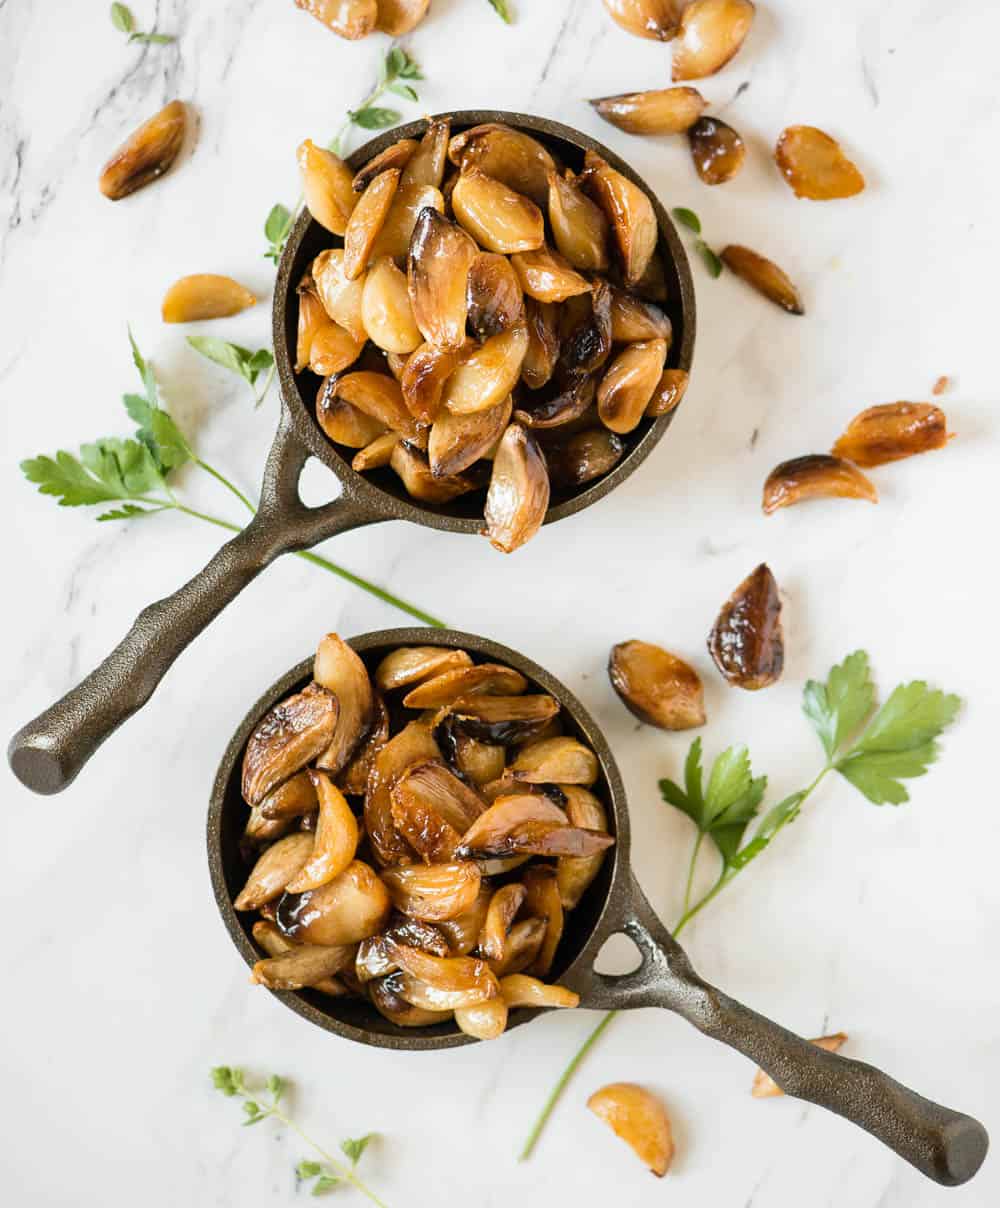
Pin this now to save it for later
Pin ItRoasted Garlic
Ingredients
- 4 cups garlic cloves peeled
- 2 tablespoons extra virgin olive oil
Instructions
- Preheat oven to 400°F.
- Line baking dish with parchment paper. Add 4 cups garlic cloves and 2 tablespoons extra virgin olive oil; toss to combine.
- Roast garlic in preheated oven for 20 minutes. Stir the garlic for even browning, reduce the oven temperature to 350°F, and continue cooking for another 20 minutes – this time carefully stirring every five minutes. Take care not to smash the garlic cloves while stirring.
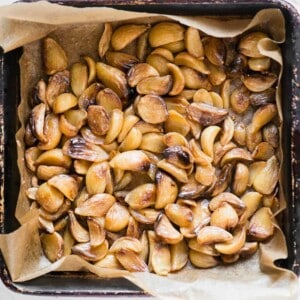
- Enjoy warm, otherwise allow to fully cool and store in an airtight container in the refrigerator.
Nutrition
Nutrition information is automatically calculated, so should only be used as an approximation.




I recently ate roasted garlic at a crawfish boil. It was so good and had a buttery taste. Is that natural or is there a trick for that?
That’s what happens when you roast it. Super creamy and chewy and the flavor is divine.
The best way of roasting garlic! So easy!°
Thank You !
Can you freeze the garlic
Yes! I’m about to make another big batch and I think I will, but I’ll also say that my last batch has lasted a REALLY long time in the fridge. I think I made it a couple months ago!
I haven’t roasted garlic this way before but I’m having a macaroni and cheese bar on Saturday. I think this would be the perfect solution for having roasted garlic that actually looks nice…and as a side note the house will smell AMAZING!
Fantastic! You made this so simple. Thank you
Perfect fool proof way to make roasted garlic, comes out every time! Thank you.
This is one of my favorite ways to add flavor to any dish! I even make it smear all over fresh bread. It’s dangerously delicious!
Ooooooh, I love garlic! How long does this last in the refrigerator?
I’ve actually kept mine in the refrigerator for much longer than a month and it was fine. I’ve never had it go bad. Now, my process is to roast the entire back and then I divide it between three small containers. One goes in the fridge and the other two go in the freezer. When I’m half way through the last container, I buy another bag and start all over again!
Roasted garlic is amazing. And I love the way my house smells, is that weird? LOL
Not weird at all!
I love doing this- roasted garlic is so awesome!
Ours turned out perfect! Thanks so much!
I also use the jars of peeled garlic. I place them in a ramekin, cover with olive oil and roast at 400 degrees for about 40 minutes. I get great garlic and great oil.
Great recommendation!