This post may contain affiliate links. Please read our disclosure policy.
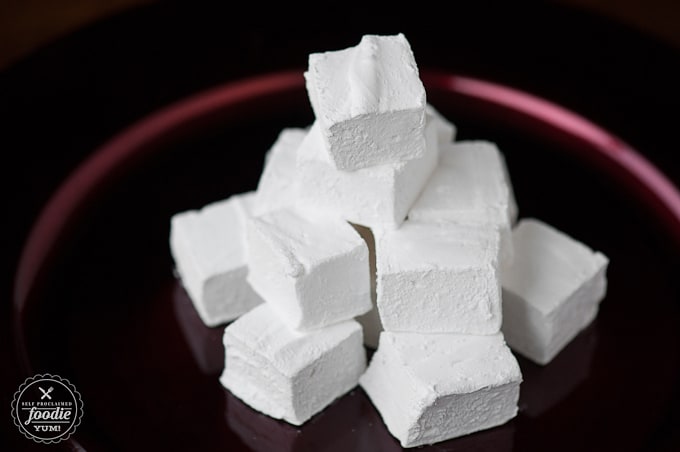
Homemade Peppermint Marshmallows are easy and fun to make, are an outstanding addition to hot chocolate, and you can gift them as a holiday treat.
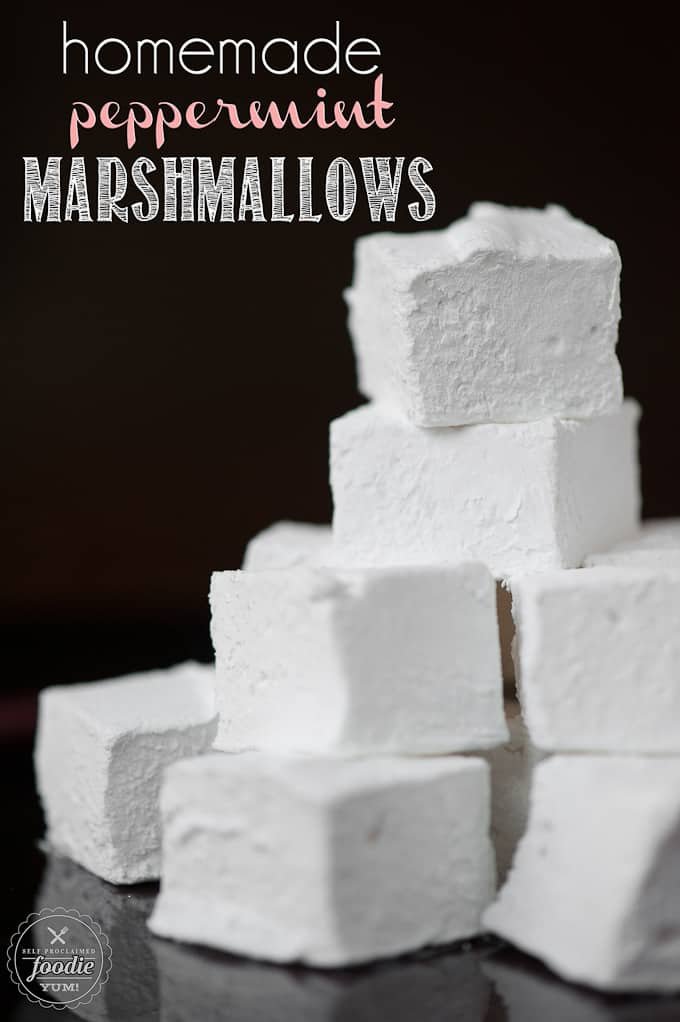
This was the first time I made homemade marshmallows, and let me tell you… the process was FUN! I don’t have a candy thermometer so I used my digital meat thermometer. It worked fine! Although, now I want a candy thermometer because my need for cool kitchen gadgets is never ending.
Why was making marshmallows so fun, you might be wondering? Well, let me tell you.
First, you have to let the sugar, corn starch, and water mixture get to a scalding 240 degrees F. Water boils at 211.9 degrees F. This fascinating tidbit allowed me to drift back into my chemical engineering roots and ponder the idea of boiling something way hotter than water. At first, my not-so-scientific-mom-brain thought “how can this ever get up to 240 degrees F? Water boils at 212 degrees F. How can this get any hotter?” I’m sure my smart nerdy friends are laughing at this lapse in intellect. It took me a second to realize that sugar has a higher boiling point than water. Since I had never made any kind of candy before, I never really understood the need for or significance of a candy thermometer. Well, I guess the peak temperature of your sugar solution determines how chewy or hard your final candy product becomes. Cooking = Science. Reason #42 why I love it.
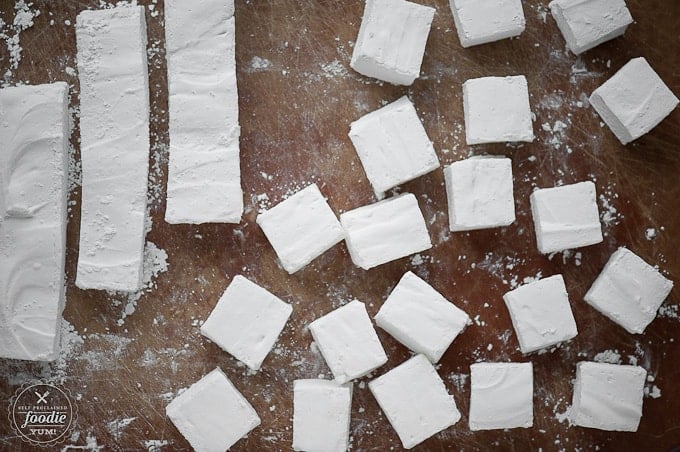
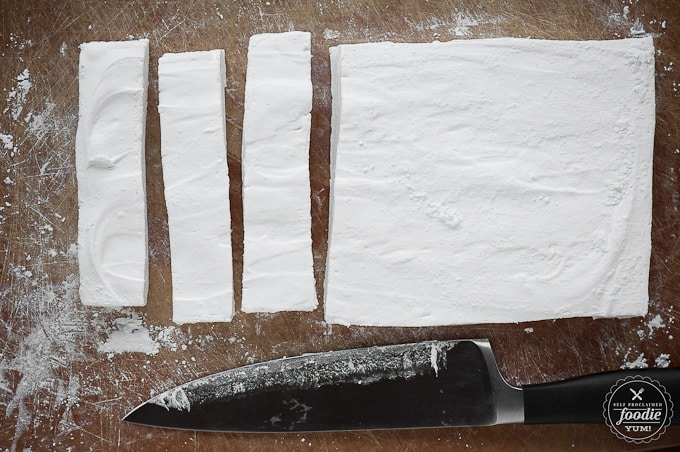
Second, I was so excited at how perfectly wonderful they turned out. They were just as I had imagined… but better. We had fancy afternoon tea at one of my favorite hotels last year and on the treat tray, one of the selections was a homemade marshmallow. I was sorely disappointed. It was more soft than it was chewy, and it kind of made me sick. I thought that’s how these might turn out and that’s just what a homemade marshmallow tasted like, but these were heaven. They were easy to handle once coated with the powdered sugar and corn starch. They were easy to cut – I just used a sharp knife and washed it off every so often. And the texture and taste was wonderful.
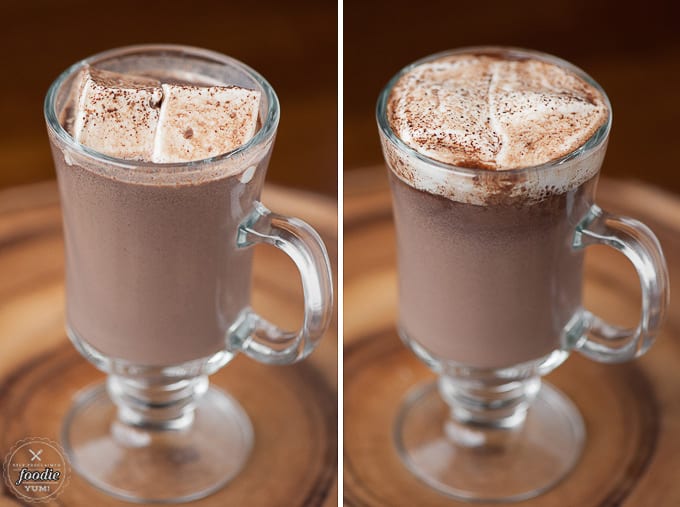
The very best thing about these peppermint marshmallows? They melted exquisitely, and were the perfect addition to a rich cup of hot cocoa. Speaking of peppermint and chocolate, you might also be interested in my Homemade Peppermint Patties, Chocolate Peppermint Swirl Cookies, and my Peppermint Bark Recipe.
To see all of 2014’s holiday treats, click the links below:

Five Minute Fudge | Holiday Sugar Cookies | Peppermint Candy Cane Cookies
Peppermint Chocolate Pie | Hazelnut Lemon Curd Thumbprints | Homemade Peppermint Marshmallows
Chewy Molasses Sugar Cookies | Easy Petite Palmiers | Triple Threat Peppermint Brownie Bites
Toasted Coconut Cookies | Walnut Spiced Rum Balls | Mexican Chocolate Truffles
Pin this now to save it for later
Pin ItHomemade Peppermint Marshmallows
Ingredients
- 3 packages unflavored gelatin
- 1/2 cup ice cold water
- 1 1/2 cups sugar I used ultra fine baking sugar
- 1 cup light corn syrup
- 1/4 teaspoon kosher salt
- 1/2 cup water
- 1 teaspoon vanilla extract
- 2 teaspoons peppermint extract
- Nonstick spray
- 1/3 cup powdered sugar
- 1/3 cup cornstarch
Instructions
- In the bowl of a stand mixer, combine the gelatin with the ice cold water and give it a swirl to ensure the gelatin doesn’t clump. Let sit.
- In a small saucepan, combine sugar, corn syrup, salt, and water. Heat on medium high with the lid on for a few minutes to bring it to a boil. Then, remove the lid and heat on high heat until a candy thermometer reads exactly 240 degrees F. This can take 8-10 minutes. As soon as it reaches temperature, remove it from the heat.*
- With the whisk attached to the stand mixer, start mixing the gelatin and water on low speed. Slowly pour the hot sugar mixture into the bowl. Once all of the hot sugar mixture has been added, turn the speed to high and continue to mix until you get a beautiful white marshmallow mixture that is just warm to the touch, about 13-14 minutes. With the mixer still running, add the vanilla and peppermint extracts and mix for one more minute.
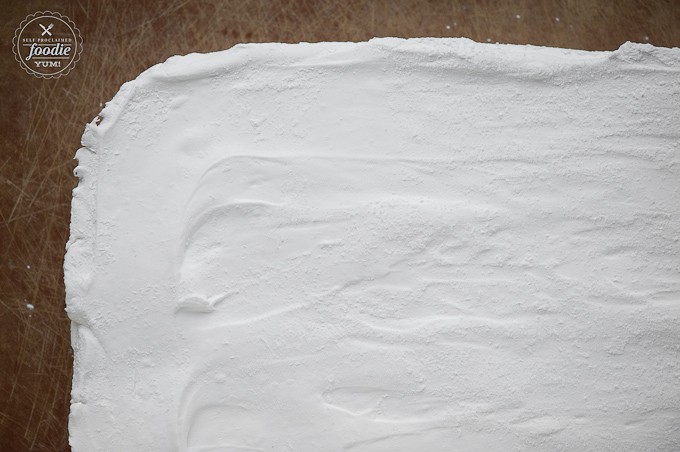
- In a separate bowl, combine corn starch and powdered sugar. Spray 13×9 inch baking dish with cooking spray as well as a rubber spatula. Add about 1/3 of the sugar and corn starch blend, then shake the pan to evenly coat the bottom and sides. Use spatula to transfer the marshmallow mixture from the bowl to the baking dish and spread into an even layer. Top with half of the remaining sugar and corn starch mixture, and spread it across the top to cover. Allow the marshmallows to sit uncovered 4-10 hours.
- Lift the marshmallows out of the pan and transfer to a cutting board. Cut into desired shapes and then roll each individual marshmallow in remaining sugar and corn starch mixture to coat all sticky sides.
- Store in air tight container. They can also be frozen, if needed.
Notes
Nutrition information is automatically calculated, so should only be used as an approximation.



Do you know how long they last before going bad?
Hmm. Good question. They’ll go stale before they go “bad”. I always keep mine in the freezer. I’ve had strawberry marshmallows in the freezer since May and I just took some out to roast over the fire and they were fabulous. If kept in an airtight container, I would imagine they would last for awhile but if you’re not going to enjoy them right away, I would freeze them!
Anyone know if you can use an oil-based extract (anise oil) to flavor the marshmallows without collapsing them? I know that any oil based flavorings deflate meringue. Vanilla, peppermint, and normal anise extracts are all water or alcohol based to avoid those problems. However I love the strong flavor of real anise oil.
I’ve never tried! If you do, will you let me know how it goes? I have an oil based pistacio flavor that I’d love to try but I’m scared.
Really love this recipe. Thank you