This post may contain affiliate links. Please read our disclosure policy.


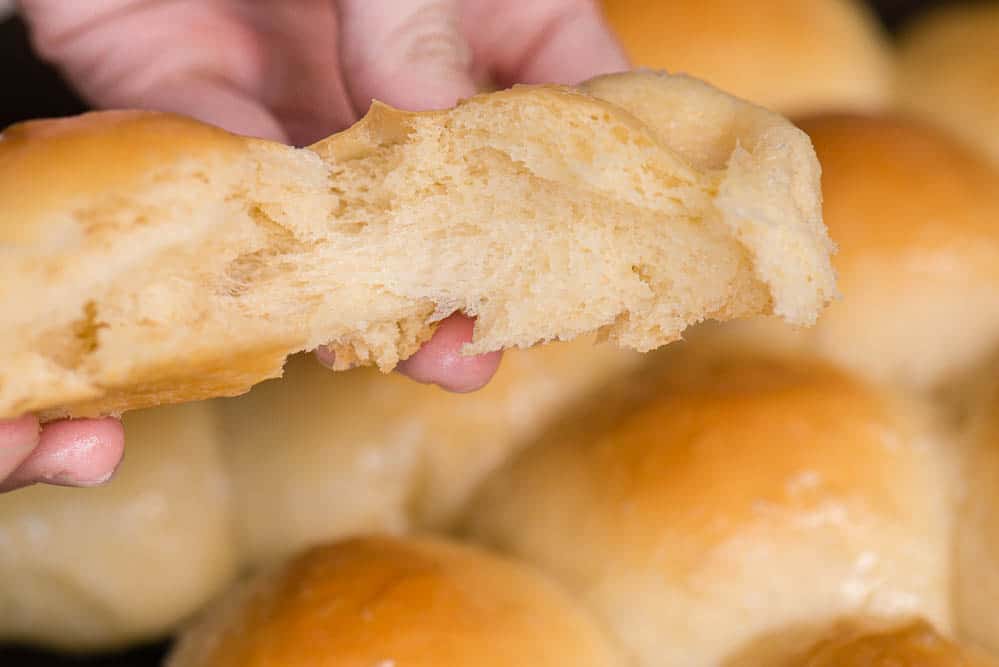
The best homemade Dinner Rolls are soft and chewy. This classic yeast roll recipe takes time but is really easy and always makes the best rolls!
There really isn’t anything more satisfying than baking homemade bread.
Why this recipe works:
Not gonna lie. It’s easier to buy dinner rolls.
- We make dinner rolls because it’s satisfying to transform flour into something soft and chewy.
- We make them so that our house is filled with the aroma of freshly baked bread.
- We make them so we can let the dough rise and then punch it down.
I could go on and on listing a million reasons why you should make homemade dinner rolls, but I just want you to try it and see for yourself.
How to make dinner rolls from scratch:
Lots of detailed step by step instructions in the recipe card below, but here are the basics:
- Once you mix all of the ingredients together, you’ll knead the dough. You can definitely do this by hand, but my preferred method is to use a stand mixer with a dough hook.
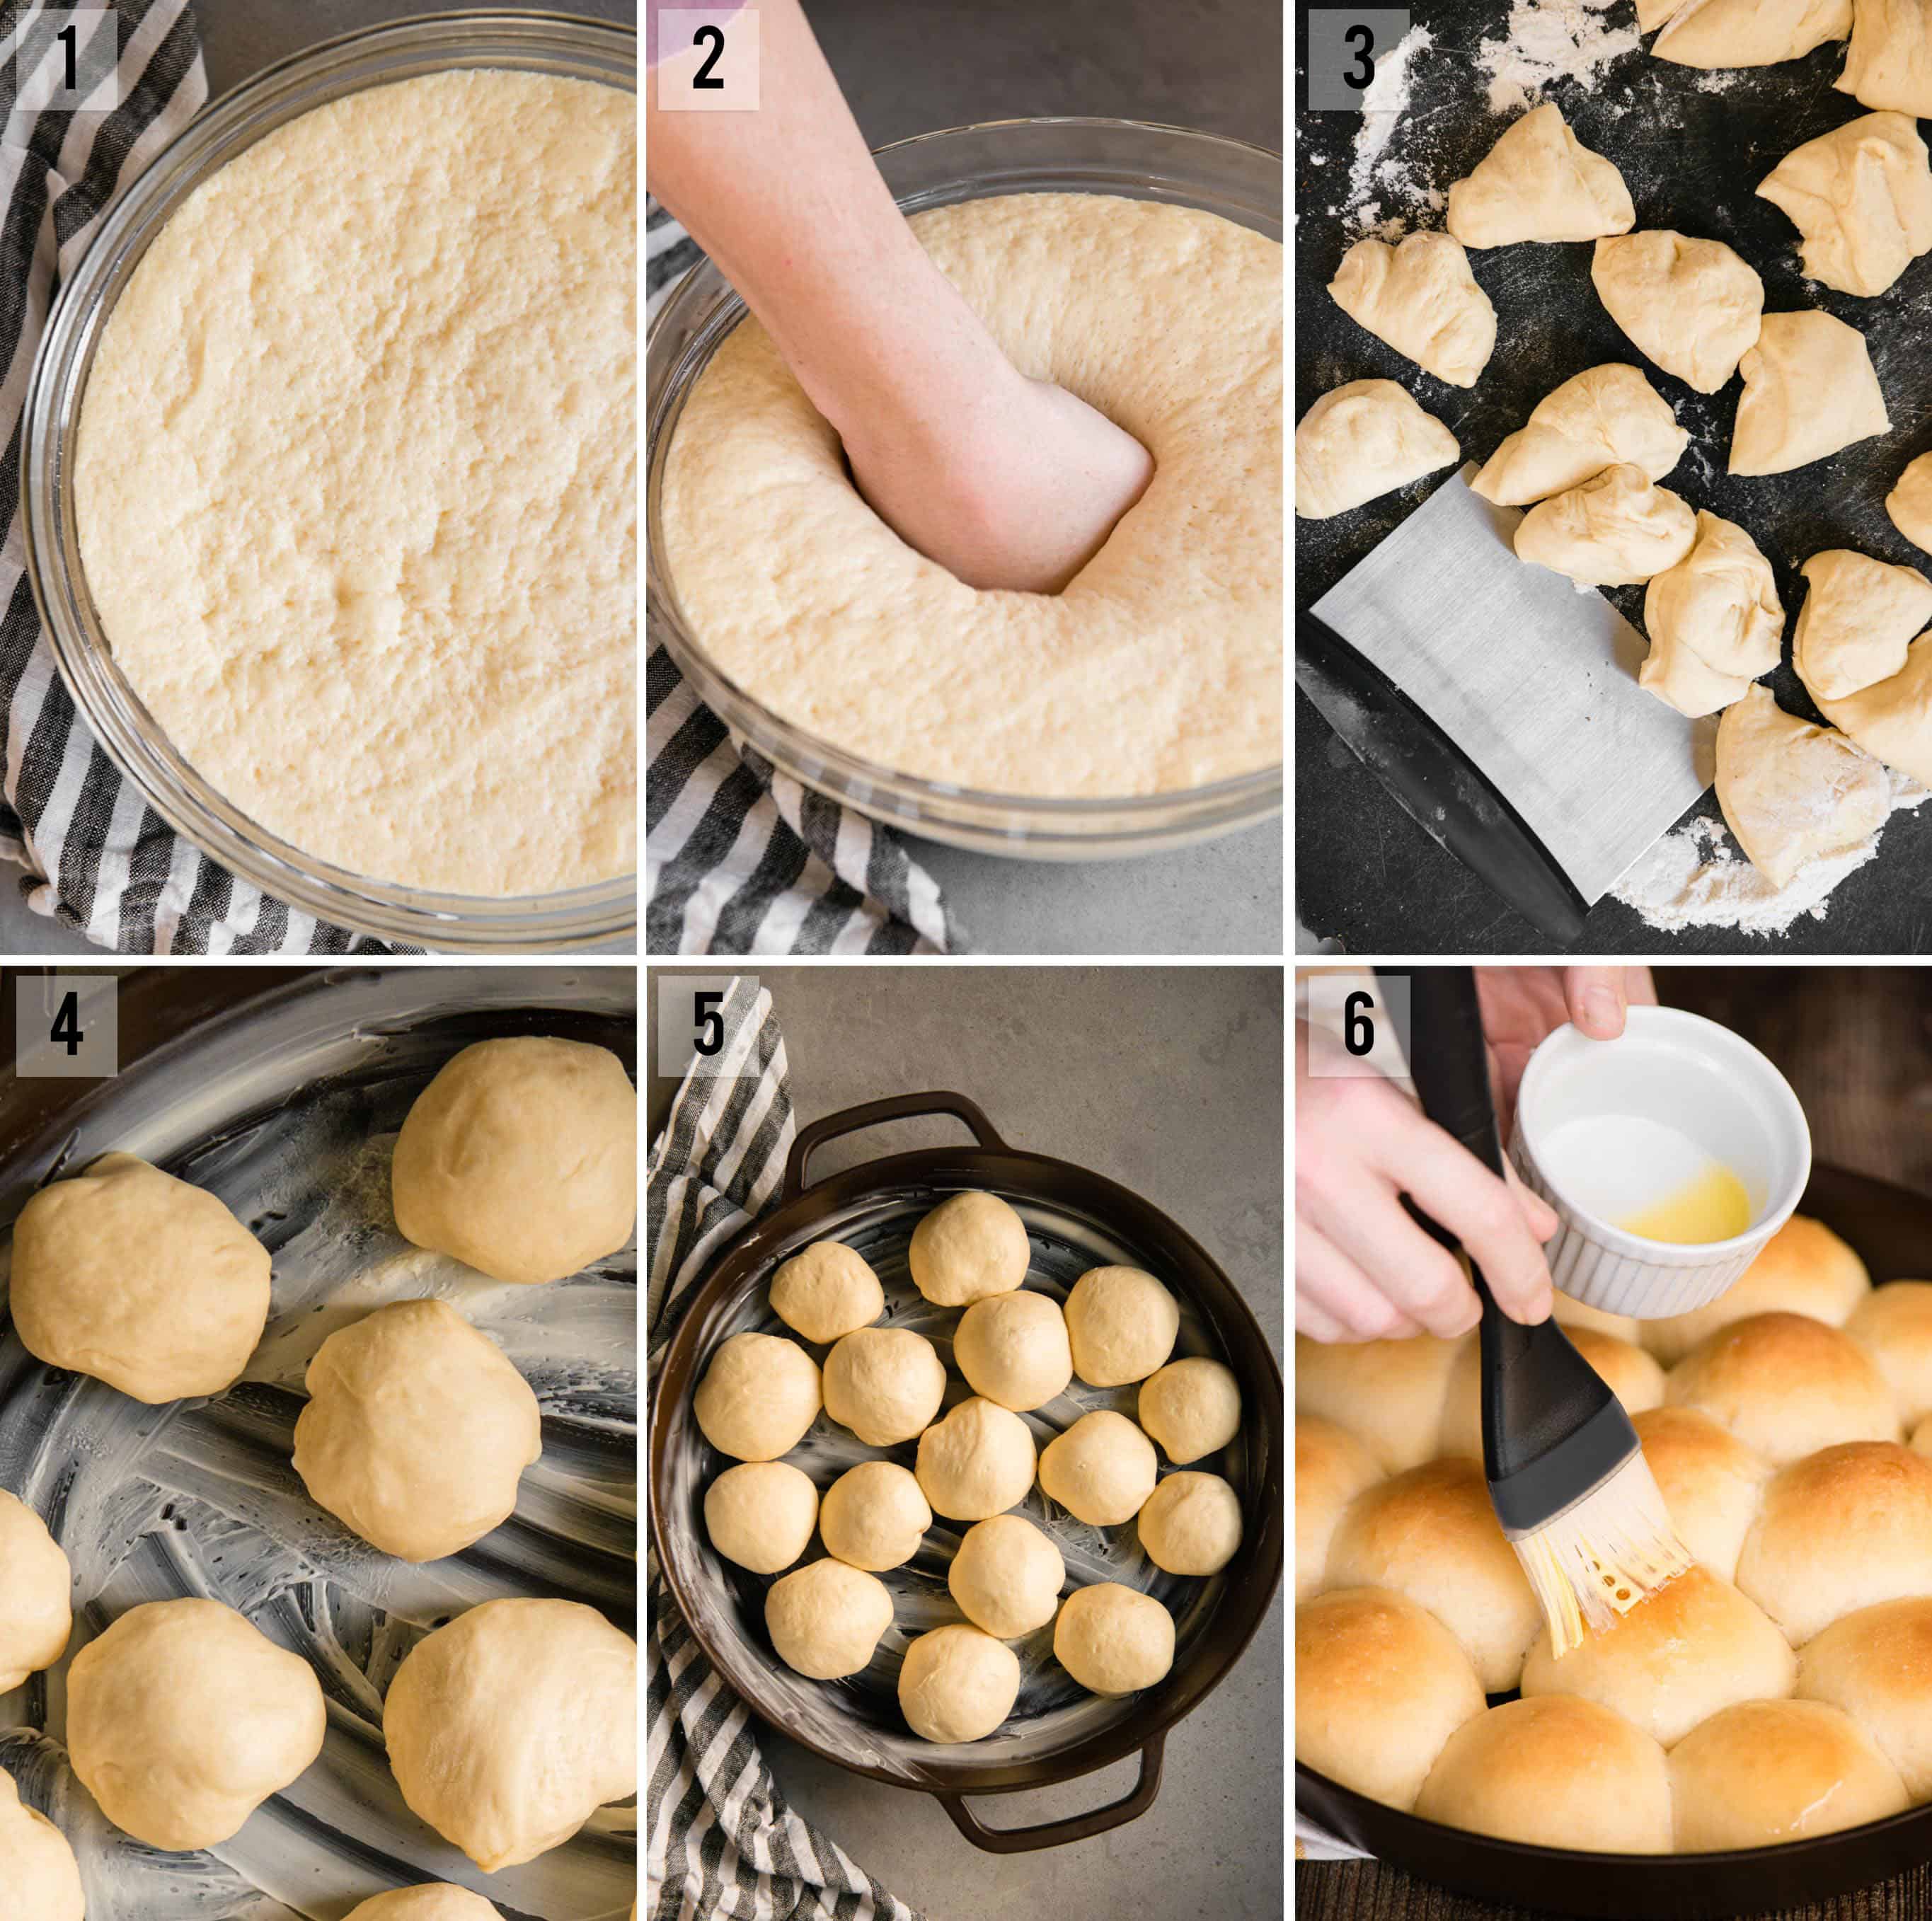
- You’ll allow your dough to double in size with it’s first rise which will take about an hour or two (photo 1). Next is my favorite part: punching the dough (photo 2).
- Cut the dough into 16 equal pieces (photo 3), shape them into balls by tucking the corners underneath, and placing in a heavily greased baking dish (photo 4).
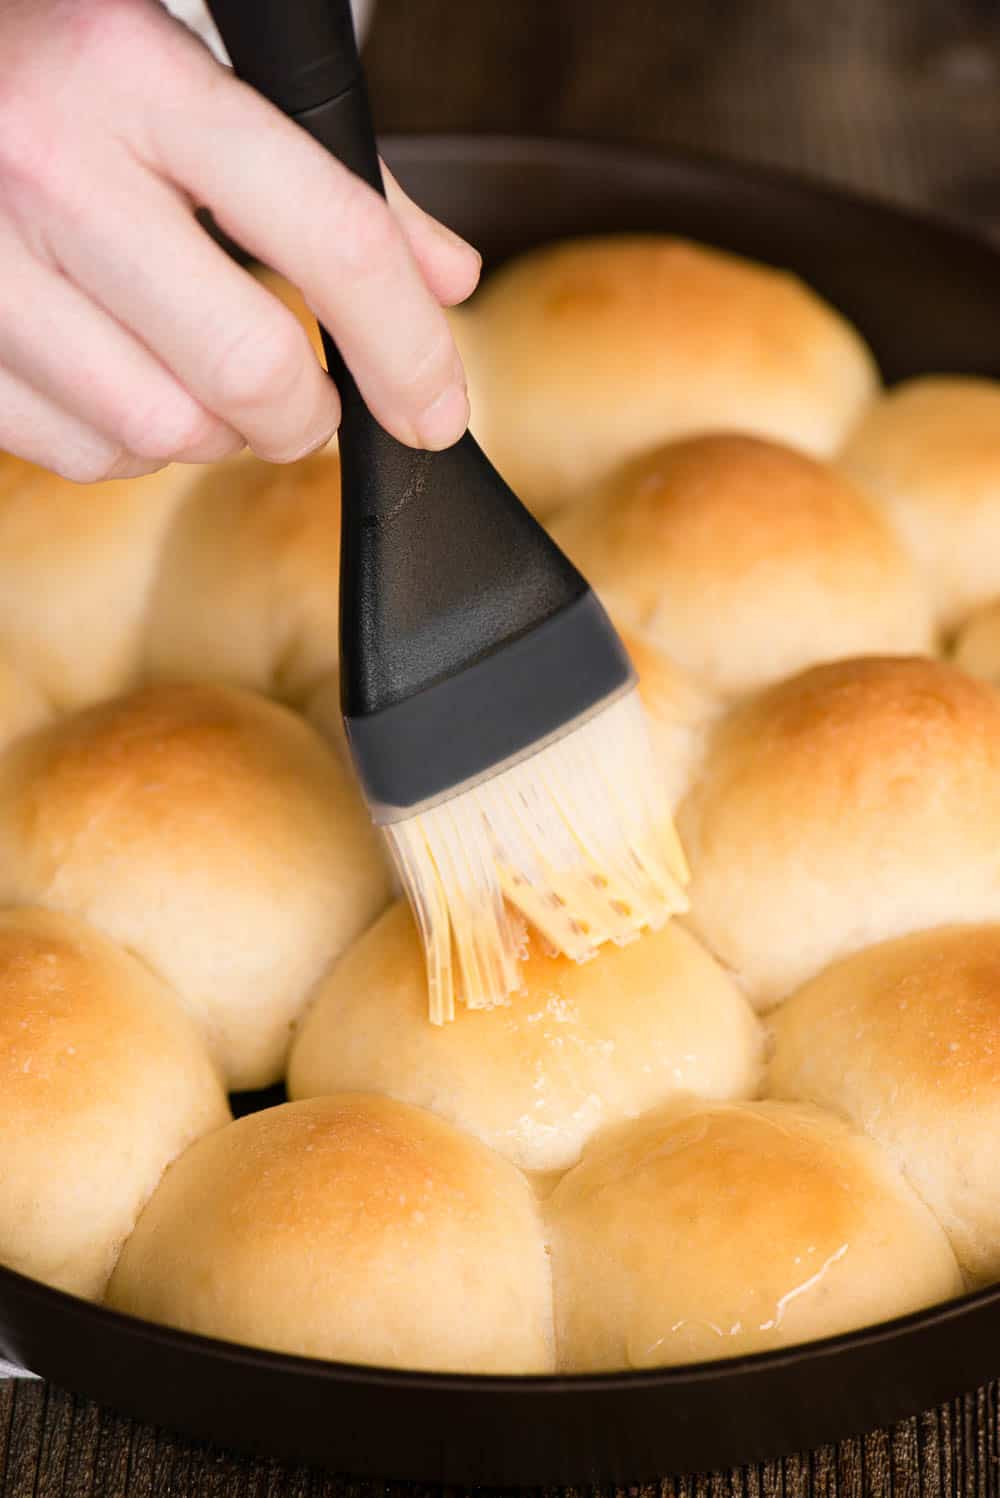
- Allow the rolls to rise again (photo 5) and then bake to golden perfection (photo 6). Cover them with some melted butter. You know you want to.
See? Pretty easy. It just takes some time and a bit of technique to get it perfect.
Why letting dough rise twice is a good thing:
Allowing dough to rise twice results in a finer gluten structure than allowing it to rise once.
It also results in a smaller crumb and prevents huge gaping airholes in your bread.
The reason that you have to let it rise the second time is that you just pushed all the air out with the kneading you did developing that gluten structure.
How to make dinner rolls rise faster:
If you’re like me and your house is rather cold in the fall and winter months when you like to bake, “room temperature” might not be enough to get your dough to rise.
If you need the dough to rise faster or need a little help to get it to rise at all, you’ll need to increase the temperature.
I do this using either of these methods:
- Preheat the oven to 200 degrees F and as soon as it hits temperature, turn it off and crack the door. Let your dinner roll dough rise in there. If the temperature of the oven starts to get too drafty or cold, close the door.
- Set your bowl in a pan of warm water. This works especially well if you have freezing cold granite or stone counter tops.
How to make them ahead of time:
If you’re making yeast dinner rolls, chances are it’s for a big holiday gathering. When you’re cooking for a crowd, it’s best to prepare as much as possible ahead of time to make for easy cooking and clean up on the day of your event.
To make the best dinner roll recipe ahead of time, you’ll make and knead the dough, let it rise, punch it down, and form your rolls.
Then, instead of allowing the second rise, you will cover and refrigerate the rolls and leave the bread dough to rise overnight. The refrigerator will prevent over-fermentation and dough with an overnight rise will often have a stronger more yeasty flavor which some people prefer.
How to keep dinner rolls warm:
The best dinner rolls are served hot and steamy, but it isn’t always easy to time them perfectly.
If you’re wondering how to reheat dinner rolls without drying them out, simply wrap them tightly in aluminum foil and set them in an oven that’s set to 250-300 degrees F. Wrapping them will keep the moisture in and the rolls soft.
To keep bread fresh, you must eliminate as much air as possible. This can be tricky with bread or dinner rolls because you don’t want to squish them.
Just do your best to squeeze or suck out as much air as possible and they will last longer.
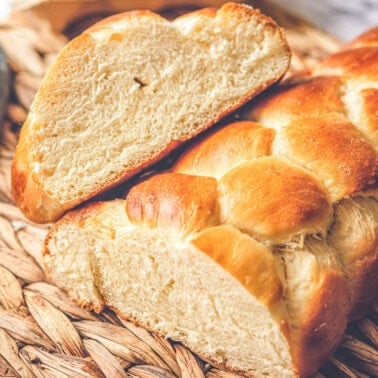
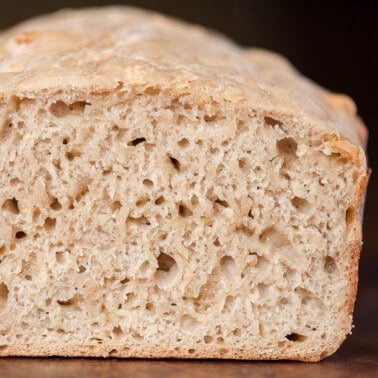
If you enjoy the process, taste, and smell that recipes like homemade dinner rolls deliver, then you’ll also want to make Texas Roadhouse Rolls, my Challah Bread or my No-Knead Crusty Bread.
Pin this now to save it for later
Pin ItDinner Rolls
Ingredients
- 1 cup whole milk warmed to about 110°F
- 2 1/4 teaspoons active dry yeast 1 standard packet
- 2 tablespoons granulated sugar divided
- 1 large egg whisked
- 1/4 cup unsalted butter softened, cut into small cubes
- 1 teaspoon kosher salt
- 3 cups bread flour spoon & leveled
Instructions
To Prepare the dough:
- Whisk the warm 1 cup whole milk, 2 1/4 teaspoons active dry yeast, and 1 of the 2 tablespoons granulated sugar together in the bowl of your stand mixer fitted with a paddle attachment. Allow to sit for 5 minutes.
- Add the remaining sugar, 1 large egg, 1/4 cup unsalted butter, 1 teaspoon kosher salt, and 1 cup of the 3 cups bread flour. Mix on low speed for 30 seconds. Scrape down the sides of the bowl, then add the remaining flour. Beat on medium speed until the dough comes together and pulls away from the sides of the bowl, about 2 minutes.
- Transfer attachment from the paddle to the dough hook and knead the dough on medium high speed for about 2 minutes.
Initial rise:
- Lightly grease a large bowl. Transfer dough to bowl, cover the bowl with plastic wrap or a clean kitchen towel, and allow the dough to rise in a relatively warm environment for 1-2 hours or until double in size. If your house is incredibly cold, you can preheat your oven to 200°F and as soon as it hits temperature, turn it off. Crack the door to let a little heat escape and then allow the dough to rise in your warm oven.
- Grease a 9×13 inch baking pan or two 9-inch square or round baking pans or a very large 14-inch round cast iron skillet.
- When the dough is done with the first rise, punch it down to release the air. Divide the dough into 16 equal pieces. To do this, I cut in half, then each piece in half, then each of those into four pieces. To shape each piece into a smooth ball, you can tuck any corners of the dough underneath, essentially making a smooth mound. Arrange equally spaced in prepared baking pan.
Second rise:
- Cover shaped rolls with plastic wrap or a clean kitchen towel. Allow to rise until puffy, about 1 hour.
To bake the rolls:
- Adjust oven rack to a lower position and preheat oven to 350°F.
- Bake for 20-25 minutes or until golden brown on top. You can rotate pan half way through cook time to promote even cooking. Remove from oven, brush with melted butter, if desired, and allow rolls to cool for a few minutes before serving.
Notes
- Prepare recipe through the step where the first rise is complete and you’ve punched down the dough.
- Divide the dough into 16 portions, form into round rolls, and set on parchment lined baking sheet. Set in freezer for about an hour.
- Once frozen, the rolls can be transferred to a plastic freezer bag or container and stored frozen up to 3 months.
- To bake, arrange the dough balls in a greased baking pan, cover tightly, then let them thaw and rise for about 4-5 hours. Bake as directed.
- Allow them to cool completely, then freeze in air tight container for up to 3 months.
- Thaw in the refrigerator or at room temperature, then reheat as desired.
- Prepare recipe through the step where the first rise is complete and you’ve punched down the dough.
- Cover the shaped rolls tightly and refrigerate for up to about 15 hours.
- At least 3 hours prior to baking, remove the rolls from the refrigerator, keep covered, and allow to rise on the counter for about 1-2 hours before baking (or less if they already doubled in size while refrigerated).
Nutrition
Nutrition information is automatically calculated, so should only be used as an approximation.

Homemade Dinner Rolls-How long should I knead them in a mixer with a hook, on low.
2-5 minutes should do it.
These look so fluffy and delicious, can’t wait to try them!
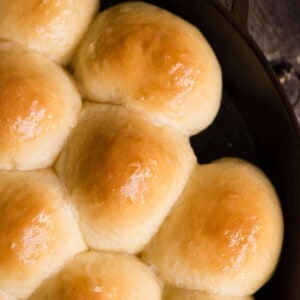
These are the perfect dinner roll. Wish I could get mind so perfectly round.
This looks amazing! Totally worth the effort to make home baked rolls – love how my home smells!
Can’t wait to make these for Thanksgiving! They’re so good!
This is one of those recipes where homemade is SO much better! These will be perfect for Thanksgiving!