
This post may contain affiliate links. Please read our disclosure policy.


Beef bone broth made from roasted beef bones, vegetables and herbs is the most delicious stock that is perfect for stews, soups, gravy and roasts. The beef bones and vegetables are roasted and then the beef broth can be made on the stove, in the oven, or in an Instant Pot.
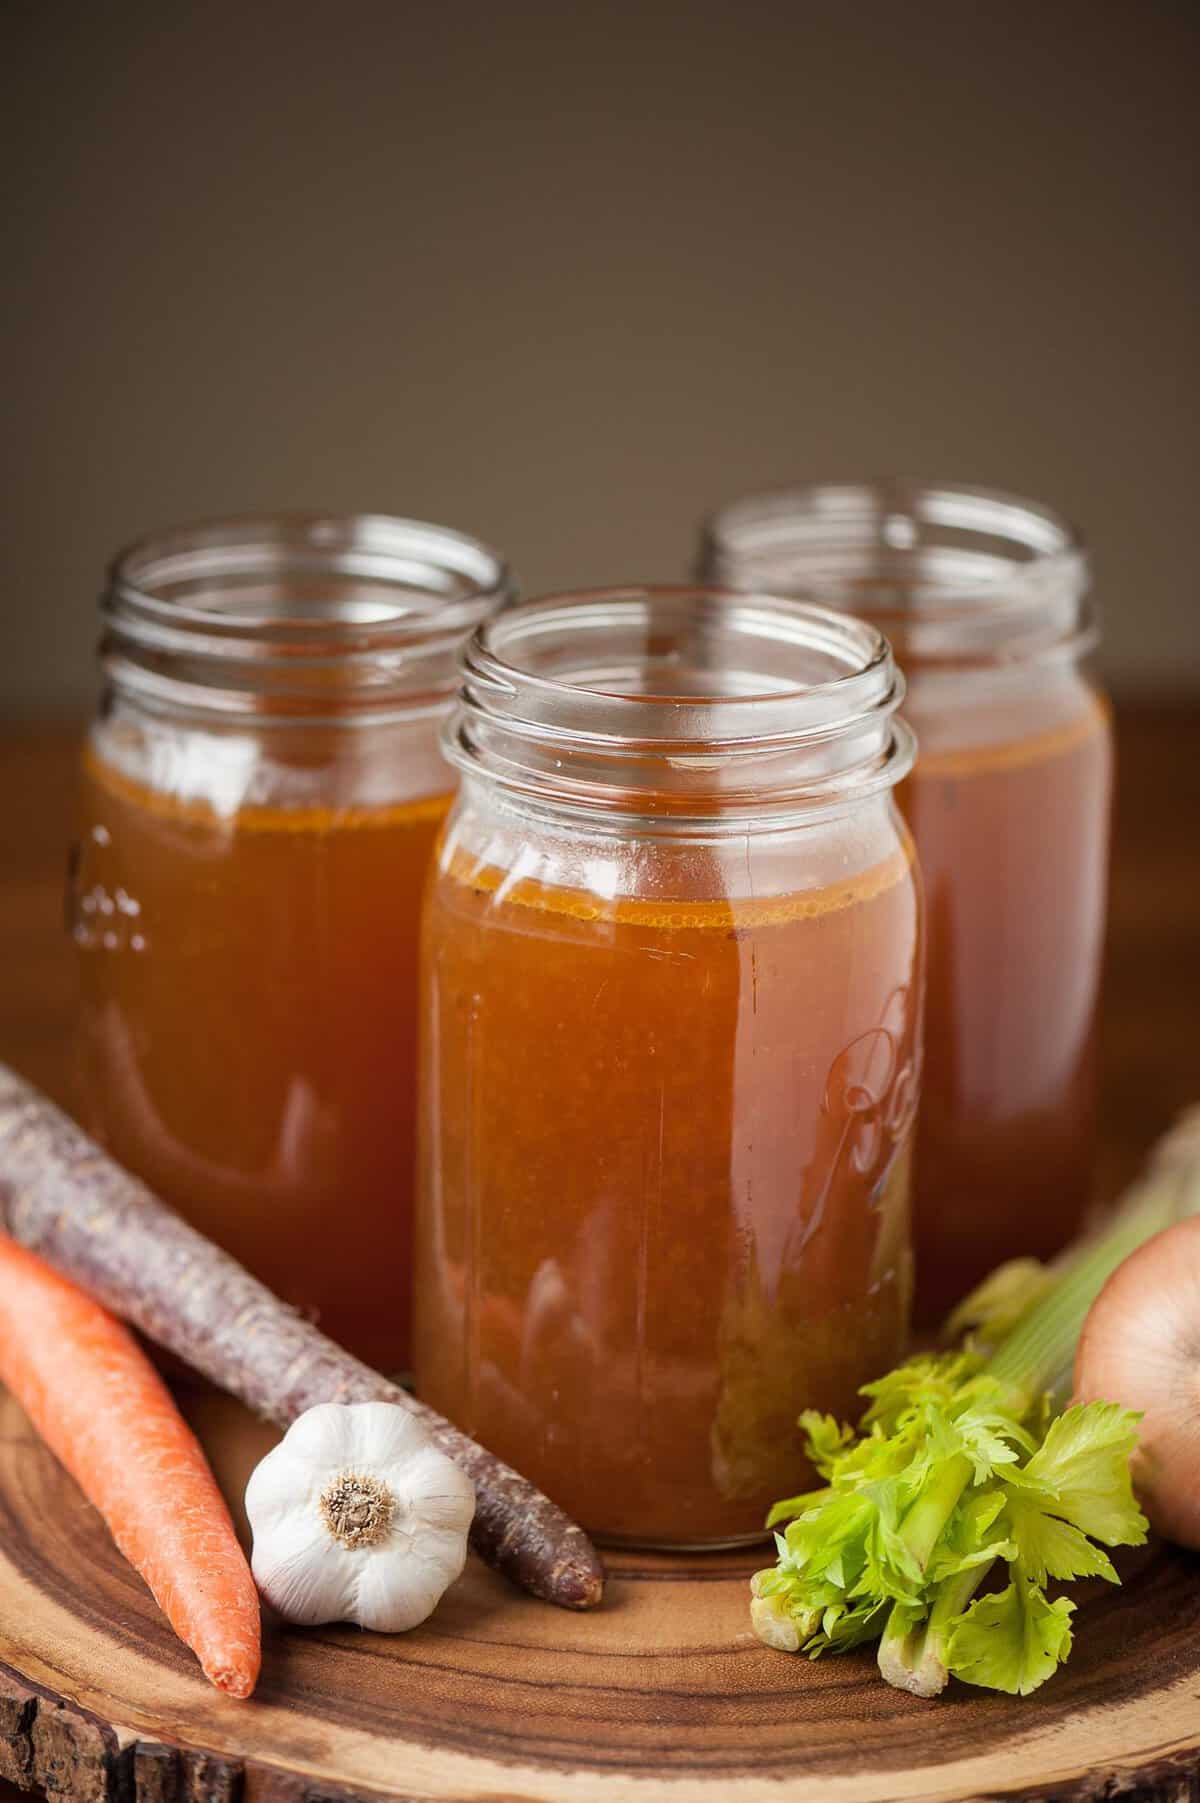
Table of Contents
- Roasted Beef Bone Broth at a Glance
- Why this recipe works so well:
- What You’ll Need
- How to roast the bones:
- Step 1: Oil and salt the bones
- Step 2: Roast, then flip
- Step 3: Add the vegetables
- Step 4: Scrape up the pan
- How to make beef broth on the stove top:
- You can make it in the oven too.
- My preferred method: the Instant Pot.
- Pro Tips when making beef broth:
- Common Problems and How to Fix Them
- How to Store, Freeze and Can Beef Broth
- What to Do with the Leftover Bones, Meat and Vegetables
- Beef Bone Broth FAQs
- Can I make it in a slow cooker?
- Can I make it in the roasting pan instead of a stockpot?
- Should I keep the fat or skim it off?
- Can I make half a batch?
- Do I need to add vinegar?
- Can I use a stovetop pressure cooker instead of an Instant Pot?
- My favorite recipes that use my beef bone broth:
- Roasted Beef Bone Broth Recipe
Roasted Beef Bone Broth at a Glance
- The recipe: beef bones and vegetables roasted until deeply browned, then simmered with garlic and herbs into a rich, dark broth.
- Why you’ll love it: roasting gives it a deep flavor you just can’t get from a carton.
- Time: 20 minutes of prep and 50 minutes of roasting, then at least 6 hours on the stove or in the oven, or 1 to 2 hours per batch in the Instant Pot.
- Main ingredients: about 6 pounds of beef bones, onions, celery, carrots, tomato paste, garlic, fresh thyme and bay leaves.
- Method: roast, scrape up the pan, simmer, strain and chill.
- How much it makes: a little less than the 5 quarts of water you add, since some simmers off.
- Quick tip: cool it fast. Divide the hot broth into shallow containers and get it in the fridge within 2 hours.
Why this recipe works so well:
- Roasting can enhance the flavor through Maillard reaction with the browning on the surface of the food.
- Using beef bones that have meat, fat, and marrow gives the stock a deep, rich flavor and body. That’s why I like to call my broth liquid gold!
- By making homemade roasted beef broth yourself versus buying some from the store, you can ensure the freshness of your ingredients as well as the quality.
- You can make a huge batch and then freeze quart sized batches so that you always have beef broth on hand.
If you’ve never made your own stock from beef bones, boy are you in for a treat. I never knew beef broth could taste so amazing!
The process is an investment for sure. It’s easy to make, but it’s not a quick process (but it is much quicker if you use the Instant Pot).
Making your own roasted beef broth is a labor of love, and I guarantee it’s worth every minute it takes to make it. I’ve made it many times over the years.
What You’ll Need
Here’s what goes into the pot, and what I’ve learned about each ingredient. Full amounts are in the recipe card below.
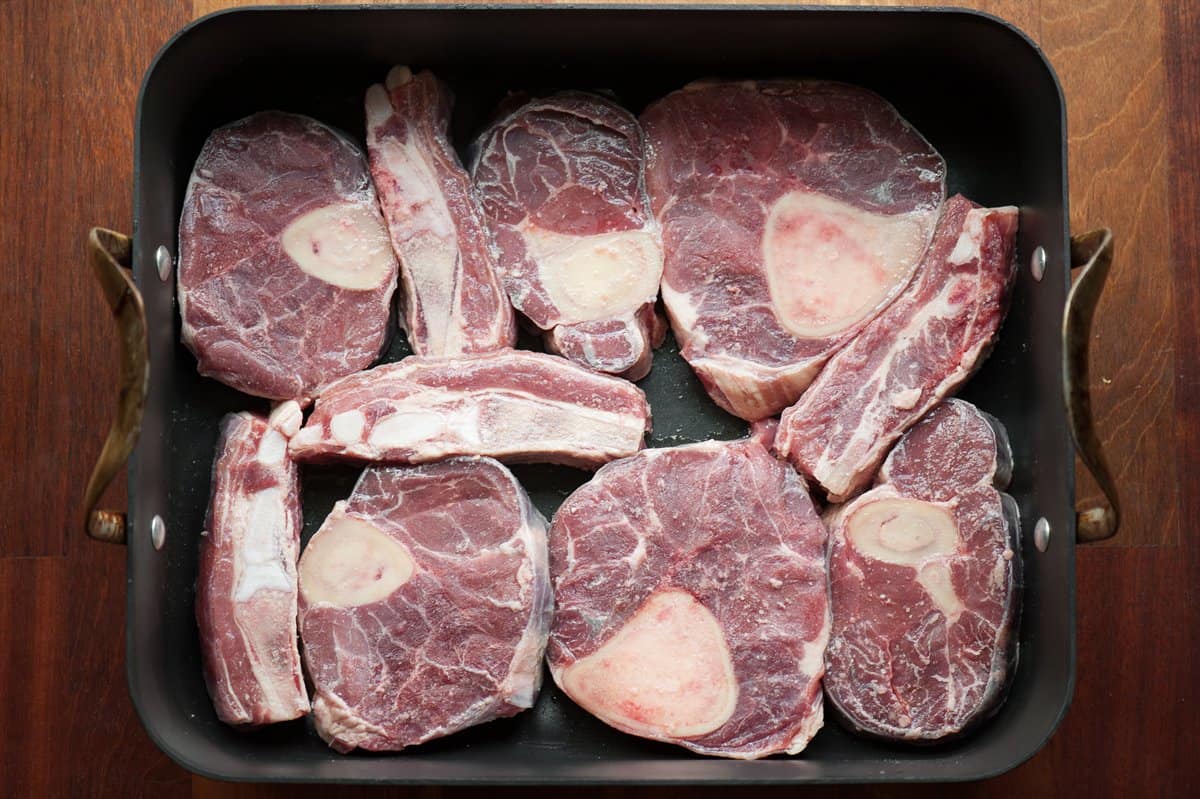
- Beef bones: The important thing about the bones is that you get some with a bit of meat and you also want to make sure they are packed with marrow (that white stuff inside the round bone). This combination is what will make your beef broth OUTSTANDING. Meaty bones give the most flavor and they’re my favorite, but the bones from my butcher usually have hardly any meat on them, so that’s what I use. Leave the marrow right in the bones while they roast and simmer. If you want broth that sets up like jelly in the fridge, add a few joint or knuckle bones.
- Where to buy beef bones: If you know a farmer who sells grass-fed beef, you can almost always get beef bones from them. Not everyone knows how to use them so they don’t bring the bones home with their meat order. You can also usually get them from the meat counter at your local supermarket. Rib bones saved from a prime rib roast work too.
- Olive oil and kosher salt: rubbed on both sides of the bones before they go in the oven.
- Onions, celery, carrots and tomato paste: these join the bones for the last 20 minutes of roasting, so they brown without burning.
- Garlic, pepper, fresh thyme and bay leaves: these go straight into the pot, not the roasting pan.
- Water: about 5 quarts in a stockpot. An Instant Pot holds less, so you’ll make it in two batches.
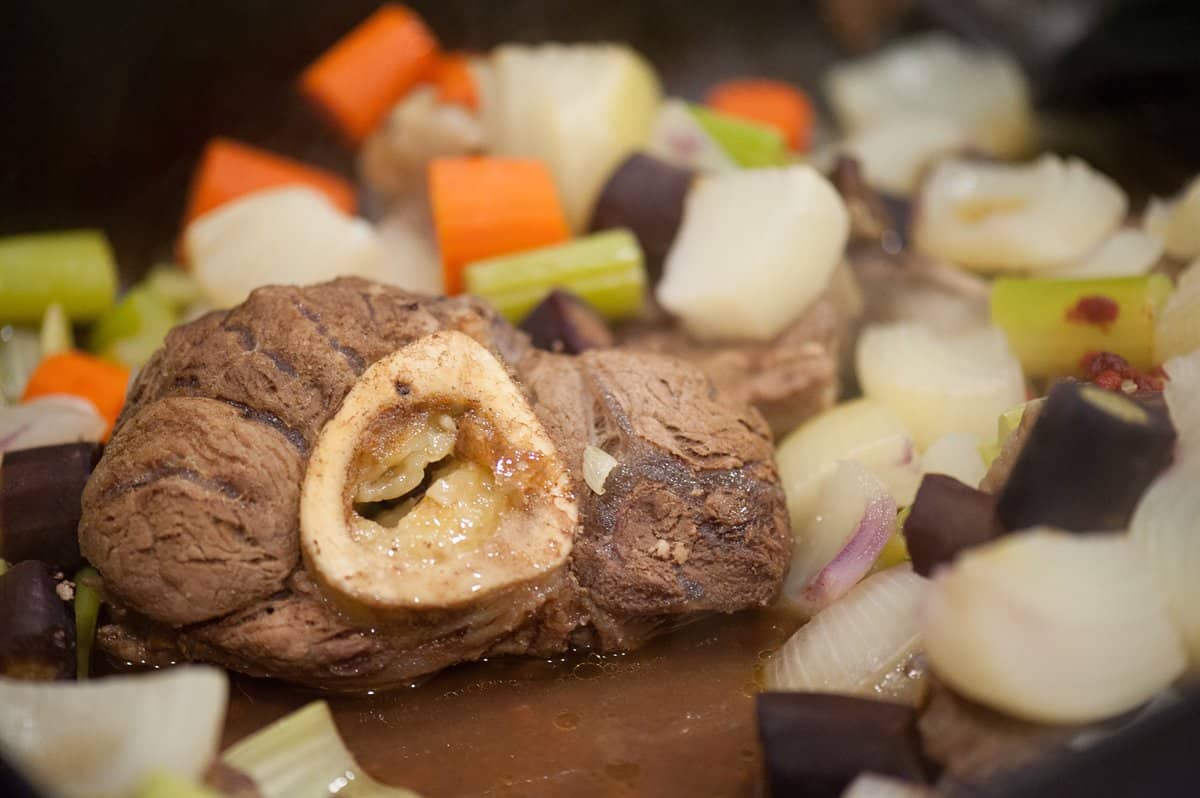
For this batch, I had about four ribs and six meaty bones.
How to roast the bones:
Whichever way you cook the broth, it starts in the oven.
Step 1: Oil and salt the bones
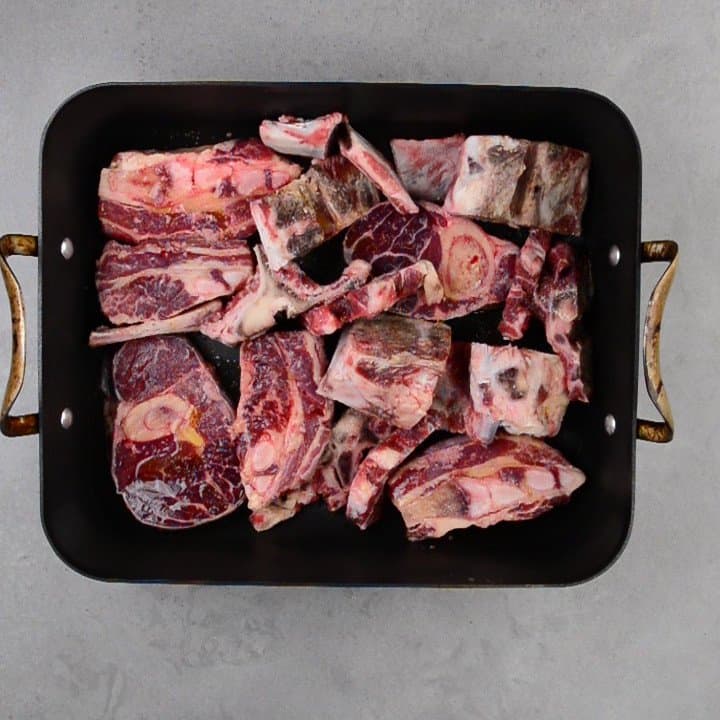
You start the process with as many beef bones as you can fit in a single layer in your roasting pan. Rub both sides with olive oil and kosher salt.
Step 2: Roast, then flip
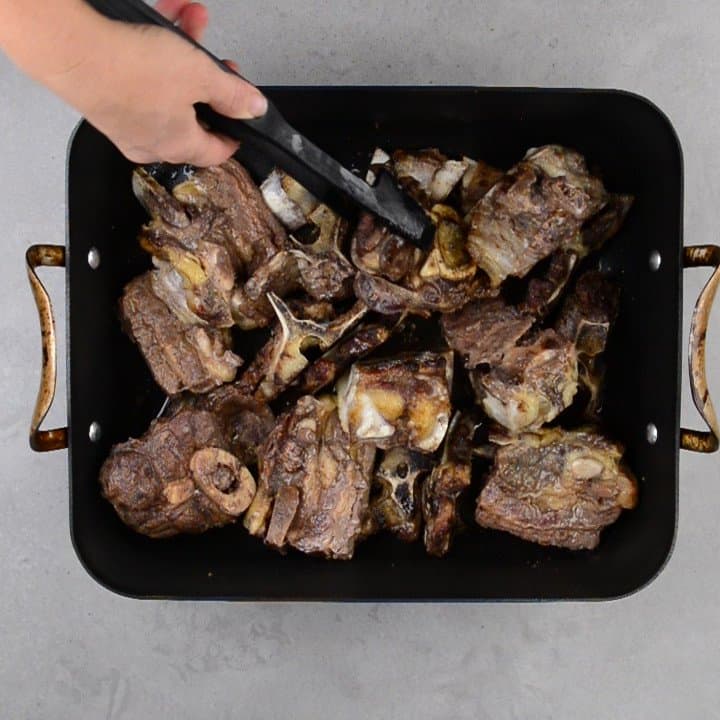
Roast the bones in a 425 degree F oven (400 degrees F if you use convection) for about 30 minutes. Then, turn them over.
Step 3: Add the vegetables
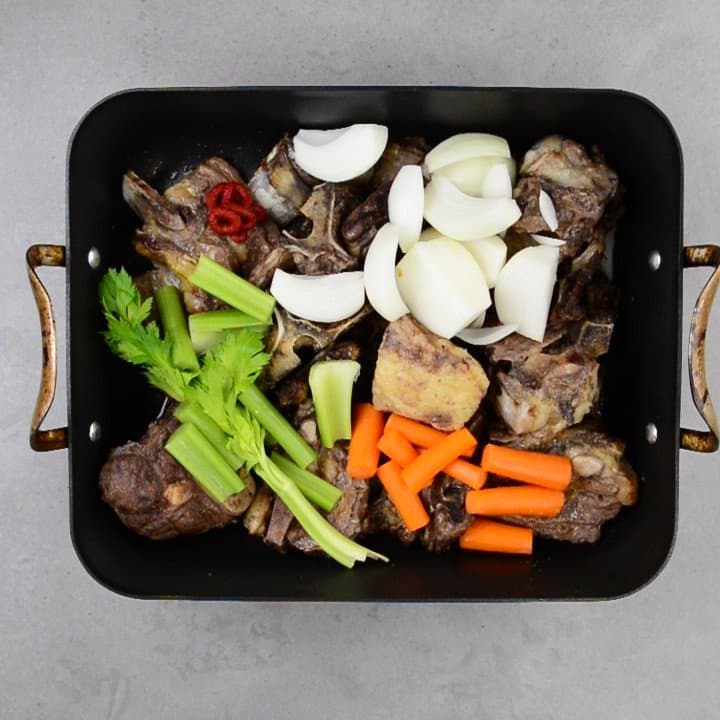
Add the onions, celery, carrots, and tomato paste and continue roasting for about 20 minutes.
Step 4: Scrape up the pan
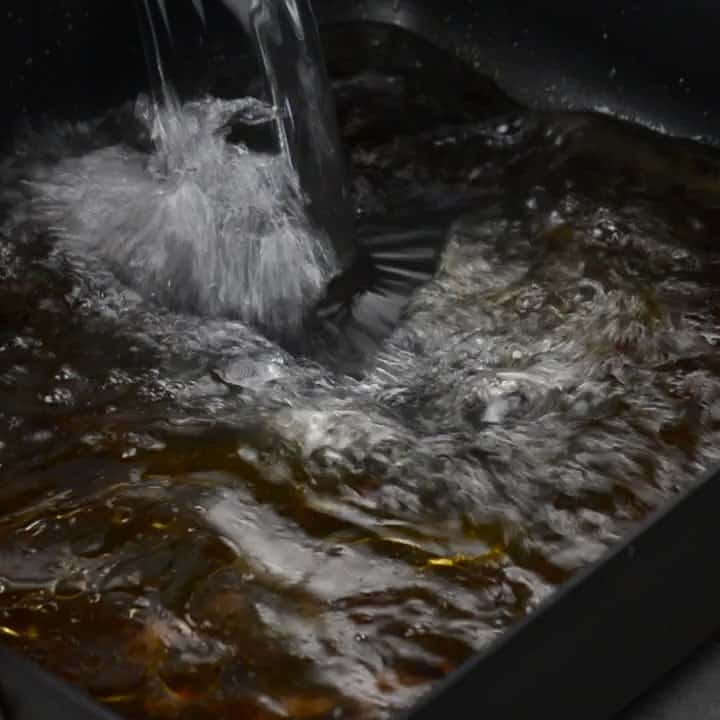
Transfer everything from the roasting pan to a large stock pot. Add water to the roast pan and scrape the bottom to release anything that might have stuck. Transfer all of that liquid to the pot.
How to make beef broth on the stove top:
You can make the beef stock on the stove. This is the way I used to do it, but it takes a long time (the longer the better).
Step 5: Simmer low and slow
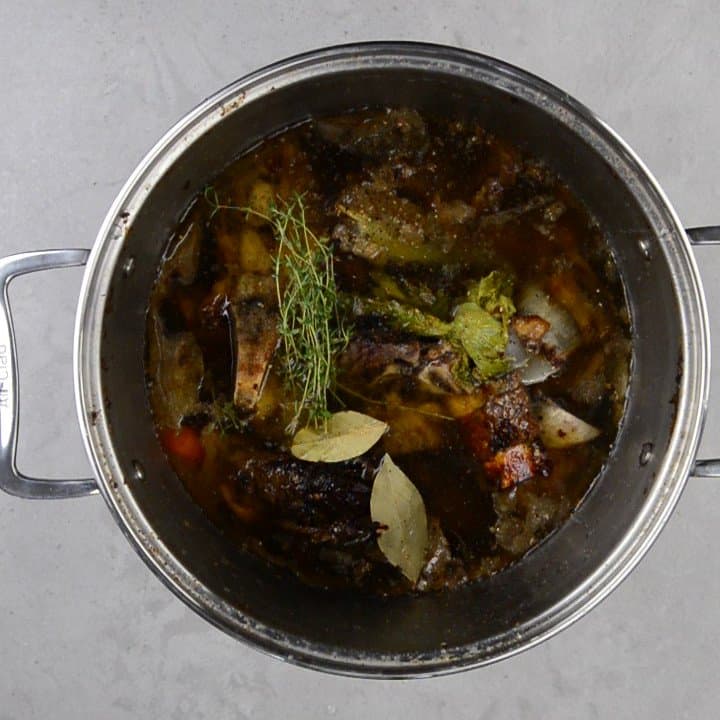
Add garlic, pepper, thyme and bay leaves to the pot. Do not cover, bring to a boil, then reduce the heat as low as it will go while it maintains a gentle simmer. Cook for a minimum of 6 hours up to a full day.
Step 6: Strain and chill
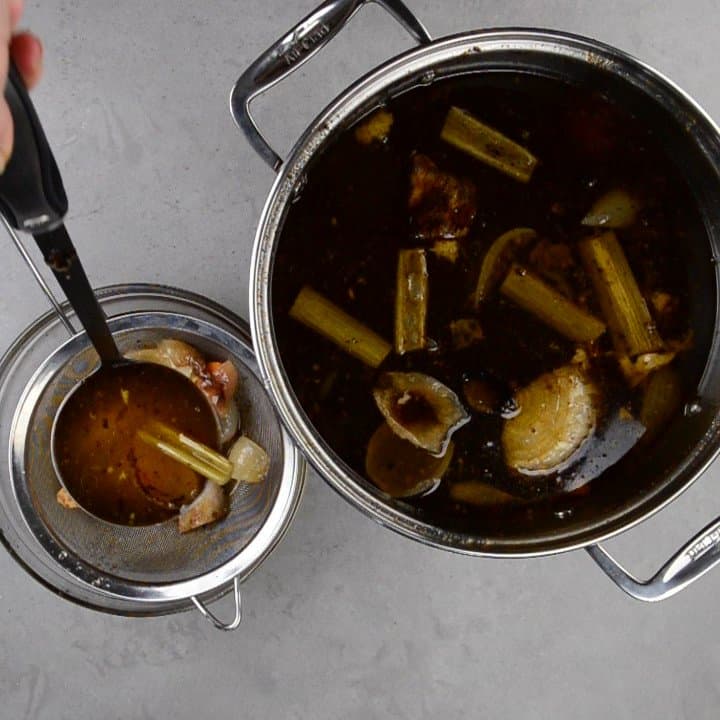
When done, strain the broth. Then cool it quickly and refrigerate or freeze it (see the storage section below).
You can make it in the oven too.
If you don’t want to babysit the beef stock on the stove or have somewhere to be, you can cook it in the oven.
Just be sure that your stockpot is oven safe. Follow the same directions as you would when cooking on the stove, but instead of reducing the heat and simmering on the stove, transfer it to a 200 degree oven.
When I use the oven cooking method, I let it cook all night and will strain it in the morning.
My preferred method: the Instant Pot.
These days, this is how I make it: I roast the bones first, then let the Instant Pot do the rest.
Not only will using the Instant Pot reduce your cooking time by many hours, but cooking under pressure pulls the most flavor out of the bones and vegetables.
The only downside is that you will most likely have to make it in batches because the Instant Pot is not nearly as large as a stock pot.
To make beef broth in the Instant Pot, transfer about half of the roasted bones and vegetables from the pan to the Instant Pot (refrigerate the rest for the second batch) and add garlic, pepper, thyme and bay leaves. Add water up to the PC MAX line, and never above it. Close the lid and cook on high pressure for one hour (I’ve gone as long as two hours).
Let the pressure release naturally. With a pot this full of liquid, a quick release can sputter hot broth out of the valve. Then strain it and start the second batch.
I make my pressure cooker chicken broth in the Instant Pot too.
★★★★★
“Oh my! A fabulous recipe. I used a variety of beef bones from ribs to little pieces and after the first half of roasting, it brought my husband out to the kitchen with its fragrant smelling aromas.”
Diana, reader review
Pro Tips when making beef broth:
- Roasting Tips: Be sure that your roasting pan is not overly crowded. The meat and the vegetables need contact with the hot oven air in order to brown. Roast in batches, if necessary.
- Leave the lid off: I don’t cover the pot because I like the broth as concentrated as I can get it. You can cover it if you’d rather keep more of the volume.
- Drink it! When I’m feeling under the weather, nothing makes me feel better than drinking this bone broth. I drink my homemade beef broth out of a tall glass with a straw. That way all the fat will rise to the top and you won’t suck any up from the bottom. Smart, eh?
Common Problems and How to Fix Them
None of these mean you have to toss the batch, and they’re easy to fix next time.
- It didn’t gel in the fridge. The gel comes from the collagen in joints, knuckles and connective tissue, not from the marrow, which is mostly fat. Mostly meaty bones, a lot of water or a short simmer can all leave you with broth that stays liquid when it’s cold. It still tastes great. Next time, add a few joint or knuckle bones.
- It’s cloudy. A hard boil churns the fat into the broth. Bring it to a boil, then turn it right down so it barely bubbles. Cloudy broth is still fine to use.
- It tastes bitter or burnt. Anything that blackened in the roasting pan, especially the tomato paste or the edges of the onions, ends up in the pot. When you scrape up the pan, leave any black bits behind.
How to Store, Freeze and Can Beef Broth
Cool it fast. Five quarts of hot broth take a long time to cool down in one big pot. Strain it, divide it into shallow containers, and get it into the fridge within 2 hours.
In the fridge: use it within 3 to 4 days.
In the freezer: I refrigerate the broth first. Then, I transfer it to a quart-sized storage container and freeze until ready to use. Leave about an inch at the top, since the broth expands as it freezes. It keeps its best flavor for 2 to 3 months.
Canning: I freeze mine and haven’t canned this broth, but readers ask about it all the time. It can only be canned in a pressure canner, never a water bath. Follow the National Center for Home Food Preservation’s directions for meat stock: skim off the fat, fill hot jars leaving 1 inch of headspace, and process pints for 20 minutes or quarts for 25 minutes. With a weighted-gauge canner, that’s 10 pounds of pressure up to 1,000 feet and 15 pounds above. With a dial gauge, it’s 11 pounds up to 2,000 feet, and more at higher altitudes.
What to Do with the Leftover Bones, Meat and Vegetables
Once the broth is strained, you’re left with a pile of bones, meat and very soft vegetables. Here’s what happens to them at my house.
- My chickens get the vegetables and scraps. Nothing goes to waste with a flock of backyard chickens.
- The meat is edible, but don’t expect much. The meat you use for stock isn’t always the most wonderful, there’s a lot of labor involved to separate it, and the veggies get rather mushy. One reader saves the meat for old fashioned beef stew and chili, and turns the soft roasted garlic into garlic paste.
- Keep it all away from the dog. Onion and garlic are toxic to dogs, and they cook into everything in the pot, including the meat, fat and carrots. The bones are out too, because cooked bones can splinter.
Beef Bone Broth FAQs
Here are the other questions readers ask me about this recipe.
Can I make it in a slow cooker?
Yes. After roasting, put everything in the slow cooker on low and let it go for about 16 hours, or overnight. Most slow cookers are smaller than a stockpot, so you may need less water or two batches.
Can I make it in the roasting pan instead of a stockpot?
Yes, if your roasting pan is deep enough. Add the water right to the pan and use the oven method. My stockpot holds a lot more liquid than my roasting pan, which is why I transfer everything.
Should I keep the fat or skim it off?
It’s a matter of preference. I make the stock with the fat in it, then chill the strained broth so the fat hardens on top. Sometimes I leave it in, and sometimes I scoop it off and give it to my chickens or use it to sauté vegetables for soup instead of butter or oil.
Can I make half a batch?
Yes. Cut the water in half along with everything else. You don’t have to, but scaling the water keeps the broth rich.
Do I need to add vinegar?
No. I’ve never added vinegar to mine. Some people add a splash of apple cider vinegar to pull more out of the bones, but I’ve never felt it needed it.
Can I use a stovetop pressure cooker instead of an Instant Pot?
Yes. I’ve only ever used an Instant Pot, but I’d use the highest pressure setting you have (15 pounds on most weighted cookers) to get as much flavor out of the bones as possible. Keep it below the cooker’s max fill line. That’s for cooking the broth; canning it takes a pressure canner and tested times (see the canning section above).
My favorite recipes that use my beef bone broth:
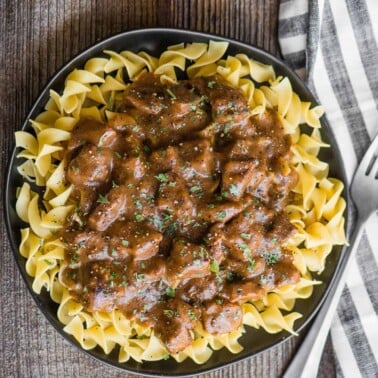
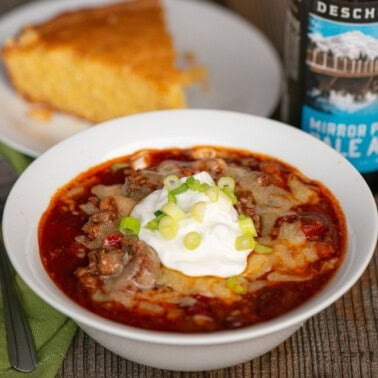
I use it anywhere a recipe calls for beef broth. It’s the base of my soups and stews, and I’ll even add a splash to taco meat when it needs a little liquid. Here are some of my favorites.


If you tried this Roasted Beef Bone Broth recipe or any other recipe on my website, please leave a 🌟 star rating and let me know how it went in the 📝 comments below. Thanks for visiting!
Pin this now to save it for later
Pin ItRoasted Beef Bone Broth
Ingredients
- 6 pounds beef bones grass-fed recommended, mixture of ribs and meaty bones with a lot of collagen
- 2 tablespoons olive oil
- 1 teaspoon kosher salt
- 2 large onions chopped
- 2 celery stalks leaves included, chopped
- 3 large carrots peeled and chopped
- 1 tablespoon tomato paste
- 1 head of garlic outer papery skin removed, bottom chopped off to expose the cloves but leaving the head intact (as if you were roasting it)
- freshly ground pepper
- 1 tablespoon fresh thyme
- 2 bay leaves
- 5 quarts water
Instructions
Roasting the bones and vegetables:
- Preheat the oven to 425°F (400°F convection). Place the bones in a large roasting pan (like what you’d roast a turkey in). Rub both sides of the 6 pounds beef bones with 2 tablespoons olive oil and sprinkle with 1 teaspoon kosher salt. Roast in hot oven for 30 minutes. Your kitchen will smell amazing.
- After 30 minutes, flip the bones, add the 2 large onions, 2 celery stalks, 3 large carrots, and 1 tablespoon tomato paste and continue to roast for another 20 minutes. Remove from oven.
- Use your largest stockpot. Ensure it is oven safe if you’ll be doing any of the cooking in the oven.
Stove top instructions:
- Transfer all of the roasted meat and vegetables from the roasting pan to a very large stockpot. Using a total of 5 quarts of water, add 1-2 quarts at a time to the empty roasting pan, scrape sides, swirl it around, and then pour it into the stockpot to make the broth. Repeat until you have added a total of about 5 quarts of water to the pot, but make sure you get every bit of flavor possible out of that roasting pan.
- Add the 1 head of garlic, freshly ground pepper, 1 tablespoon fresh thyme, and 2 bay leaves to the pot. Bring to a boil (uncovered), and then reduce heat so that broth is percolating at a gentle simmer. Cook at this temperature for a minimum of 6 hours up to a full day. You can also transfer pot to a preheated 200°F oven (this is what I do to let it cook overnight).
Oven instructions:
- Transfer all of the roasted meat and vegetables from the roasting pan to a very large oven safe stockpot. Using a total of 5 quarts of water, add 1-2 quarts at a time to the empty roasting pan, scrape sides, swirl it around, and then pour it into the stockpot to make the broth. Repeat until you have added a total of about 5 quarts of water to the pot, but make sure you get every bit of flavor possible out of that roasting pan.
- Add the head of garlic, pepper, thyme and bay leaves to the pot. Transfer pot to a preheated 200°F oven and cook, uncovered, for 6 hours up to overnight.
Instant Pot instructions:
- Due to the size of the Instant Pot, plan on cooking in two separate batches.
- Add half of the roasted meat and vegetables to the Instant Pot (refrigerate remaining until ready to use). Add half of the garlic, pepper, thyme and bay leaves. Add water up to the PC MAX line, never above it. Seal lid and cook on high pressure 1-2 hours (1 hour works, longer is better if you have the time). Let the pressure release naturally.
- Repeat with remaining ingredients to make second half.
Straining and storing:
- Strain stock and discard solids. Drink, use in a recipe, or divide into shallow containers and refrigerate within 2 hours. Use within 3 to 4 days, or freeze for longer storage.
Notes
Video
Nutrition
Nutrition information is automatically calculated, so should only be used as an approximation.
This post was originally published in January 2015. I’ve updated the photos and tips since then and added a safety note to the Instant Pot directions, but the recipe itself hasn’t changed. I wouldn’t dare!











Sadly the video appears to be gone
The video should be in the recipe card.
N0 video there now. 🥴. It says video but nothing happens when clicked.
Not sure what to do with the tomato paste.
Sorry about that! I just made some changes to my site and the videos didn’t get carried over. I’m working on that! The tomato paste is in the directions. You add it while roasting the veggies.
I used T-bone bones and scrapes to make my broth. I put it in the fridge scrapped the fat layer off but it’s still really gelatinous. Is that normal? Or did I have to much fat and not enough bones?
Gelatinous is good! That comes from the collagen in the joints, knuckles and connective tissue, not the marrow (marrow is mostly fat). It means you made a rich broth.
If you don’t have the freezer space, the broth can also be pressure canned……keeps lots longer!
I love canning. Can I use a pressure cooker?
Yes! I’ve never canned beef broth as I prefer to freeze it, but if you were to can, a pressure canner is the right way to go.
I really love having my own beef and chicken stock on hand! Another tip I’d like to share is to freeze some of each stock in ice cube trays. I then transfer cubes to large freezer bag. When making stir fry’s etc., you can grab a cube or two to add to your recipe! Very convenient!
Oh my! A fabulous recipe. I used a variety of beef bones from ribs to little pieces and after the first half of roasting, it brought my husband out to the kitchen with its fragrant smelling aromas. While a little time is needed up front in making this, the end result leaves one with plenty of fabulous broth to use for the future. Anything worth having is worth putting a little time in to it. Thank you Krissy for this recipe.
Oh this homemade broth is soooo much better than any type of store-bought version! Much healthier and nutritious, too! Love it!
I am learning your recipe of roasted beef broth word by word… It is different from what I make, and it sounds flavorful and delicious! WOW! I never stop learning and enhancing my recipes! Thanks.
Using bone to make broth is simply the best, and beef is not an exception. This is so so good. And it’s always a great idea to make a big batch in one go. 🙂
Do I let the broth cool before freezing it?
it’s best to chill in the refrigerator and then freeze. I don’t like adding hot broth to the plastic containers that I use to freeze the broth.
I need to try this! I love homemade broths
Homemade broth is so good. Thank you for such a delicious recipe – I love having this on hand.