This post may contain affiliate links. Please read our disclosure policy.
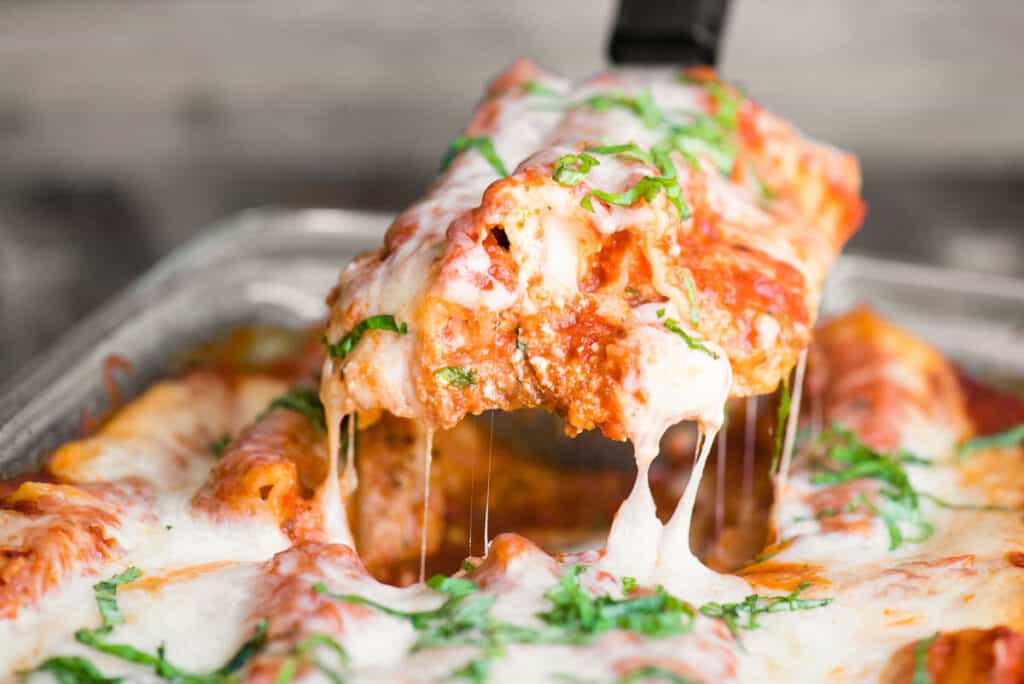
Manicotti stuffed with melted cheese and smothered in marinara sauce is pure comfort food! This easy dinner recipe satisfies all of your cravings. This vegetarian stuffed cheese manicotti recipe is super easy to make and the step-by-step process photos below will guide you through the entire recipe.
If you want to add a meat sauce, you can make my quick and easy Bolognese Sauce or take the time to make my rich Ragu Sauce.
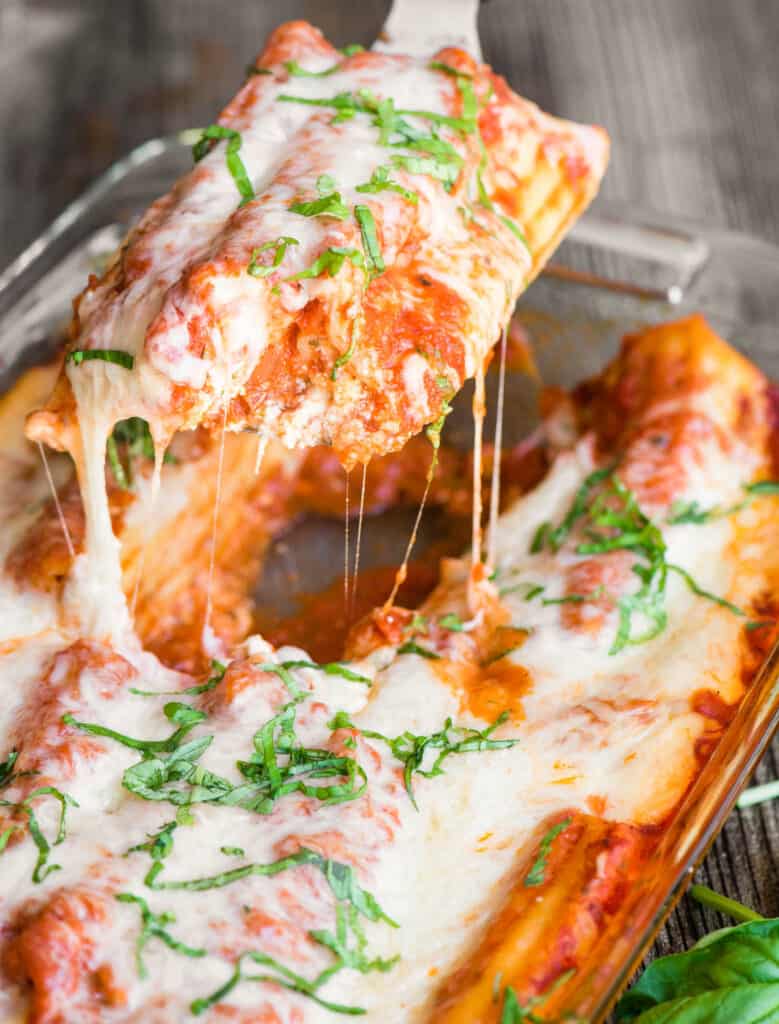
Why I love this recipe
This easy manicotti recipe is one of those no-fuss picky-eater-approved dinners. It is simply a creamy cheese mixture stuffed into pasta shells and baked with marinara sauce. It’s perfect for a big family dinner or when you need to feed a large crowd.
- Delicious filling: Authentic Italian manicotti recipes sometimes include meat and even vegetables like spinach, but this recipe simply uses three different kinds of cheese along with some herbs.
- Easy recipe: This is extra easy to make because you don’t need to fully cook the pasta tubes first. Just a quick dip in boiling water makes them easy to fill. Dinner prep is done in just a few minutes.
- Make ahead: Homemade manicotti is perfect for busy weeknights because it can be prepared ahead of time and stored in the refrigerator for a few days or in the freezer for longer storage. Then, when you’re ready to eat, simply bake it in the oven.
Ingredients needed:
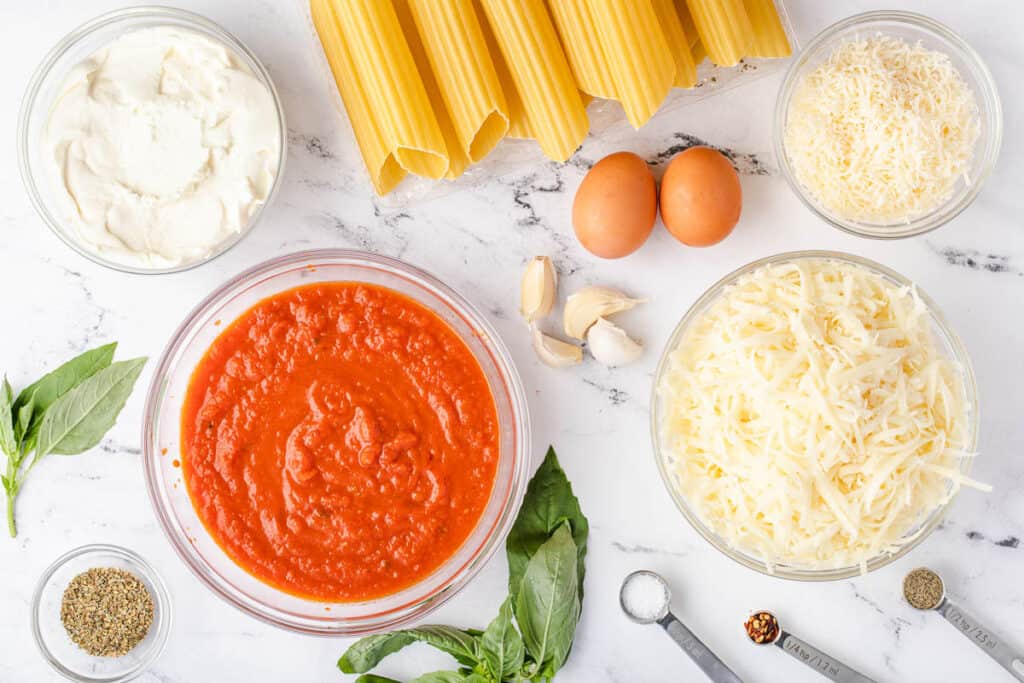
Exact quantities are listed in the recipe card below, but here is the main ingredient list.
- Uncooked manicotti shells – you can find manicotti noodles packaged in a box (to prevent crushing) at most major grocery stores
- Ricotta cheese – I always recommend whole milk
- Garlic – look for big, fresh, flavorful cloves
- Mozzarella cheese – again, always recommend whole milk but skim will work
- Parmesan cheese – you can buy pre-grated, but it tastes best when you grate it yourself
- Eggs
- Dried Italian seasoning, fresh basil, salt, pepper, and red pepper flakes (for a bit of heat)
- Marinara sauce – just choose your favorite tomato sauce you usually enjoy with spaghetti
How to make cheese stuffed manicotti:
Here is a quick summary, but full directions are in the recipe card below.
Prepare the cheese manicotti filling
- Par cook pasta: Bring a large pot of salted water to a boil. Cook the manicotti pasta tubes in boiling water for only a minute or so. This process softens them but keeps the pasta rigid enough to easily fill. Think of it as extra al dente. They will finish cooking in the sauce.
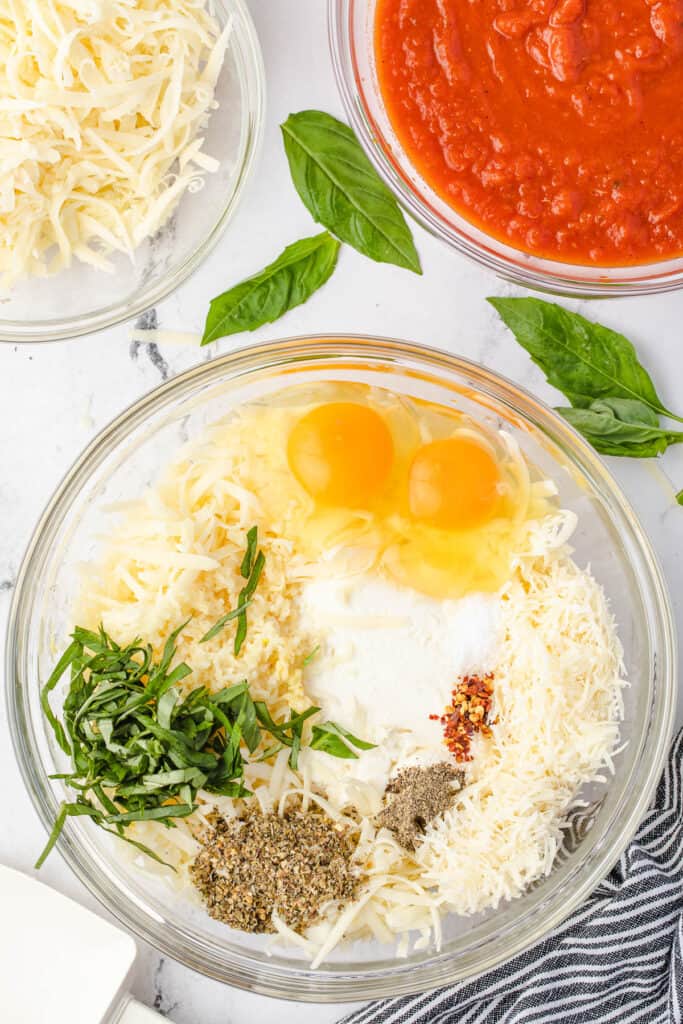
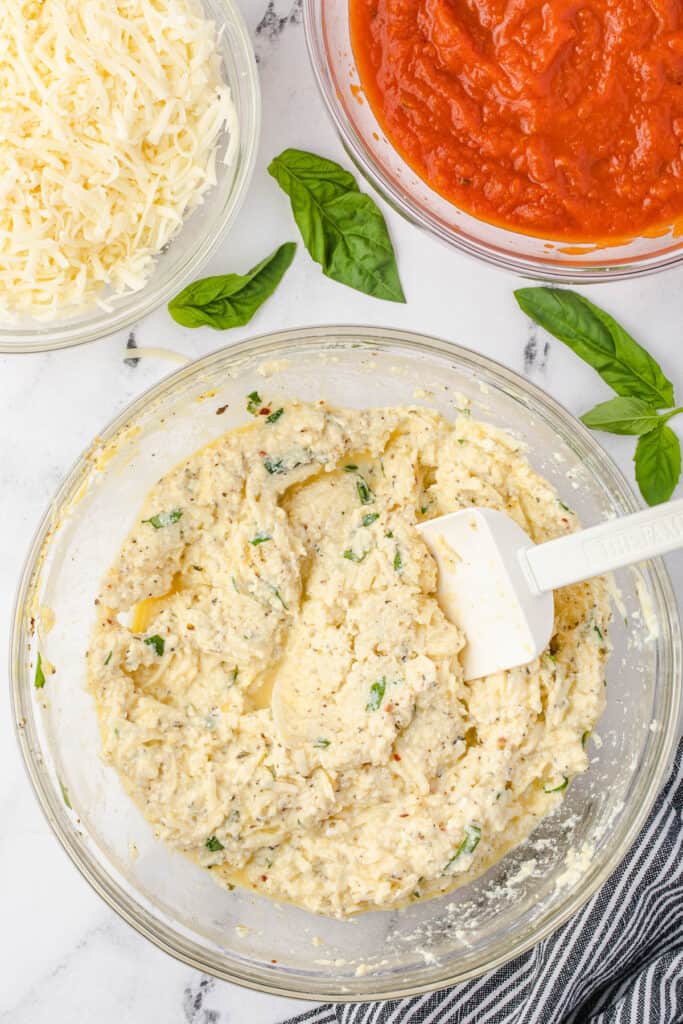
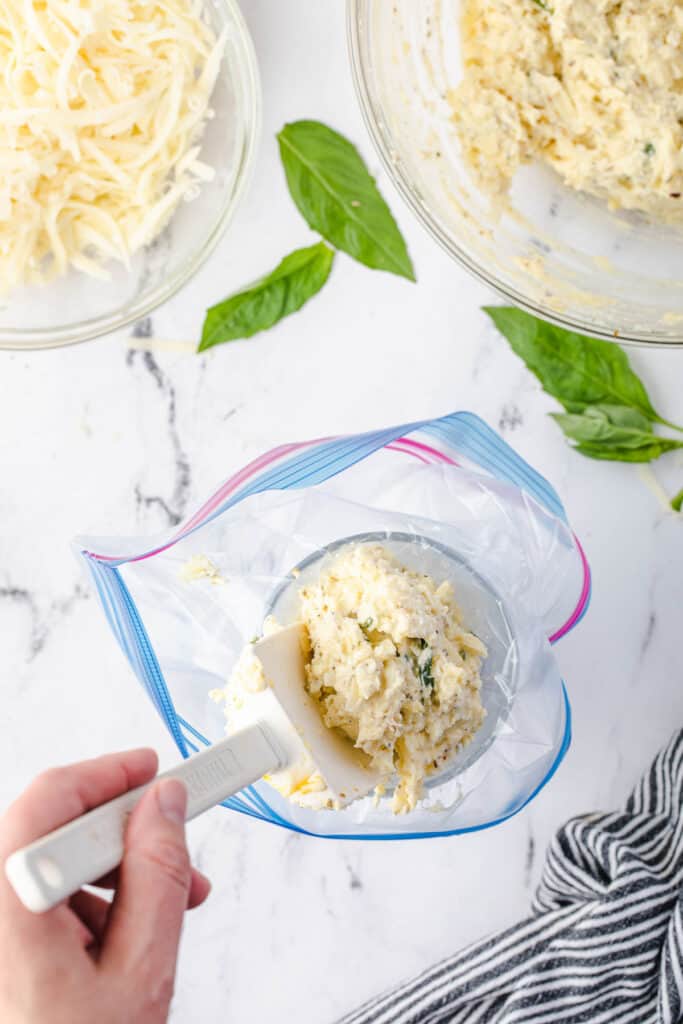
- Mix filling: Combine the ricotta, garlic, half the mozzarella and parmesan, eggs, seasonings, and herbs in a large bowl. The remaining grated cheese is saved for the top of the sauce!
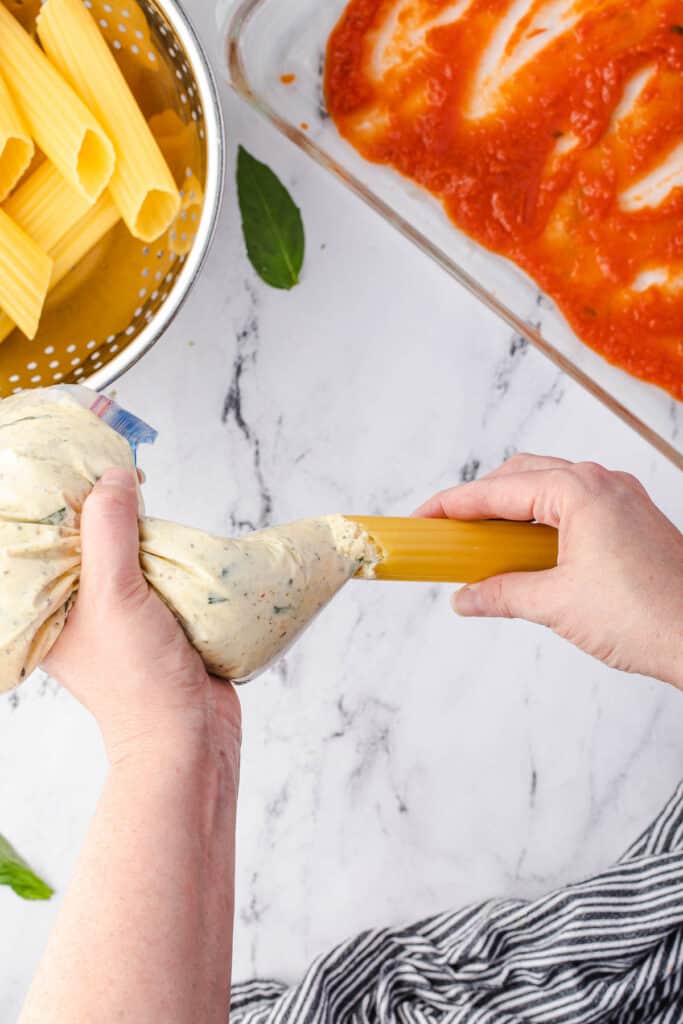
- Add filling to a piping bag: This makes filling the manicotti pasta tubes extremely easy and mess-free. Add the filling to a pastry bag or a resealable plastic bag. This step is totally optional because you can simply fill the manicotti shells with a spoon, but it is much easier to squeeze the filling into the tubes.
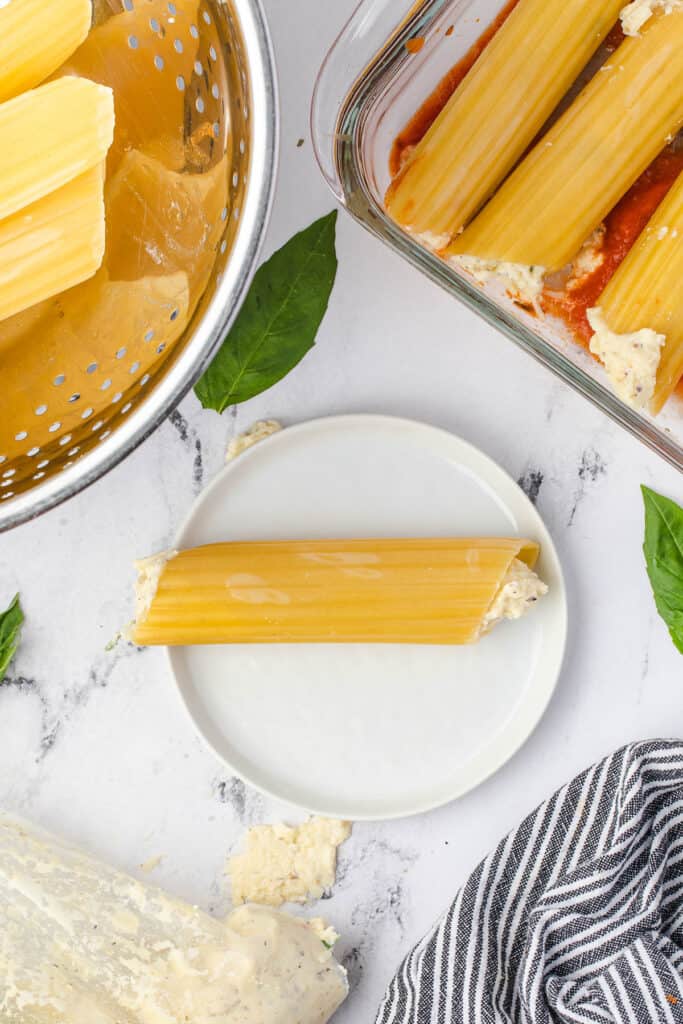
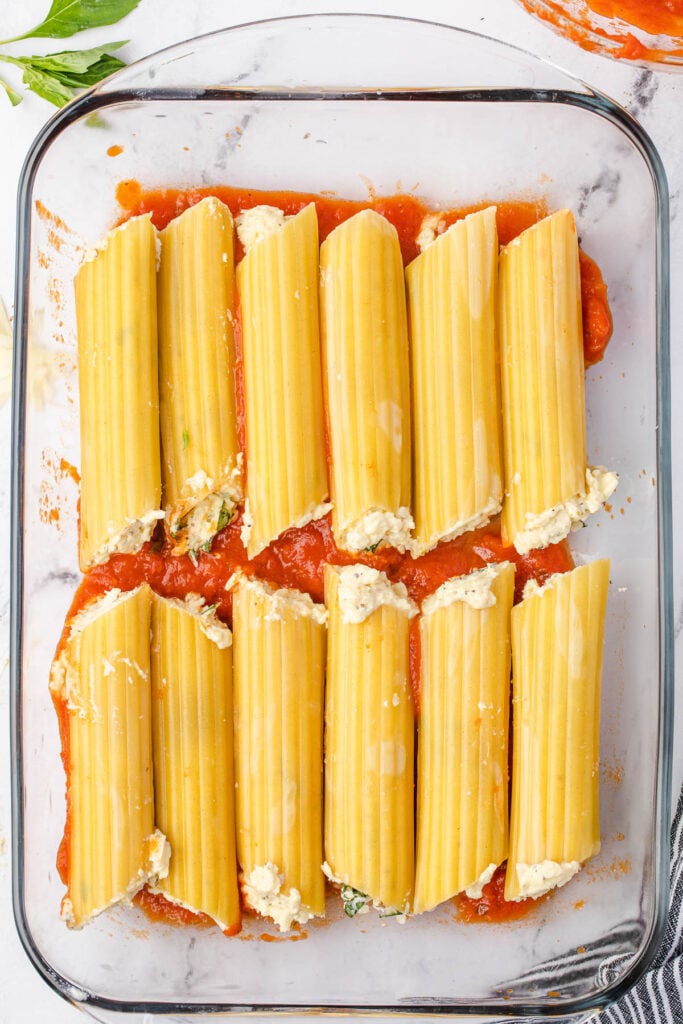
- Stuff manicotti: Snip the corner off the plastic bag and pipe all of the cheese filling into each pasta tube.
Refrigerate for later or bake
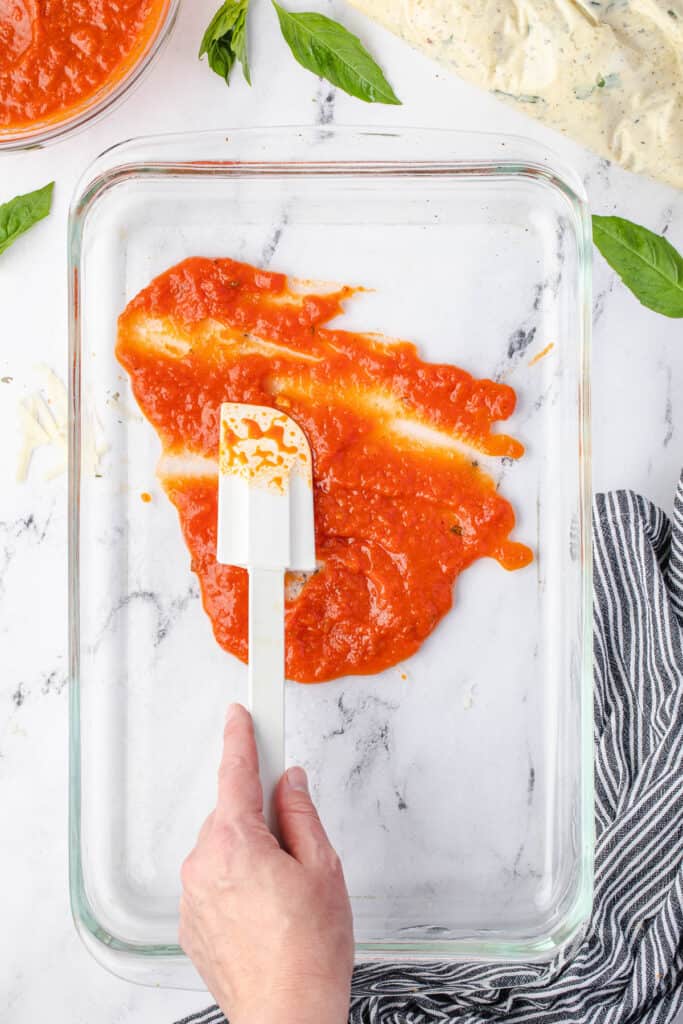
- Add stuffed manicotti: Place the filled manicotti tubes into a large baking dish that has a small amount of marinara sauce on the bottom. Try to choose a casserole dish that is large enough for you to place them in a single layer.
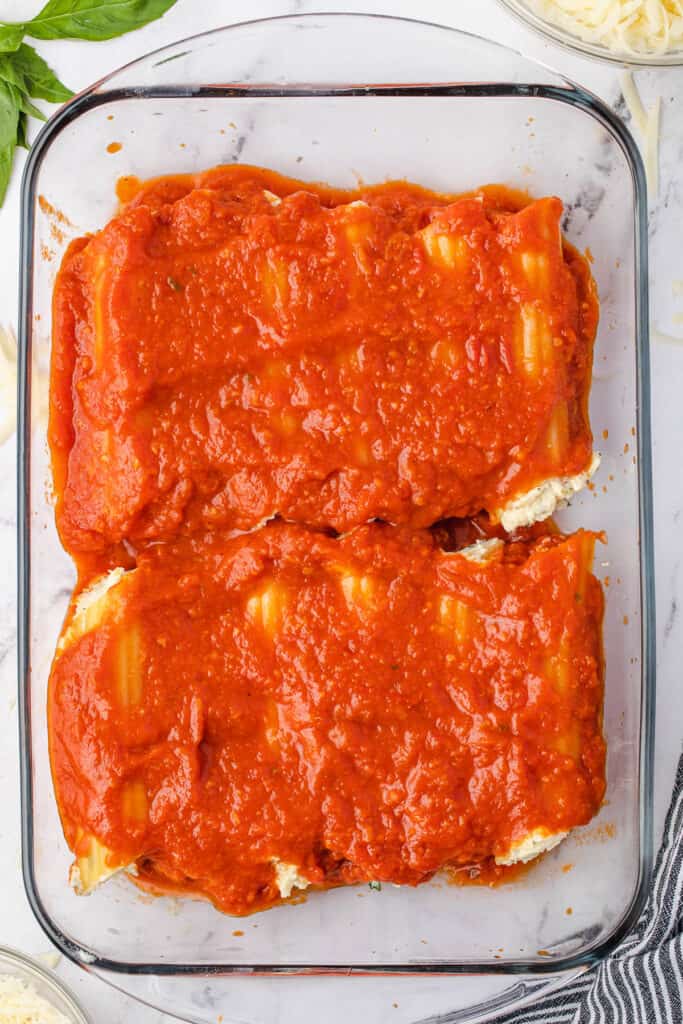
- Cover manicotti with sauce: Pour the remaining marinara sauce on top to smother the pasta.
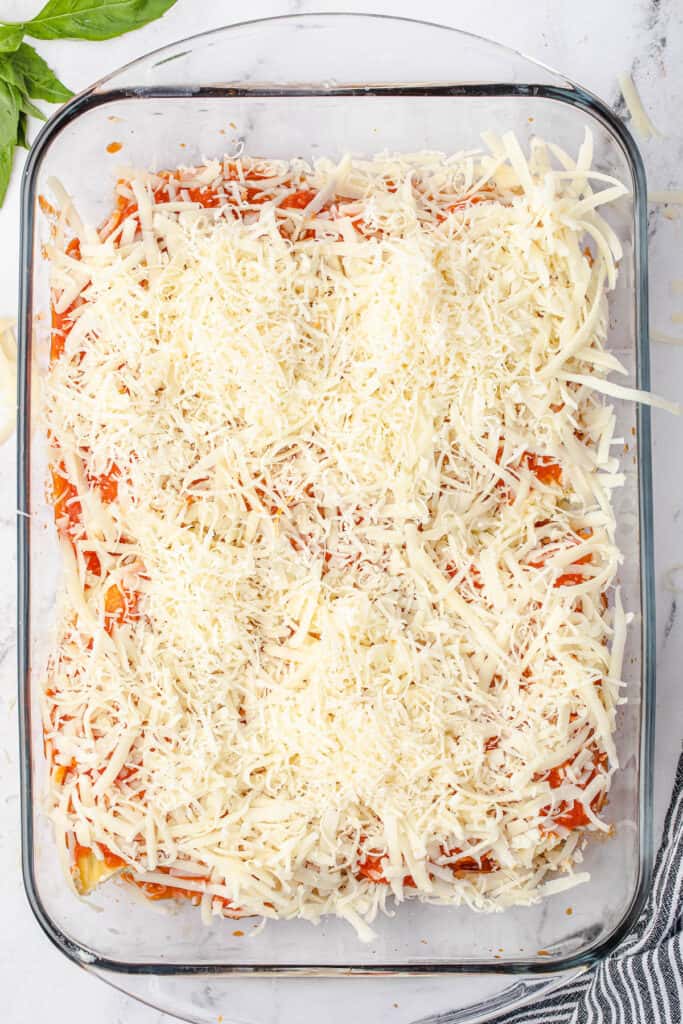
- Top with cheese: Add the remaining mozzarella and parmesan cheese.
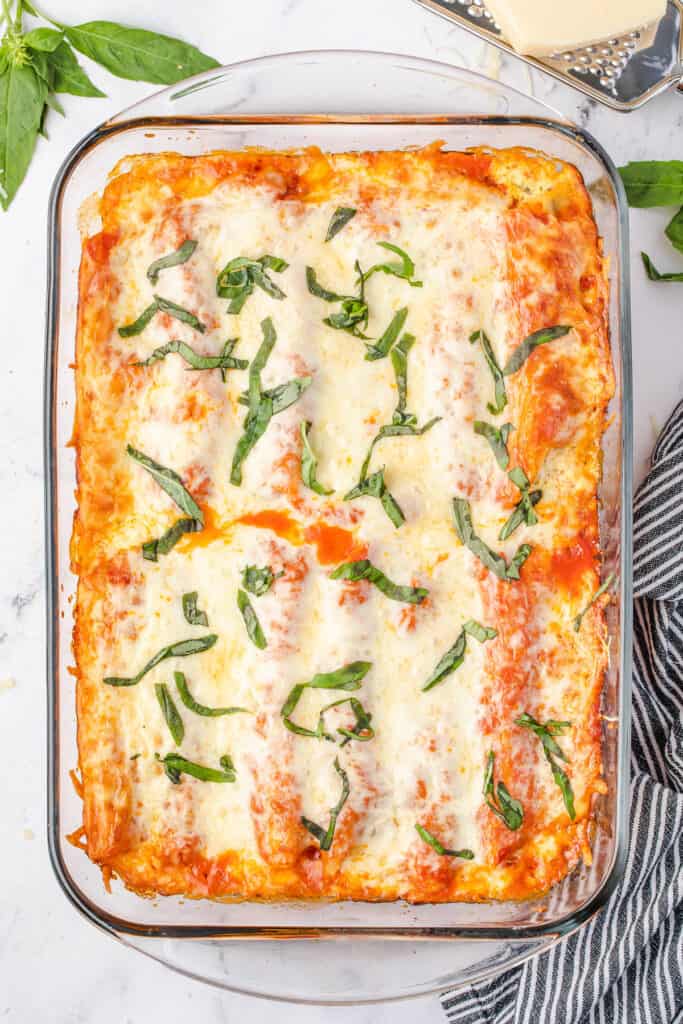
- Cover with aluminum foil. Unless making ahead of time, bake manicotti in a preheated oven. You’ll remove the foil at the end to melt all the cheeses.
At this point, you can either store the prepared manicotti in the refrigerator or freezer if making ahead, or you can bake them in a preheated oven.
Make ahead directions
Large Italian dishes like this are my favorite to make ahead of time. It’s easy to do all the prep work and then store it in the refrigerator or the freezer until you’re ready to bake. In fact, I think manicotti, much like homemade spinach sausage lasagna, tastes even better when its made ahead of time.
- If making within the next couple of days: Prepare everything as if you’re going to bake it, but instead, store it in the refrigerator. Just be sure to let it come close to room temperature before baking, otherwise, you’ll need to increase your cooking time.
- If making way ahead of time: Prepare the recipe as if you were going to put it into the oven, but instead, stick it in the freezer. This is especially handy if you’re cooking in bulk and want to make a bunch of freezer meals. Just be sure to thaw the manicotti fully before cooking or the cooking time will need to be increased.
Storage and leftovers
Store any leftovers in an airtight container in the refrigerator. To reheat, microwave at 50% power in one-minute increments or cover tightly and reheat in the oven. My kids love reheated manicotti packed in a thermos for their school lunch.
Leftovers can also be frozen.
Recipe variations and substitutions
- Cheese: For the richest, cheesiest, and most delicious baked manicotti, use whole milk cheeses. I prefer to shred the mozzarella and parmesan myself. You can use Lowfat or nonfat cheese, cottage cheese in lieu of ricotta, as well as pre-shredded cheese. I have seen people add cream cheese to the filling as well.
- Add meat: Meat tastes great in manicotti. To make this recipe with meat, cook up to a pound of bulk Italian sausage or ground beef in a large skillet until browned and crumbly. Add the cooked meat mixture to the filling before stuffing the pasta.
- Add vegetables: Spinach manicotti is delicious. Fresh spinach can be finely chopped and added to the ricotta mixture. When serving heavy Italian meals like this, I always love to roast vegetables like eggplant, red onion, mushrooms, etc. on a separate baking sheet and serve them alongside the main dish.
Manicotti FAQs
Manicotti is basically an Americanized version of Italy’s original version called Cannelloni.
The differences between the two recipes are very small.
The main difference is with the pasta tubes; manicotti pasta is slightly larger, thicker, and has ridges, cannelloni pasta is shorter, thinner, and are smooth.
All you need is your favorite spaghetti sauce.
Whenever I make homemade manicotti, I always serve it with a Kale Caesar Salad with homemade Caesar dressing and garlic bread. If you really want to make an impression, make some homemade cannoli with mascarpone for dessert.
Growing up, we used to cook manicotti tubes according to the package directions before filling them. This always resulted in a huge mess with torn and broken pasta.
The trick, as detailed in this recipe, is to just soften the tubes in boiling water before filling them. There’s enough moisture in the sauce, that the pasta will be fully cooked by the time you take it out of the oven.
Other favorite pasta recipes
Love Italian inspired recipes? You’ll definitely want to make these delicious creations.
- Homemade Pasta
- Baked Ziti
- Granny’s Classic Homemade Lasagna
- Roasted Vegetable Lasagna
- Four Cheese Ravioli
- Homemade Butternut Squash Ravioli with Brown Butter Sage Sauce
- Meat and Cheese Ravioli
- Cheesy Baked Rigatoni Pasta
- Dozen Veggie Pasta Primavera
- Cheesy Sausage Pasta Bake
Pin this now to save it for later
Pin ItManicotti Recipe
Ingredients
- 5 1/2 ounces manicotti pasta
- 1 pint whole milk ricotta cheese
- 4 cloves garlic minced
- 16 ounces mozzarella cheese shredded and divided in half
- 1 cup Parmesan cheese grated and divided in half
- 2 eggs
- 1 tablespoon dried Italian seasoning
- 8 leaves fresh basil sliced into thin ribbons
- 1/2 teaspoon salt
- 1/2 teaspoon pepper
- 1/4 teaspoon red pepper flakes
- 28 ounces marinara sauce
Instructions
- Preheat oven to 350°F.
- Partially boil manicotti: Boil a large pot of salted water and cook 5 1/2 ounces manicotti pasta for only a minute. Drain. The goal is to soften the pasta and start the cooking process, but the pasta needs to still be extremely firm in order to stuff. The pasta will finish cooking in the oven.
- Prepare cheese filling: In a large bowl, combine 1 pint whole milk ricotta cheese, 4 cloves garlic, half of the mozzarella, half of the Parmesan, 2 eggs, 1 tablespoon dried Italian seasoning, 8 leaves fresh basil, 1/2 teaspoon salt, 1/2 teaspoon pepper, and 1/4 teaspoon red pepper flakes. Mix well. Add to large resealable plastic bag.
- Prepare manicotti: Add about 1/2 cup of the sauce to the bottom of an 11×17 baking dish. Snip the corner off the bag containing the cheese filling and pipe it into each manicotti tube. Arrange each tube in the pan on the sauce. Pour remaining sauce on top and sprinkle with remaining cheese. Cover with foil.
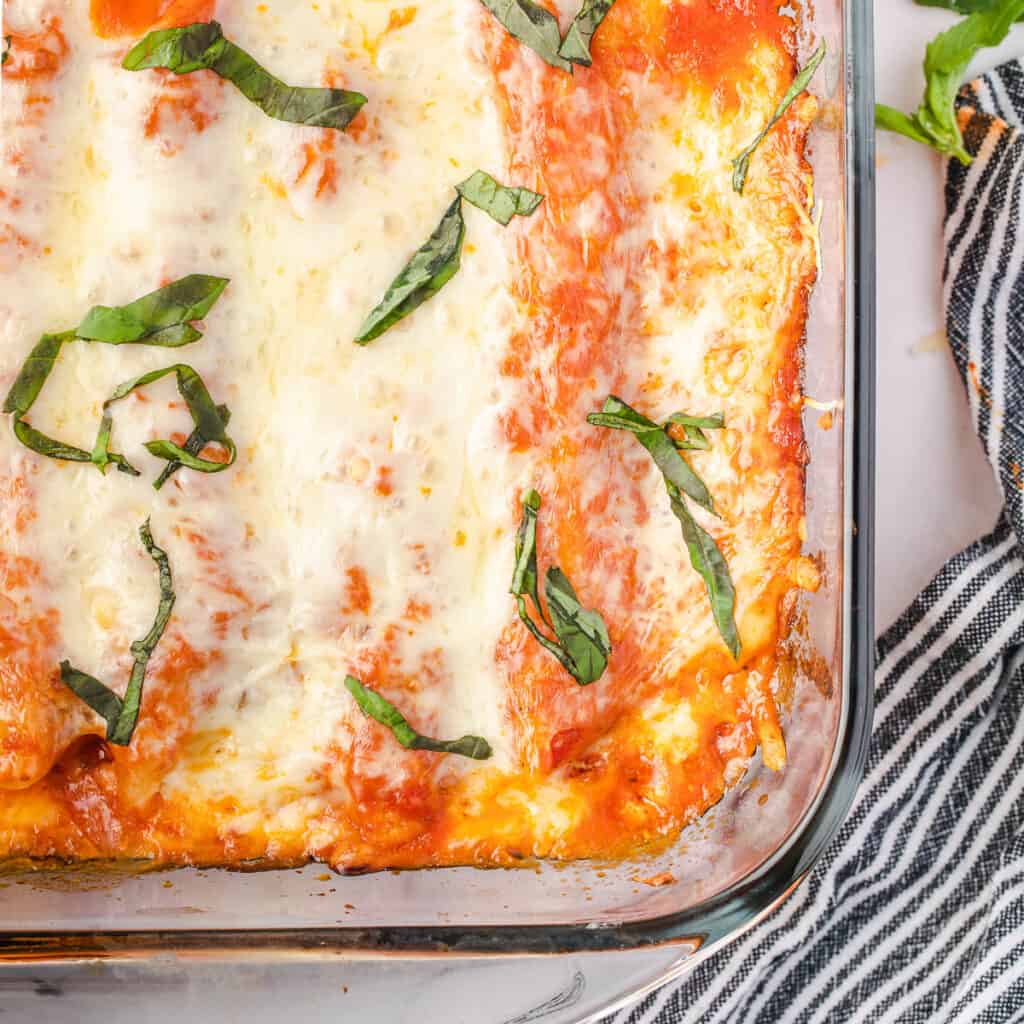
- Bake: Place manicotti in preheated oven and bake, covered, for about 45 minutes. Remove foil and continue cooking until cheese is melted, about 15 additional minutes.
Notes
Nutrition
Nutrition information is automatically calculated, so should only be used as an approximation.
This recipe was originally published in June 2019 and has been updated with helpful information, ingredient and process photos, as well as recipe tips. Don’t worry – the recipe hasn’t changed!




This was delicious! We loved it! I left out the crushed red pepper for my daughter and cooked the manicotti 2 minutes! Great recipe!
I used to always order this when we went out for dinner. Can’t wait to try my hand at it at home now, thanks!
Excellent! I used Vodka Sauce since that’s what I had in the pantry. I split the recipe into two smaller pans and froze the 2nd. This recipe is going into my “make again” list.
This is one of our favorite things to eat for dinner- so good!
This was heaven in.a dish! Thank you!
Thank you for the advice on not over boiling them before stuffing, that was my problem!! This manicotti is so good!
My family loves this classic comfort dinner!
Looks easy, yummy and I love that you gave us a definition for manicotti. Who knew?
Oh this is definitely going to be dinner soon! Gotta love a good cheesy manicotti!
This looks so cheesy and delicious! I can’t wait to try this for dinner tonight!
Oh my goodness, this is the best recipe ever. I made it tonight for dinner and the only change I made was that I added some additional mizithra cheese. followed the rest of the recipe exactly. Thank you so much for this great recipe it is a keeper for sure
This was such a savory dish, it has quickly become a family favorite recipe! Delicious!