This post may contain affiliate links. Please read our disclosure policy.

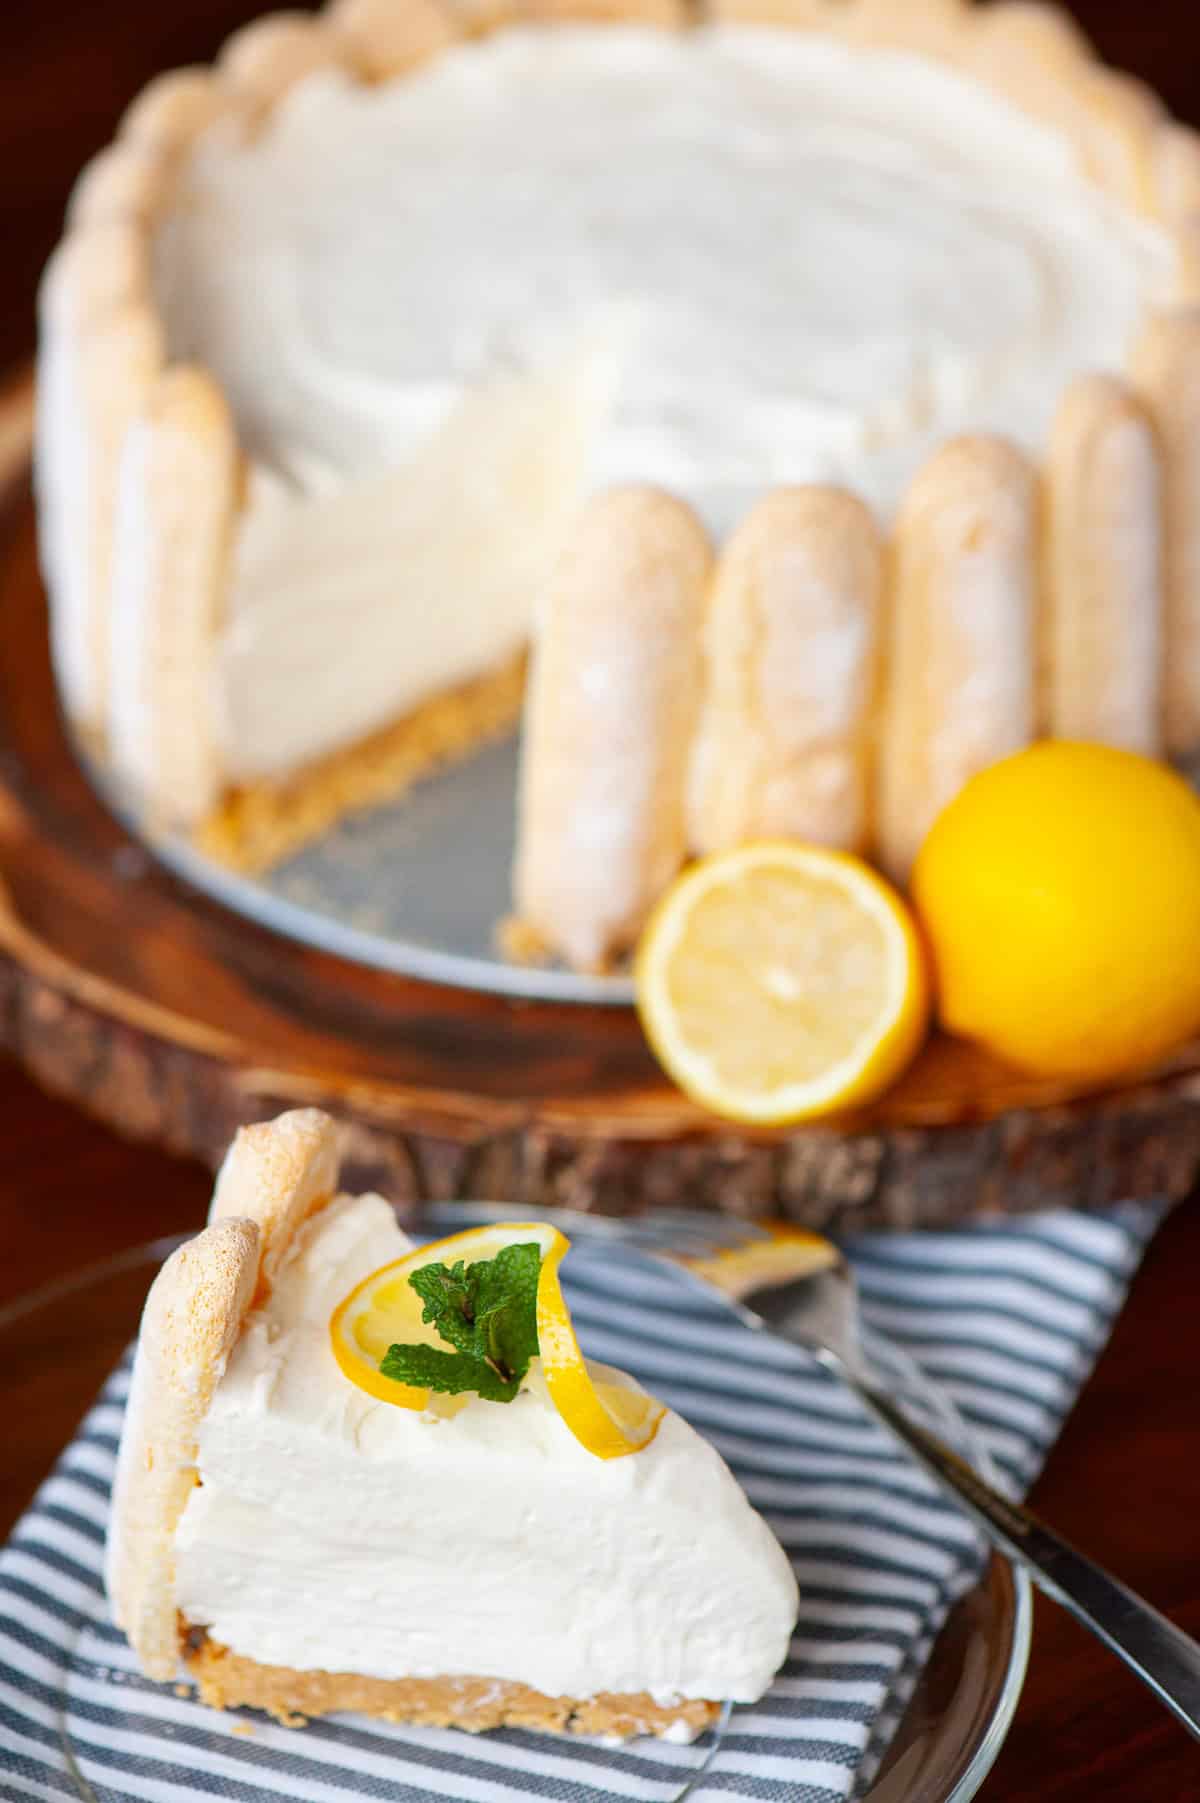
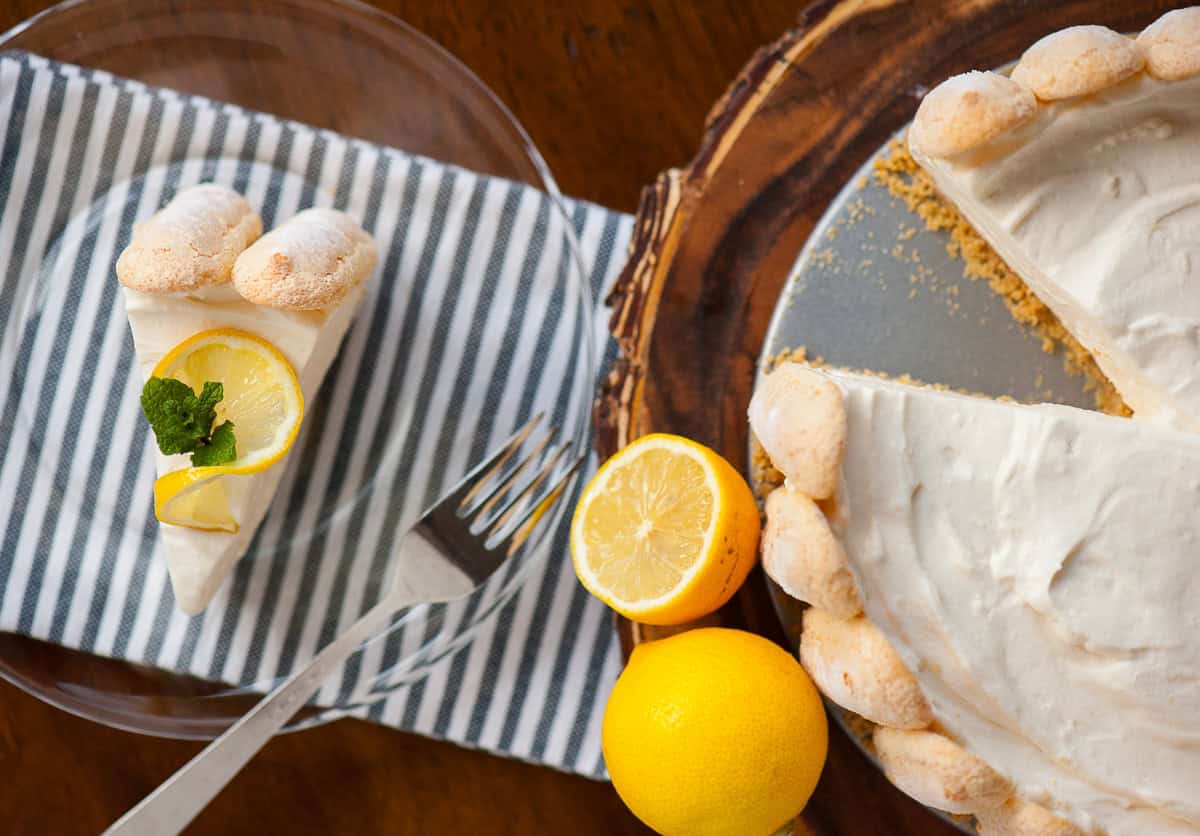
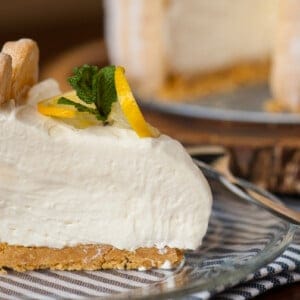
This No Bake Lemon Cheesecake is the ultimate citrus dessert. It’s light, creamy, and bursting with fresh lemon flavor. It’s perfect for warm-weather gatherings since there’s no need to turn on the oven, making it ideal for summer parties, Easter celebrations, or anytime you’re craving something bright and refreshing.
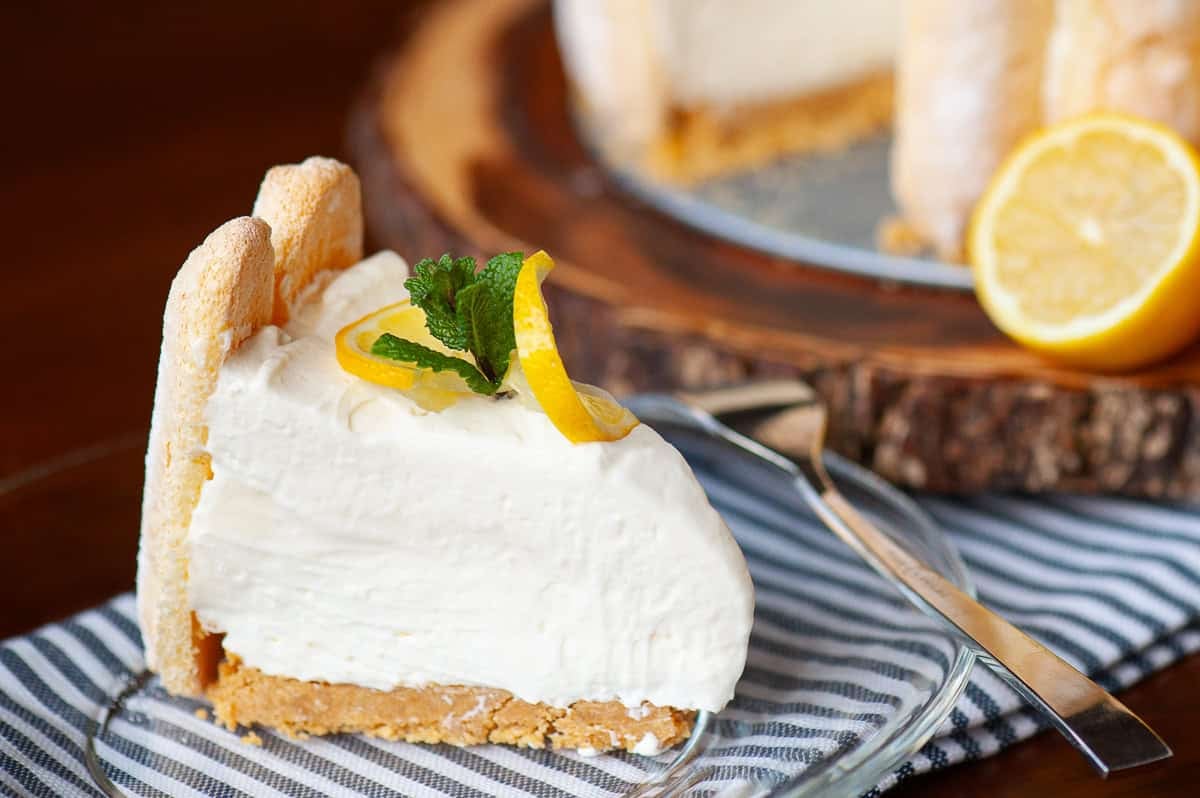
I developed this recipe after experimenting with different textures and flavors, making sure the filling was perfectly smooth and luscious without being overly sweet. The combination of tangy lemon curd, rich cream cheese, and fluffy whipped cream creates a melt-in-your-mouth experience that’s balanced by a crisp cookie crust and delicate ladyfinger border.
This post was originally created in April 2016 and has since been updated with helpful information so that you can recreate this recipe in your own kitchen!
The Best Crust for a No Bake Cheesecake
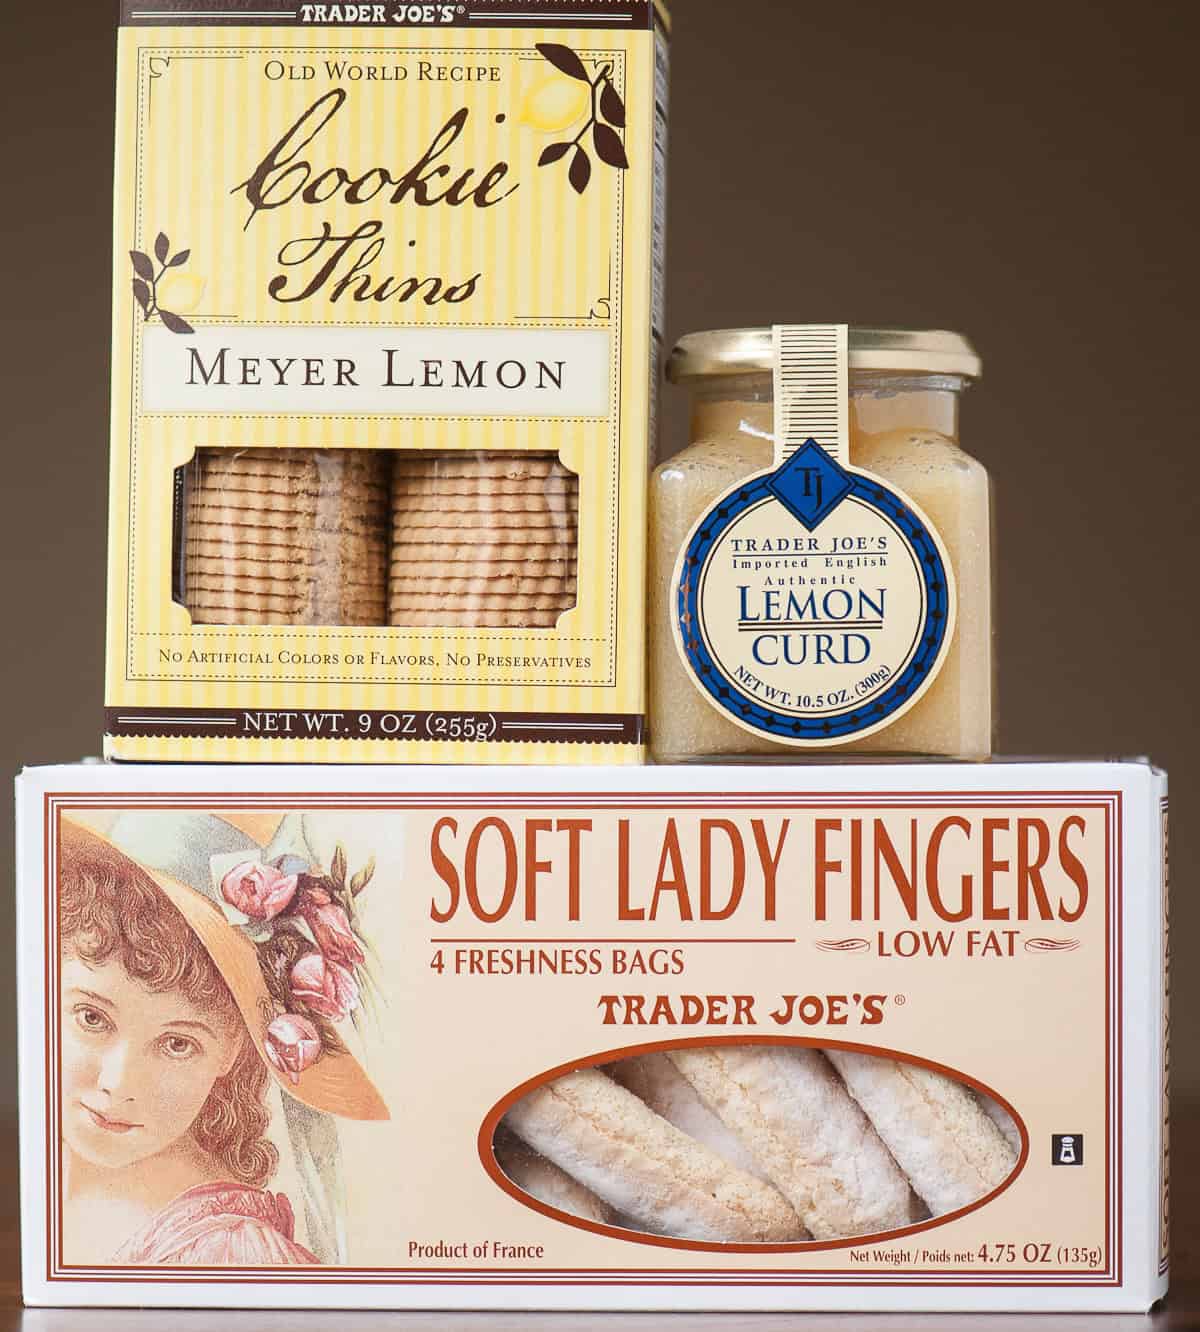
A good cheesecake starts with a solid base, and this one is anything but ordinary. Instead of a classic graham cracker crust, I use Trader Joe’s Meyer Lemon Cookie Thins to enhance the citrus flavor and add a sweet, buttery crunch.
If you can’t find those, don’t worry – graham crackers or any crisp, lightly sweetened cookie will work. The key is to use something dry and crunchy (no soft cookies) so that the crust holds its structure.
Step-By-Step: How to Make It
Always refer to the recipe card below for exact measurements, but here’s a quick look at the process.
1. Make the Cookie Crust
The foundation of this cheesecake is simple but flavorful.
- Crush lemon cookies into fine crumbs using a food processor or a rolling pin.
- Mix with melted butter until evenly combined.
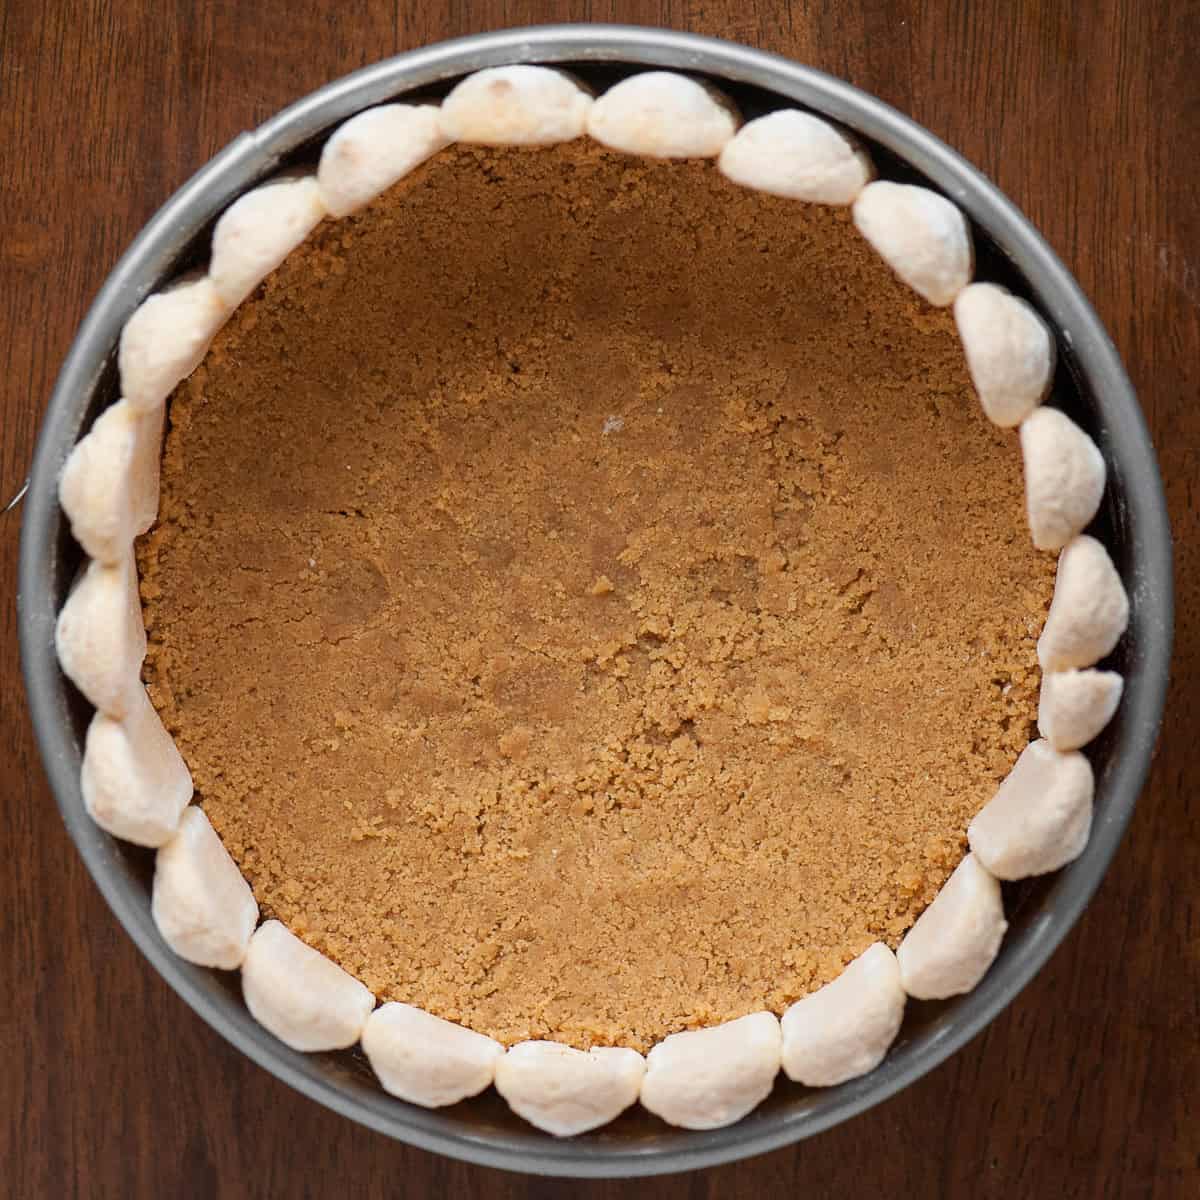
- Press the mixture into the bottom of a springform pan, leaving space around the edges for the ladyfingers.
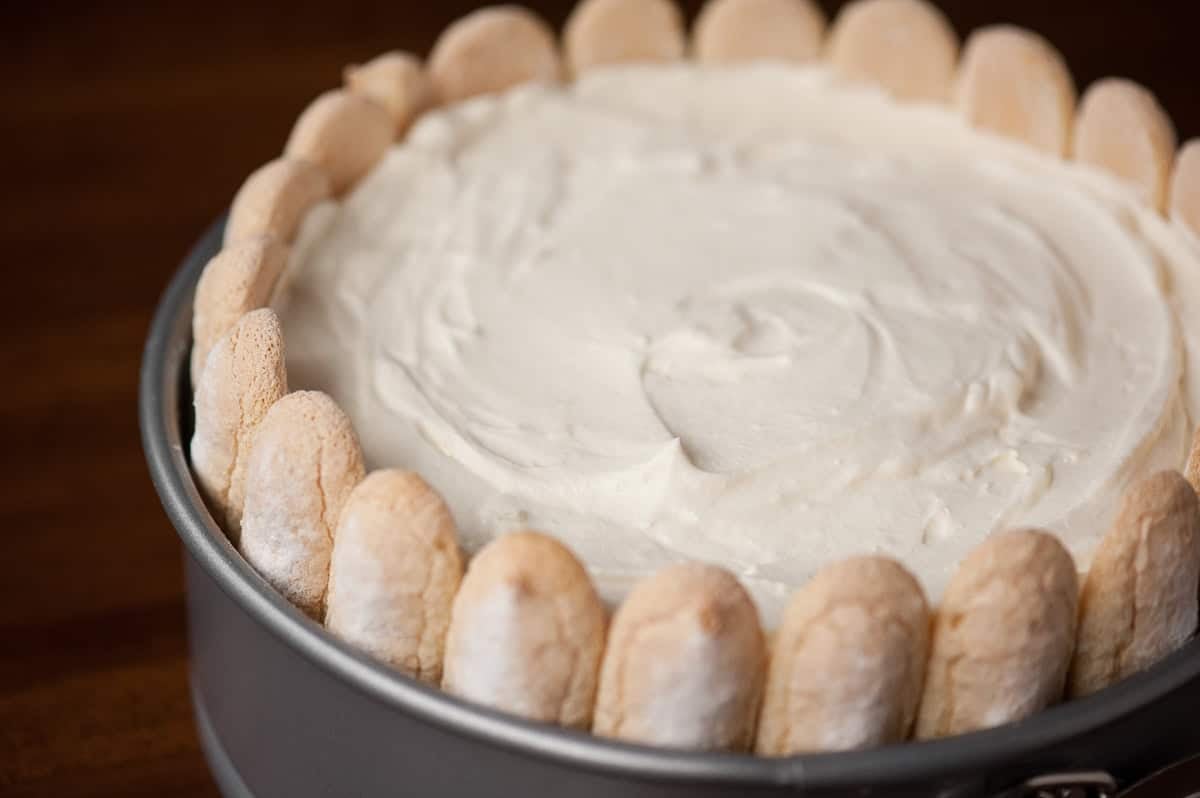
2. Arrange the Ladyfingers
This step takes a little patience, but the result is beautiful!
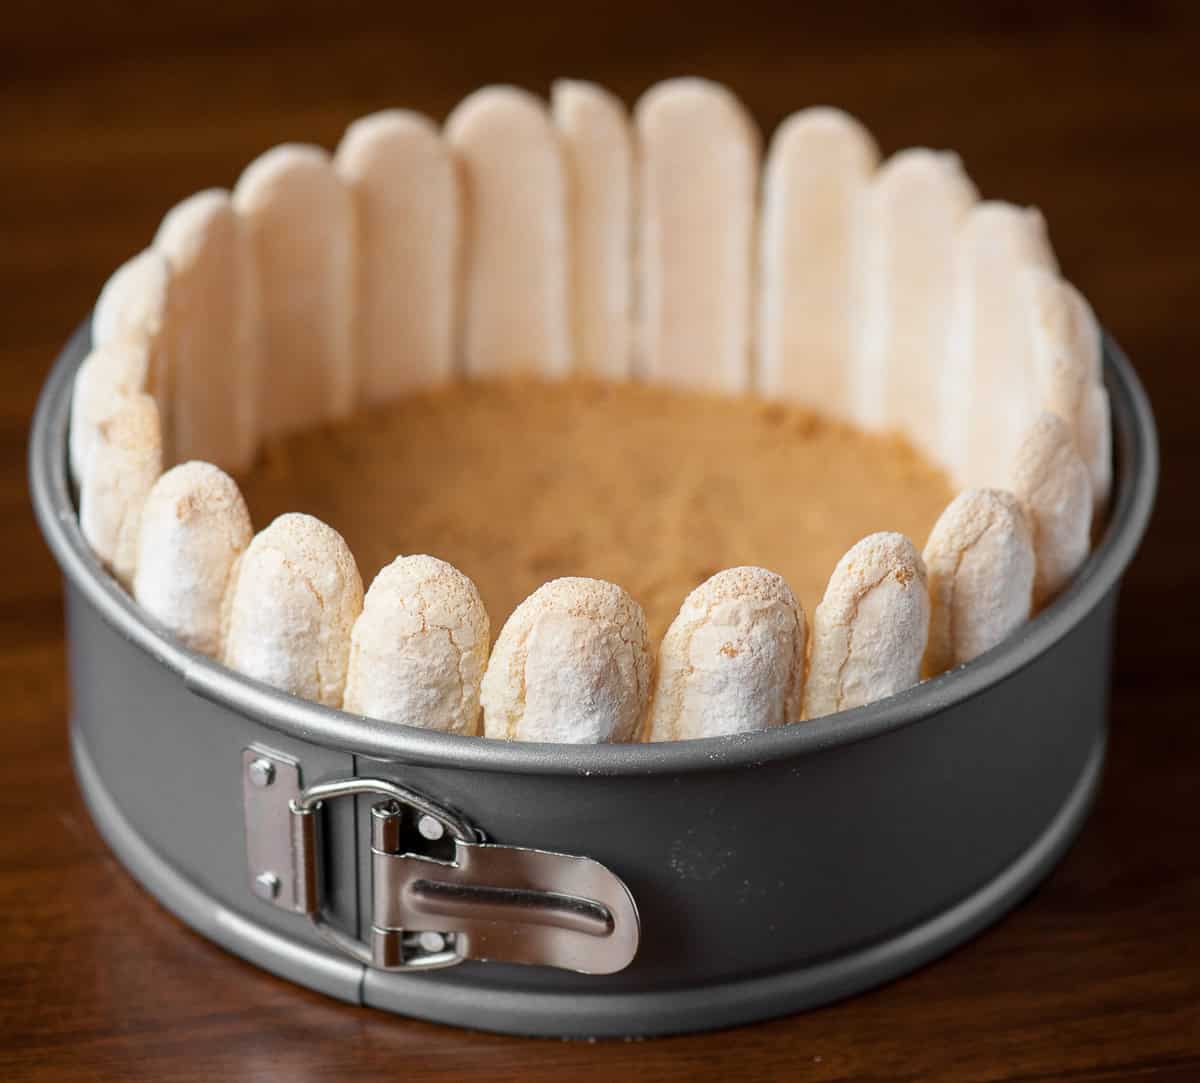
- Stand soft ladyfingers around the inside of the pan, curved side facing out.
- Use the crust to help keep them in place. If needed, have an extra set of hands help!
3. Prepare the Filling
The cheesecake filling is light and airy but still rich and creamy.
- Beat cream cheese until fluffy, then mix in confectioners’ sugar and lemon curd.
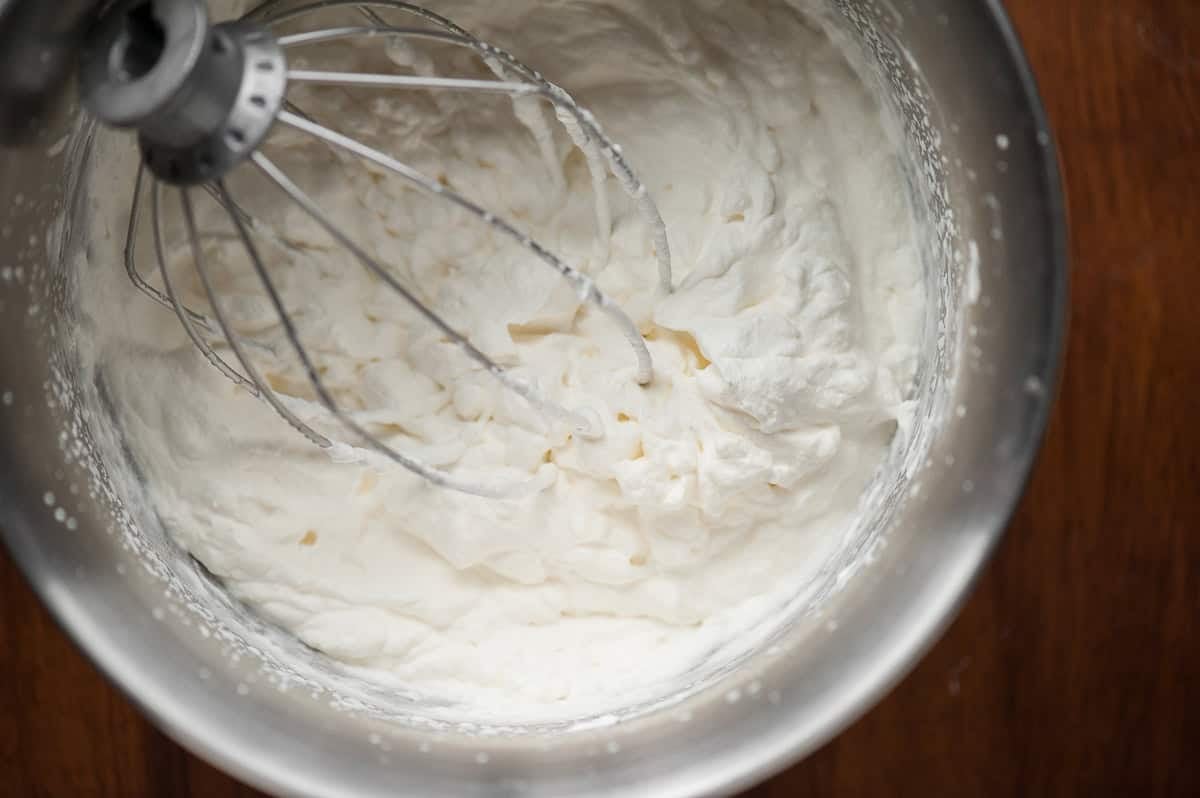
- Separately, whip heavy cream until stiff peaks form (be careful not to overwhip).
- Gently fold the whipped cream into the cream cheese mixture until fully combined.
4. Assemble & Chill
The final step is letting the cheesecake set.
- Pour the filling into the prepared pan and smooth out the top.
- Cover and refrigerate for at least one hour to allow the flavors to meld.
Learn From Me: Pro Tips for Success
Making this dessert is very different than a baked classic cheesecake. Even though it’s very easy to assemble, I’ve figured out a few tricks through trial and error.
✔ Use the right cookies – If substituting the lemon thins, go for graham crackers, vanilla wafers, or any crisp shortbread cookie. Avoid anything too soft.
✔ Chill for the best texture – This cheesecake firms up beautifully in the fridge, but freezing it for 30 minutes before slicing makes for the cleanest cuts.
✔ Don’t overwhip the cream – Stop whipping once stiff peaks form. If it starts to look grainy, you’ve gone too far. This filling ends up with a very similar consistency to my Cheesecake Fruit Dip.
✔ Customize the citrus flavor – Swap out the lemon curd for orange, lime, or even passion fruit curd for a fun variation.
Storage & Serving Tips
Make ahead – This cheesecake can be made a day in advance, making it perfect for entertaining.
Best served chilled – The flavors and texture are perfect straight from the fridge.
Store leftovers – Keep in an airtight container for up to 4 days in the refrigerator.
Pin this now to save it for later
Pin ItNo Bake Lemon Cheesecake
Ingredients
- 9 ounces lemon cookies Trader Joe's Meyer Lemon Cookie Thins recommended, can substitute with graham crackers
- 1/2 cup unsalted butter
- 4.75 ounces soft ladyfingers
- 3 cups heavy whipping cream
- 8 ounces cream cheese softened
- 2/3 cup confectioners' sugar
- 10.5 ounces lemon curd 10.5 ounces roughly equates to about 3/4 cup
Instructions
- Using a food processor or a rolling pin with a resealable plastic freezer bag, crush 9 ounces lemon cookies until they are a fine crumb. Combine with 1/2 cup unsalted butter and mix to combine. Spread across base of springform pan, pressing down evenly but leaving a gap around the edges for your lady fingers.
- Arrange 4.75 ounces soft ladyfingers vertically around inside wall of springform pan, with the top of the lady fingers facing out. You may need an extra set of hands. Press crumbs up against base of lady fingers to keep them in place.
- Using a stand mixer with the whisk attachment, beat 3 cups heavy whipping cream on medium high speed until stiff peaks form. Be careful – there is a fine line between soft peaks and going too far and making butter. Set aside.
- Using stand mixer with paddle attachment, beat 8 ounces cream cheese on medium speed until light and fluffy, 3-4 minutes. Add 2/3 cup confectioners' sugar, mix slowly to combine, then beat for another couple of minutes. Add 10.5 ounces lemon curd and mix thoroughly.
- Fold the fluffy whipped cream into the cream cheese mixture, one large scoop at a time, until well blended. Add to the springform pan and spread evenly.
- Cover with plastic wrap and refrigerate or freeze at least one hour before slicing.
Notes
Nutrition
Nutrition information is automatically calculated, so should only be used as an approximation.

If I only have a hard crunchy lady finger available would that work as well? Is the soft lady finger just a preference?
You can definitely use either. Let me know what you think if you make it!
Can you substitute Cool Whip for whipped crcream?
I think you could, but I’m just not a fan of cool whip so I don’t use it in any of my recipes.
Did you use a 9 inch springform pan? I went back and reread the article and did not see size of pan. Thanks in advance!
You are correct. I just updated the equipment line in the recipe to reflect the size.
My family would go crazy for this! Can’t wait to try it.
I love ladyfingers! What a great way to use them. This cheesecake is so smooth & delicious!
Lemon desserts have become my favorite & this one is so creamy & delicious! Love the ladyfingers in it!
This lemon cheesecake is so delicious. I love how easy this recipe is. Thank you for sharing it!