This post may contain affiliate links. Please read our disclosure policy.
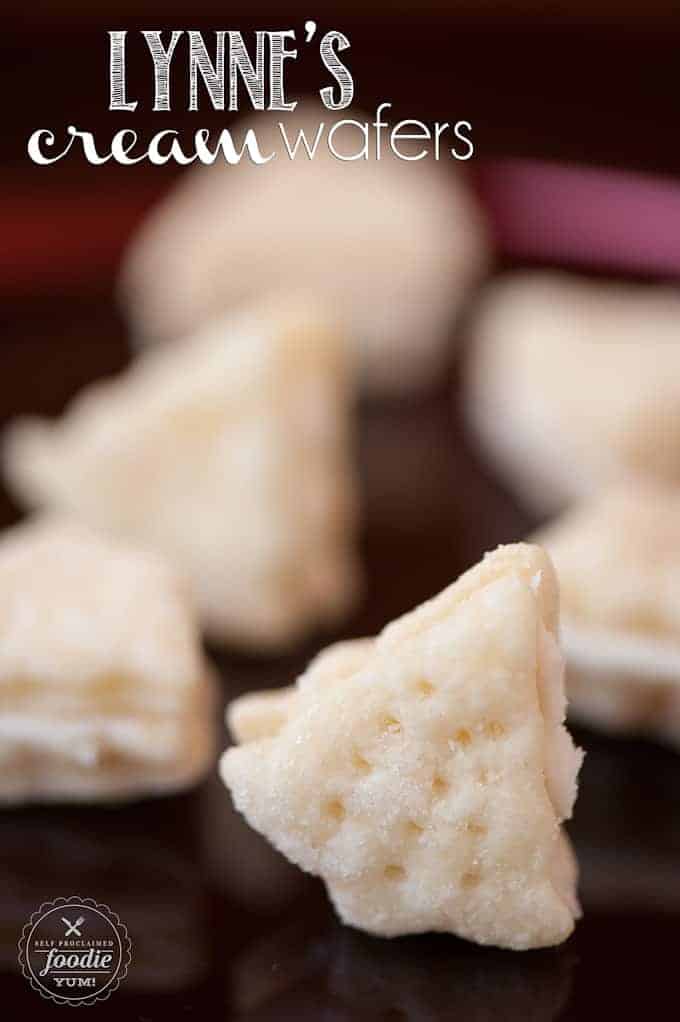
I loved baking Lynne’s Cream Wafers, a buttery and perfectly sweet cookie with a creamy filling, every Christmas with a very special person in my life.
Welcome to day 9 of my 12 Days of Holiday Treats series. There are no better recipes to share than those that have meaning, and this one is particularly special to me.

I call these cookies Lynne’s Cream Wafers. Did Lynne create the recipe? Nope – this one is straight up old school Betty Crocker. But these cookies are more than special to me. It was actually quite sad making them this year, because I hadn’t enjoyed them since I made them with Lynne about twenty years ago. Lynne was my high school/college sweetheart’s mom. He and I were together for quite some time and it was during some incredibly impressionable years. During that time, I spent A LOT of time with his family. So much so that I really felt like I had become a member of their family. I went on many vacations with them and spent birthdays and holidays in their loving company. I value every second I got to spend with that family because they truly loved me as if I were part of it.
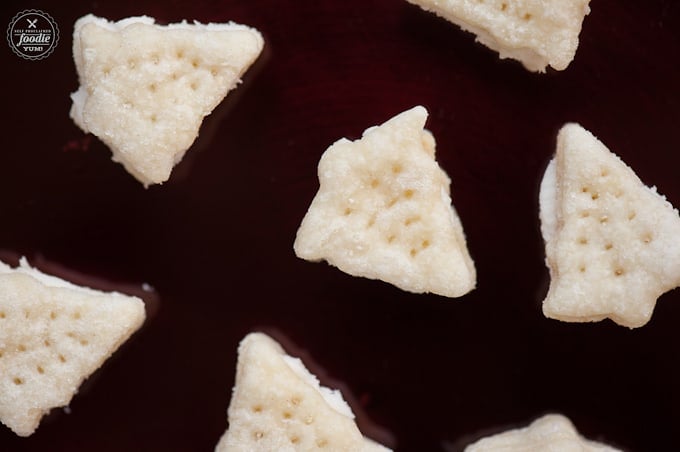
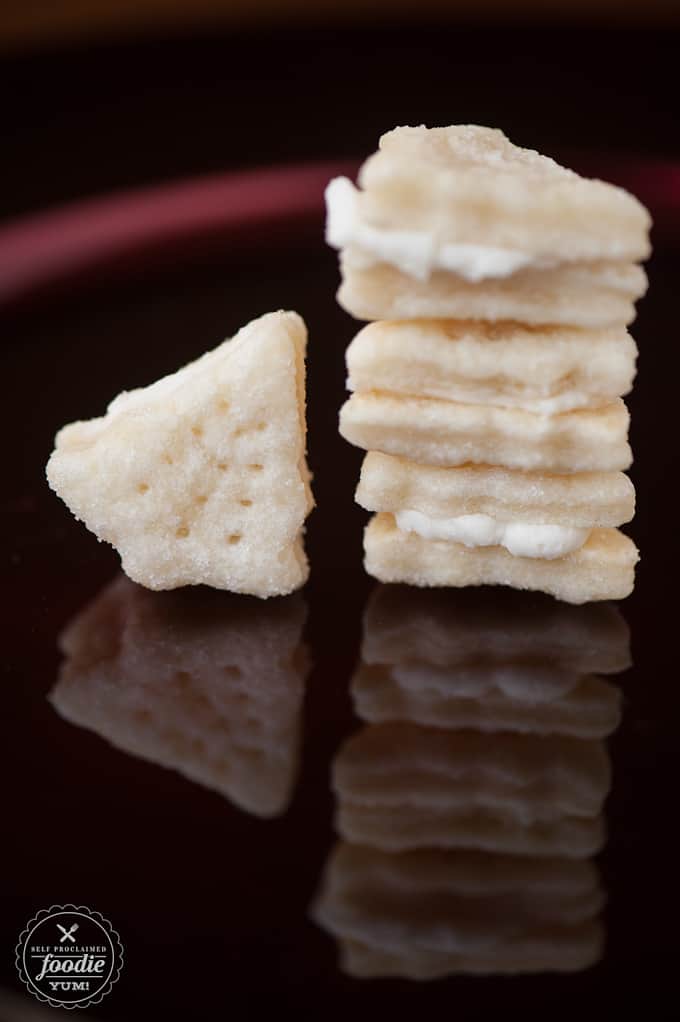
Christmas was a big deal for Lynne’s family. I was always in awe of the amount of Christmas decorations that went up each year. I remember spending an entire weekend doing nothing more than decorating. We’re talking every room in the house, including the bathrooms and the hallway up the stairs, had some kind of tinsel garland and/or lights. It was definitely a time that I really looked forward to. Lynne always made these cream wafers and, despite my memory not always being the best, I have very crystal clear memories of making them with her. I remember it feeling like it took forever to cut out and cook all those tiny little cookies. I remember spreading the filling between the two fragile flaky cookies, trying to keep them from crumbling between my fingers. And I remember sneaking a cookie or two every time I walked past the tin in the kitchen. Making these cookies took me back 20 years. I can still hear Lynne’s laugh and see her smile and feel her loving embrace.
It breaks my heart to not have a truly beautiful, caring, loving, and giving soul like Lynne in this world anymore. She was taken decades too early from the people who loved her so much. I will fondly hold on to my many memories of Lynne and will proudly make (and steal when no one is watching) these delicious cream wafers in her memory. Christmas time is about making memories with the people you love, and I’m so grateful I was able to make so many memories with Lynne and her family.
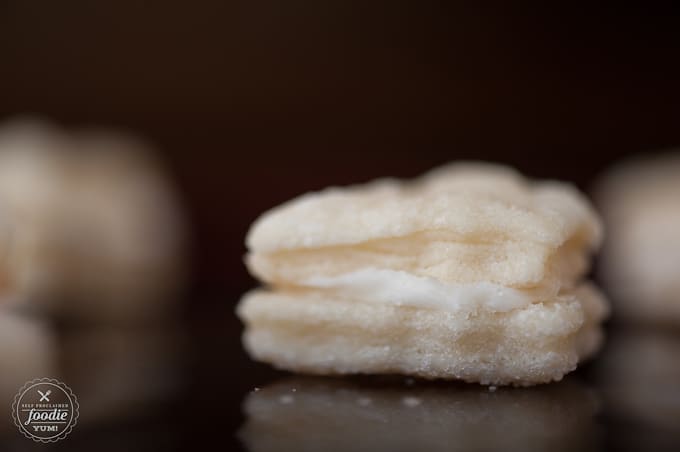
Table of Contents
Pin this now to save it for later
Pin ItLynne’s Cream Wafers
Ingredients
Wafer cookies:
- 1 cup unsalted butter softened
- 1/3 cup heavy whipping cream
- 2 cups all-purpose flour
- 1/4 teaspoon salt
- Confectioner’s sugar for rolling
- Granulated sugar for coating
Filling:
- 3/4 cup confectioner’s sugar
- 1/4 cup butter softened
- 1 teaspoon peppermint extract can use vanilla, lemon, or almond extract instead if desired
- Food color if desired
Instructions
- In bowl of stand mixer with paddle attached, beat butter until creamy smooth. Add heavy cream and mix on medium speed until smooth. Add flour and mix on low speed until incorporated, then flash on medium speed for five seconds to mix. Wrap dough in plastic wrap and refrigerate about 1 hour or until firm.
- Preheat oven to 375ºF. Roll some of the dough to 1/8 inch thick on lightly powdered sugar surface (keep remaining dough refrigerated until ready to roll). Cut into desired shapes small cookie cutters (I used 1 1/2 inch tree shapes). Cut as many cookies as you can out of the first roll, then squeeze the dough together to roll and cut again. Your goal is to roll the dough the minimum amount of times. Finish that first chunk of dough before moving on to the next. Fill small bowl with granulated sugar and coat both sides of each cutout with sugar and then transfer to baking sheet (I found that a silicone covered metal baking sheet worked best). Prick each cutout with fork about 4 times.
- Bake 7 to 9 minutes or just until set but not brown. Remove from cookie sheet to wire rack. Cool completely, about 1 hour.
- Meanwhile, use a stand mixer with the whisk attached to cream butter for filling. Add powdered sugar and extract and mix on medium speed until smooth. It will be thick. Spread a thin layer (about 1/2 teaspoon) filling between bottoms of pairs of cookies.
- Store in airtight container.
Notes
Nutrition
Nutrition information is automatically calculated, so should only be used as an approximation.
<
